
Targeted content is content that is intended to be different for different visitors to the site. Targeted content can only appear on areas of pages that have been defined to contain target content.
For this example, special content will appear on the home page if the visitors have come to the site from the url in the email message.
Select the Targeted Content pane in the left-hand menu.

You will see a folder that contains a list of the areas that have been defined to allow targeted content, and a folder with a list of formats that can be used for content.

You can create targeted content by selecting an item under either folder. Both the area and the format need to be specified for targeted content, but you can start with whichever list you prefer. For this example, we will begin by picking the area the targeted content should appear in.
Select the plus (+) sign to the left of the Areas entry.
Continue clicking on the plus sign until you can see the page and area you want the targeted content to appear in.

If necessary, move the divider so that there is space under the user group. You will need space to place the targeted content under it.
Select the area for the targeted content and drag it into the right hand work pane. Do not lift up the mouse key.
Lift up on the mouse key when the area is on the Drop Here box under the Satisfied connection point of the user group.
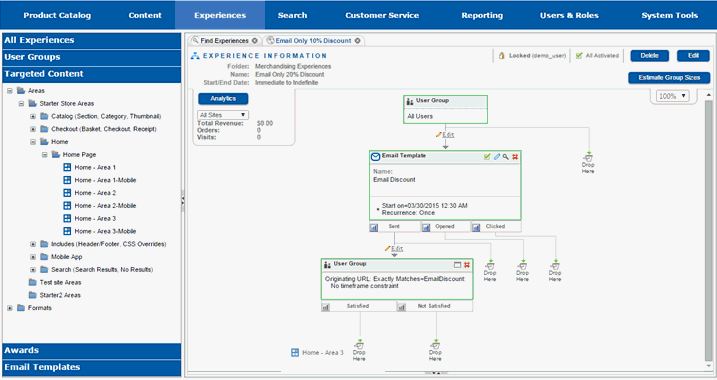
You will see a new box appear on the right hand work pane that represents the targeted content. The bottom of the right hand work pane will be filled in with information that needs to be set for this targeted content.
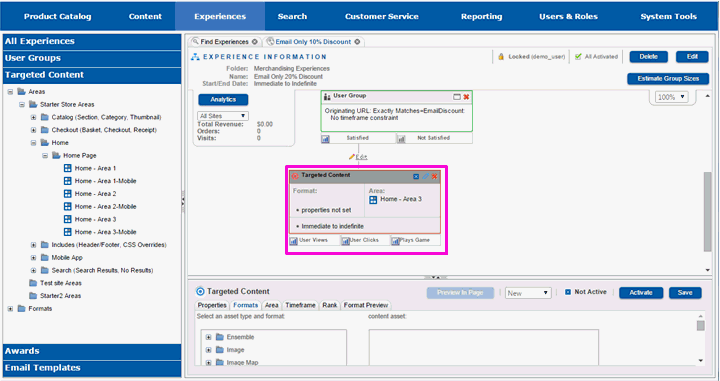
Drag the divider up so that you can see the entire bottom work pane.

Click on the plus (+) signs in the Select an asset type and format list box until you can see the asset type and format you want to use for the target content.
Select the asset type and format you will be using.
You will see a sample asset using the format you selected in the right hand preview window.
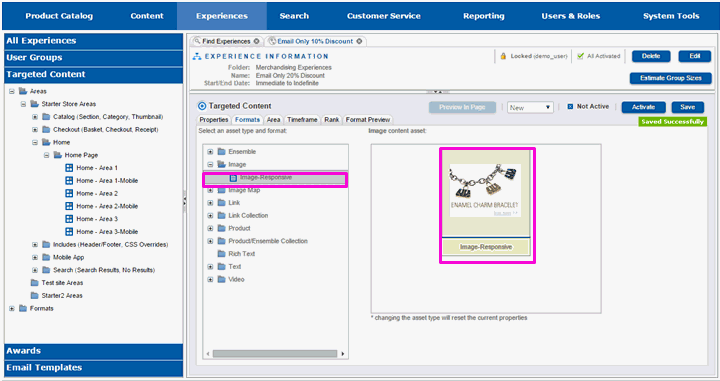
Select the Properties tab.
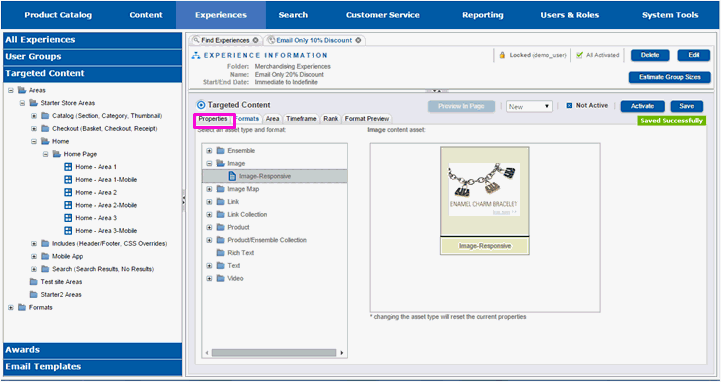
Click on the plus (+) signs in the left hand selection box until you can see the asset you want to use.
Select the asset you will be using.
You will see a preview of the asset on the right hand side.
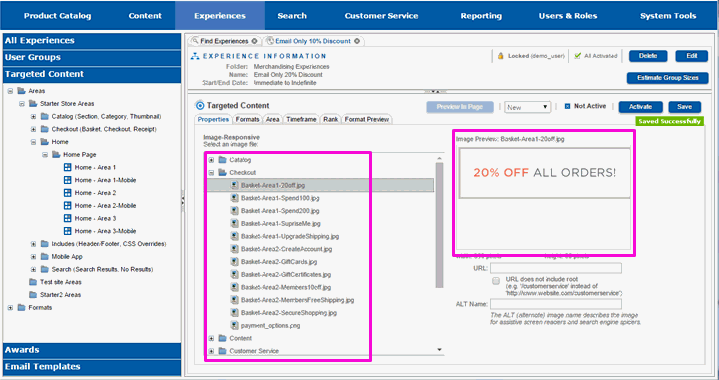
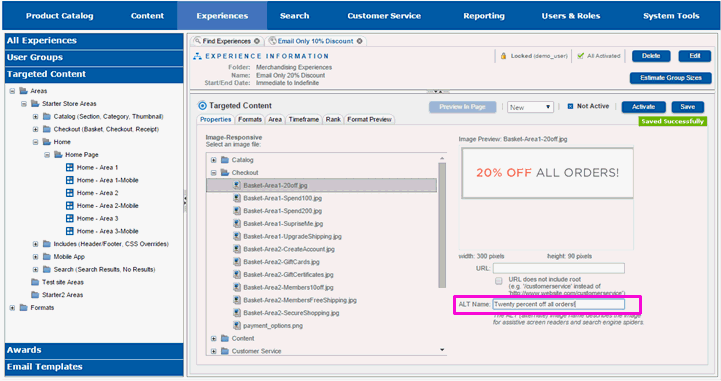
For some assets, alternate names need to be added. Alternate names are used for assistive screen readers and should contain text that describes the asset.
If necessary, enter an alternate name for the asset.
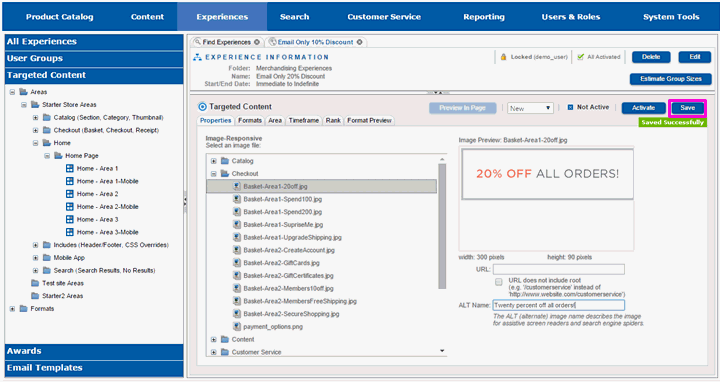
Select Save to save your choices.
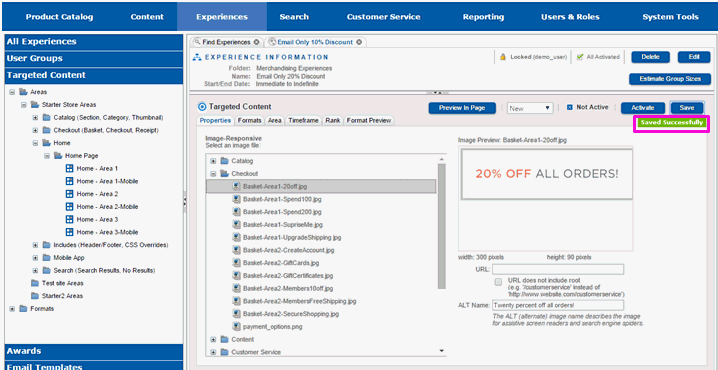
You will see a message indicating your save was successful.
Select Activate to activate the targeted content.

You will see that the active status of the targeted content has gone from Not Active to Active.

Move the divider down so you can see more of the top half of the pane.
You will see that the outline of the box for the targeted content has turned green. This means the targeted content has been completely defined, and saved. The targeted content is considered active in the experience.
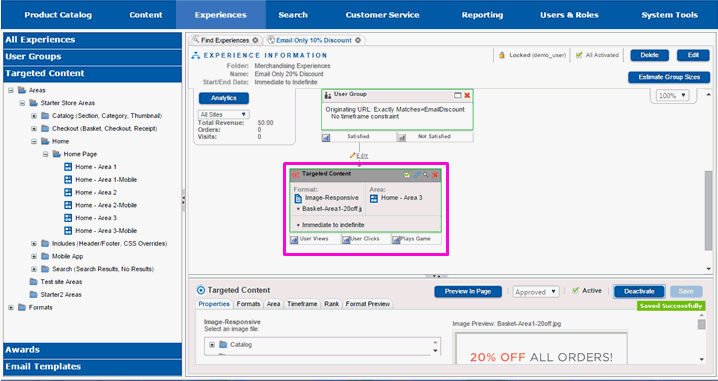
Under the targeted content component you will see two rectangles, User Views and User Clicks. These are connection points for additional components in the experience. If you want additional actions occur if the targeted content is displayed, you connect components to the User Views connector. If you want to additional actions to occur if a link in the targeted content is selected, you connect components to the User Clicks connector.