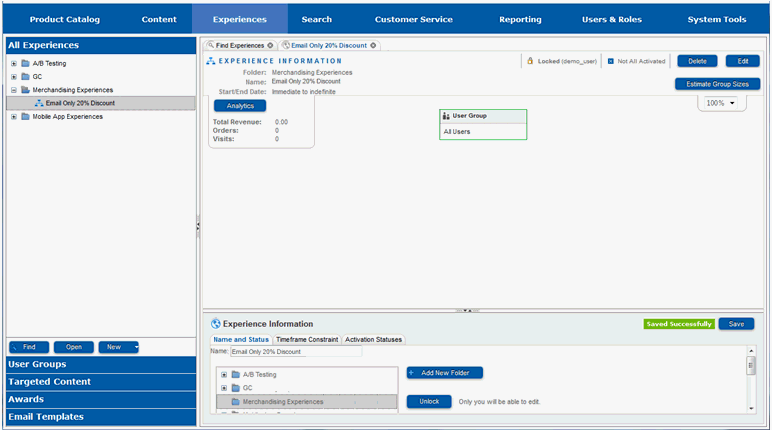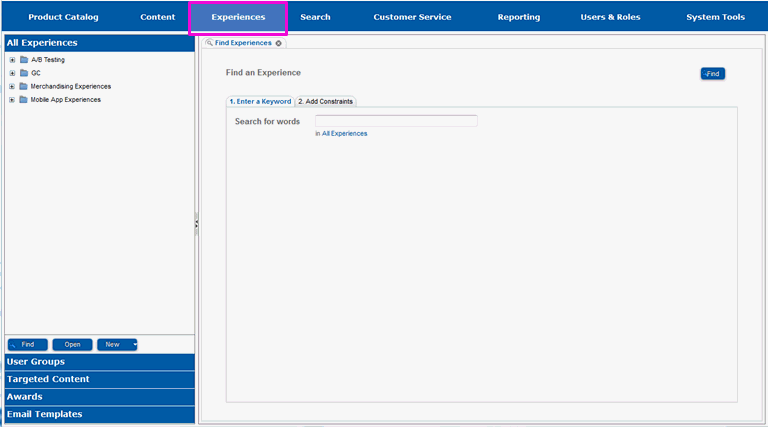
Experiences are added in the Experiences section of the Site Manager.
Select Experiences.

Experiences are created in the All Experiences pane of the left-hand menu.
If the folder you would like the new experience to be in is not visible, select the plus sign (+) to the left of each folder until it is.
Select the folder you would like the experience to be in.
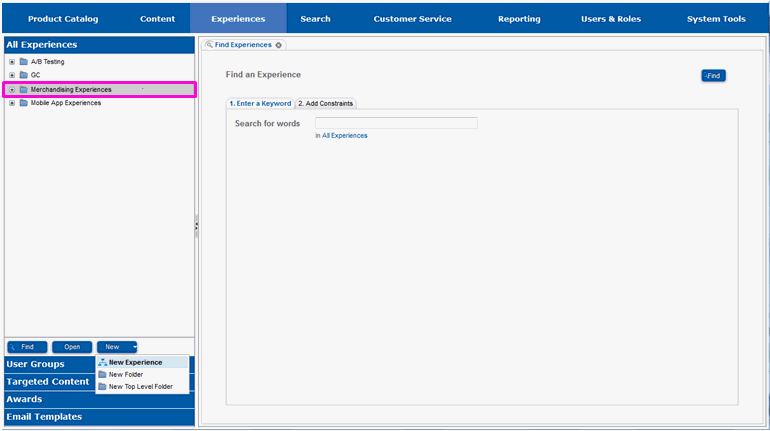
Select the arrow to the right of the New button.
In the drop-down menu that appears, select New Experience.
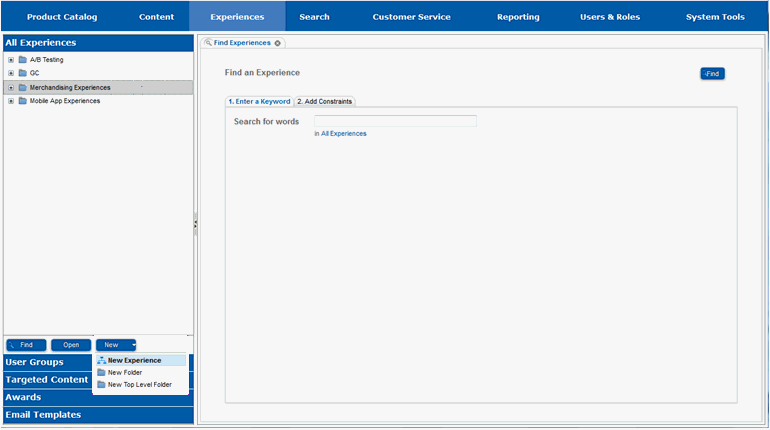
You will see the new experience open in the right hand working pane.
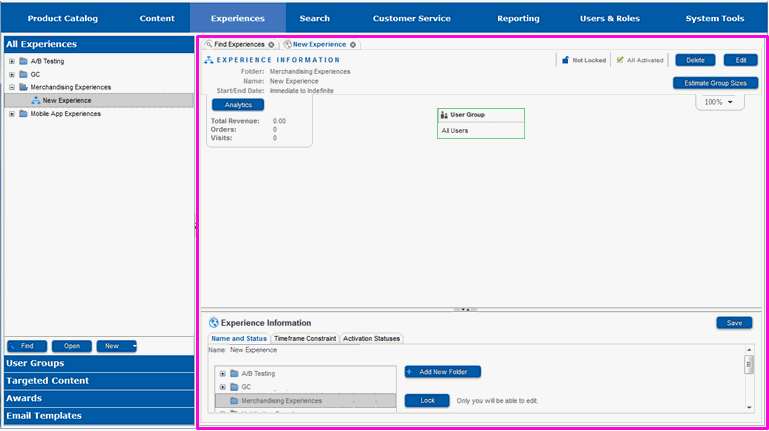
The bottom half of the working pane contains global information for the experience. You will need to modify some of that information.
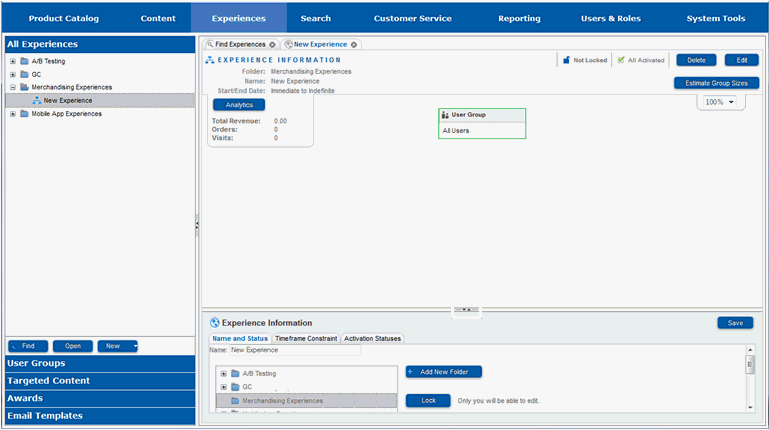
Select the arrow pointing up on the divider between the top and bottom halves of the right-hand work pane.
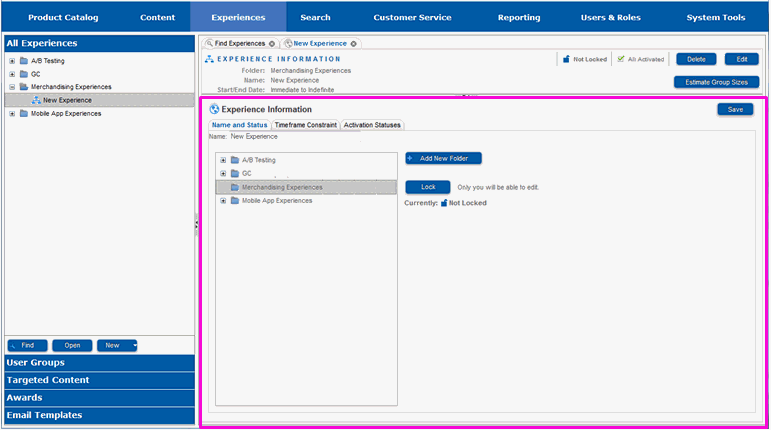
The properties pane will expand and fill the working pane.
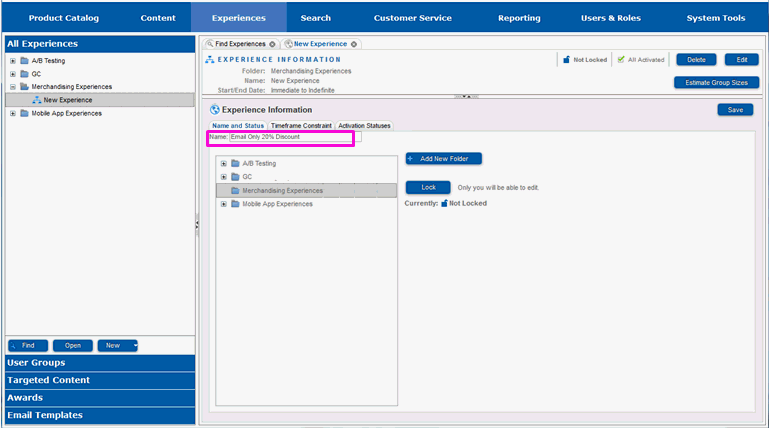
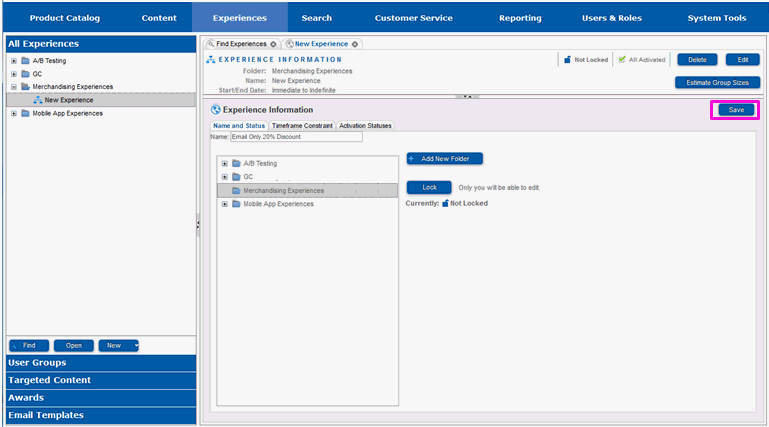
Enter a name for the experience in the Name text box.
Select Save.
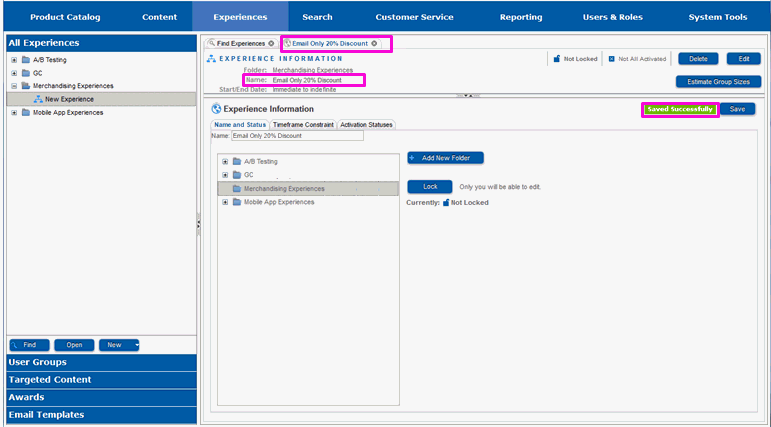
The screen will refresh and you will see a message that the save was successful. You will also see the new name of the experience in the tab header and the experience header pane.
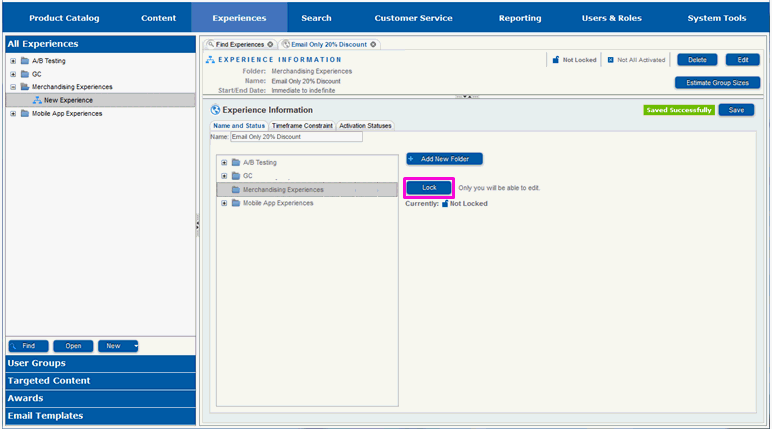
Select Lock so that no one else can edit the experience.
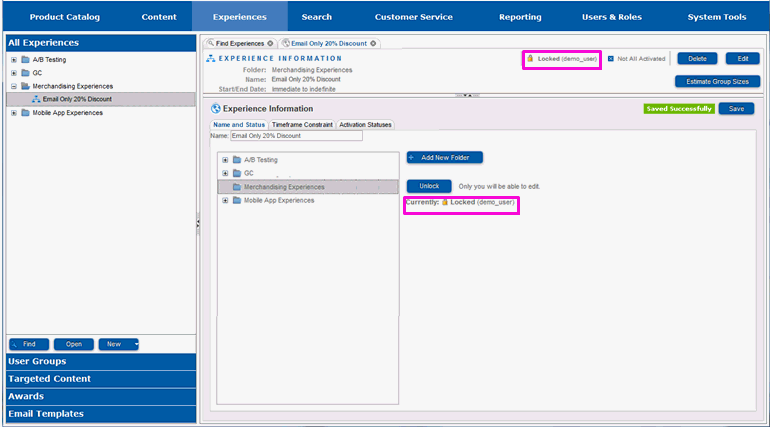
You will see that locked status of the experience will change from Not Locked to Locked.
Select the arrow pointing down in the divider between the properties pane and the working pane.
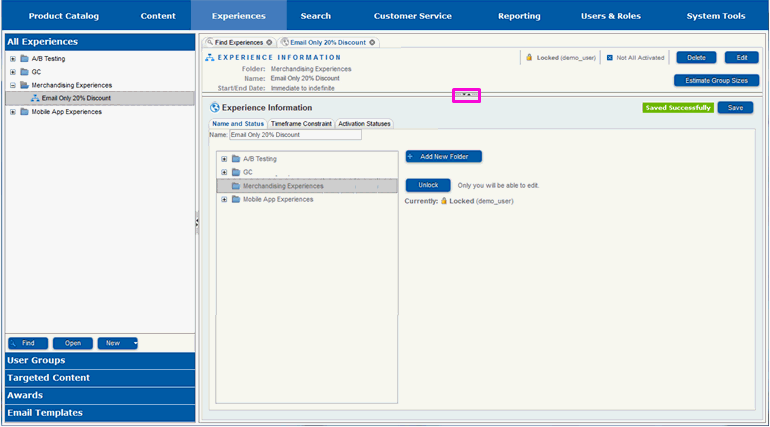
The properties pane collapses and shows the rest of the working pane.
