
When experiences need the ability to send out emails, they do so through an email template. An email template is a starting point for the final email that is sent. Templates are meant to be customized after they are added to experiences.
The email created for this example will go to all users who have signed up to receive emails from the site. Emails are never sent to users who have opted out of email communications or have not registered their email addresses on the site.
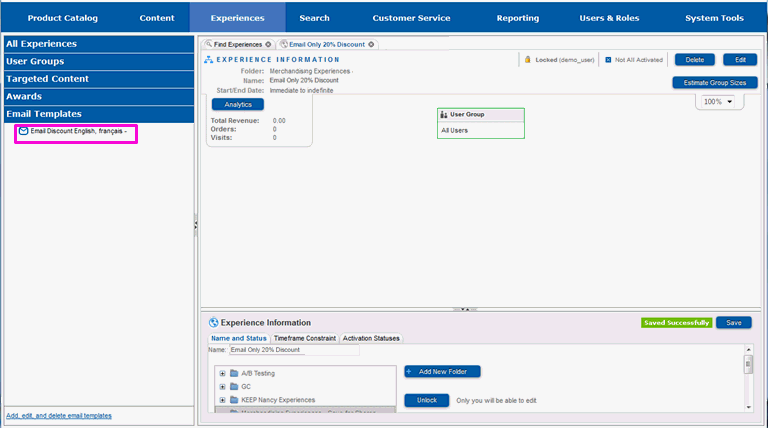
Select the Email Templates pane in the left-hand menu.
You will see the list of email templates that have been defined for the website.
You will need to choose the email template that most closely matches the email you wish to send out.
Select the email template you will use and drag it into the right hand working pane. Do not lift the mouse key.
Lift the mouse key when the email template is on the Drop Here box under the All Users user group.
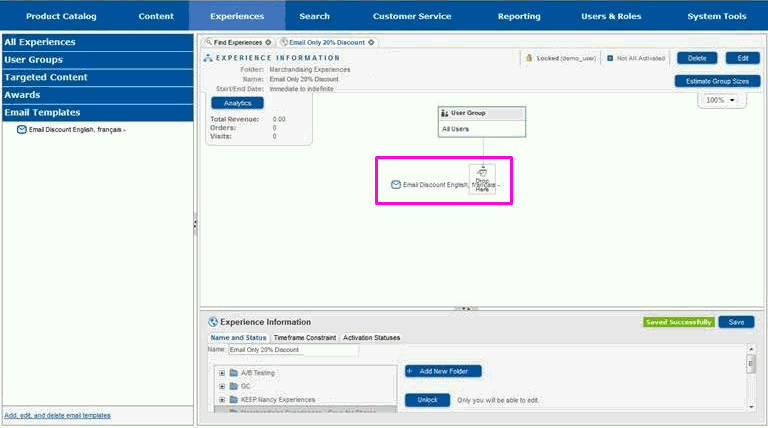
You will see a new box appear on the right hand work pane that represents the email template. The bottom of the right hand work pane will be filled in with the information that needs to be set for this template.
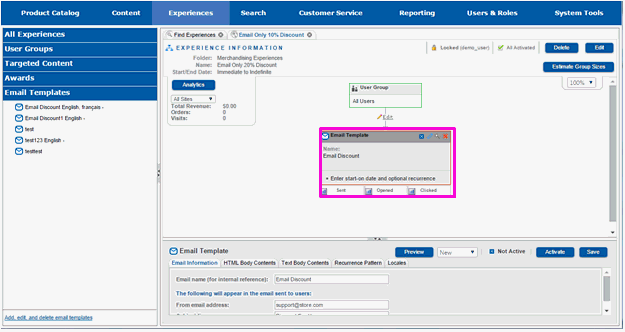
Select the divider between the top and bottom panes and move it up so that you can see the entire bottom portion of the pane.
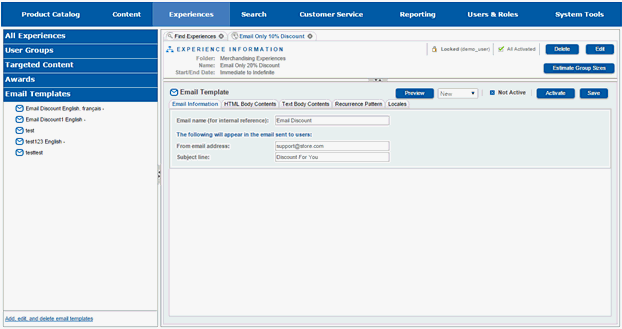
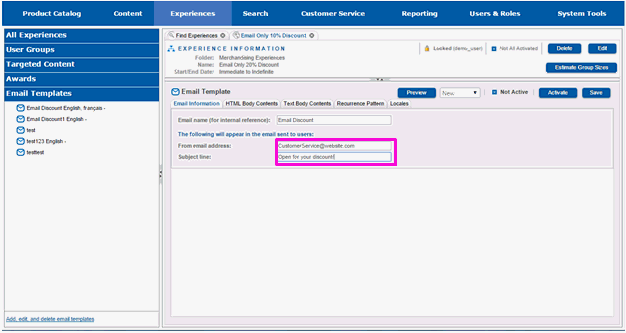
Enter the email address the email should be from in the From email address text box.
Enter the subject you want used for the email in the Subject line text box.
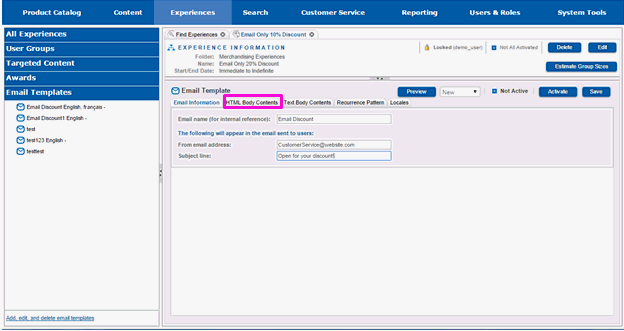
Select the HTML Body Contents tab.
You will see the HTML version of the email body that is defined for the email template.
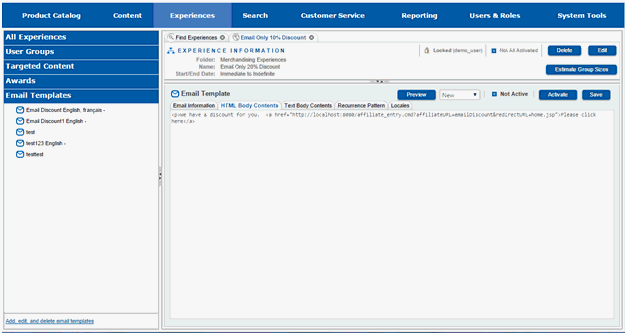
Modify the email body as necessary for your email.
Select the Text Body Contents tab.
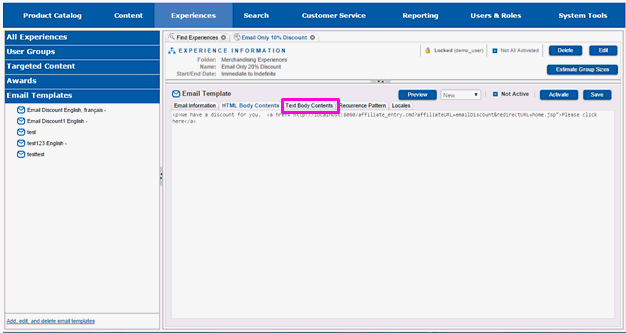
You will see the text version of the email body that is defined for the template.
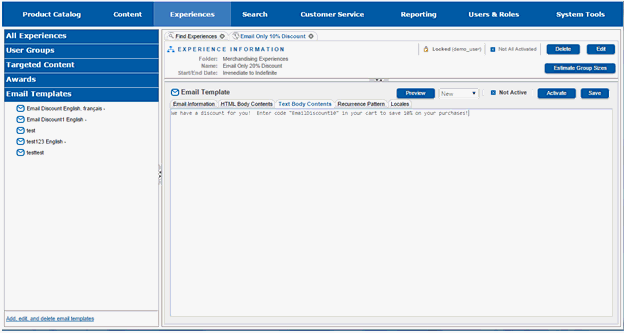
Modify the text version as necessary for your email. Remember that HTML tags are not allowed in the text version.
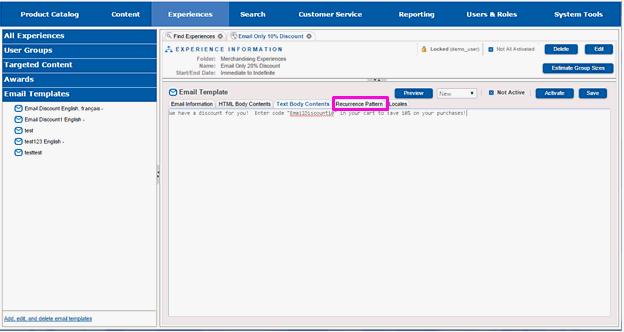
Select the Recurrence Pattern tab.
You will see information that determines how frequently the email should be sent.
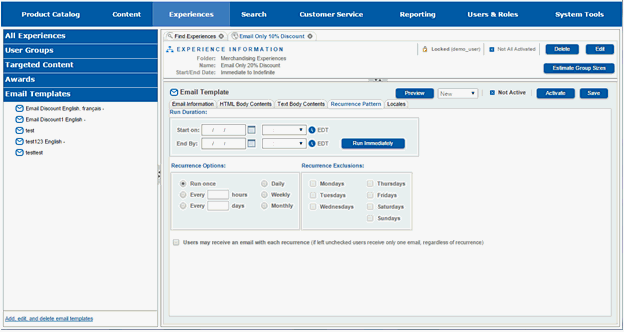
Emails should always have a start date assigned to them.
Enter the first date the email should be sent in the Start on field, or use the calendar icon to select a date.
If the email should not be sent after a particular date, enter an end date for sending it in the End By field or use the calendar icon to select an end date.
Enter information in the Recurrence Options area that defines how often the email may be sent.
Select any days that the email may not be sent in the Recurrence Exclusions area.
Check the Users may receive an email with each recurrence checkbox if you want users to be able to receive the email more than once.

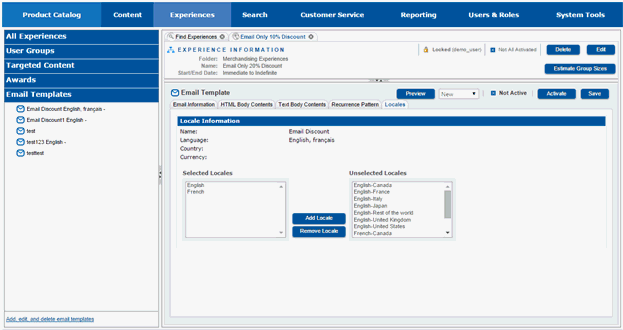
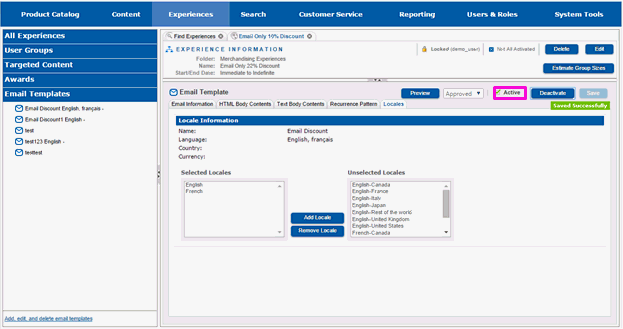
If your site is an international site, you will see a "Locales" tab where you can set the locales the email template is valid for.
Select the Locales tab.
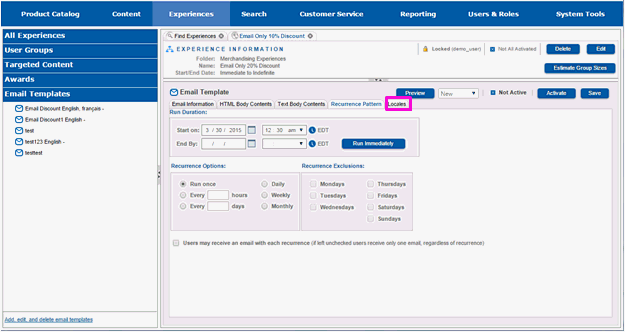
You will see information that defines which locales the email template is valid in.
Select a locale in the Selected Locales text box, then select Remove Locale to invalidate the email template in that locale..
Select a locale in the Unselected Locales text box, then select Add Locale to make the email template valid in that locale..
Select Save.
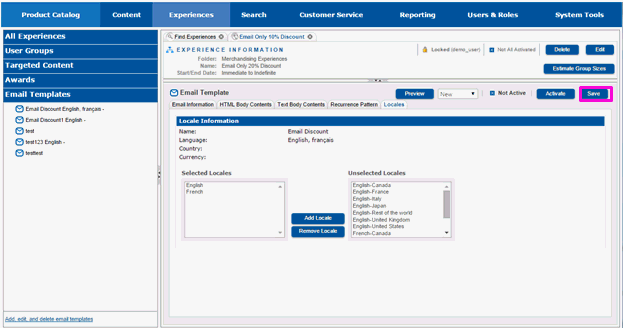
You will see a message that the save completed successfully.

Once your changes have been saved, you should preview the email bodies to make sure they are as you desire.
Select Preview.

A new window will appear with two different tabs, one for the HTML version of the email body and one for the text version of the email body.
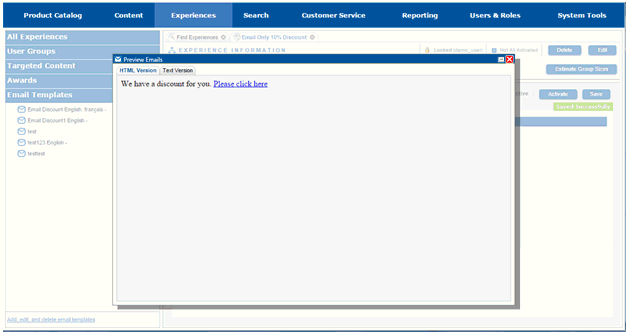
Preview the HTML version, making notes of any changes you want to make.
Select Text Version.
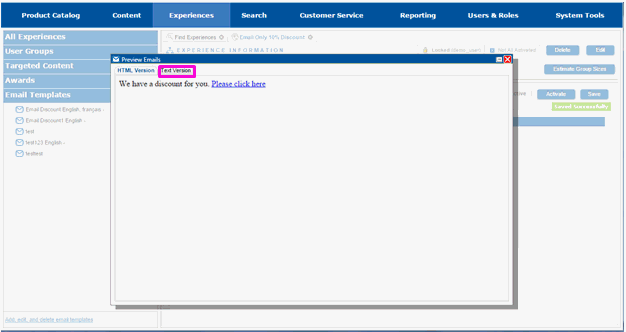
You will see the text version of the email body.
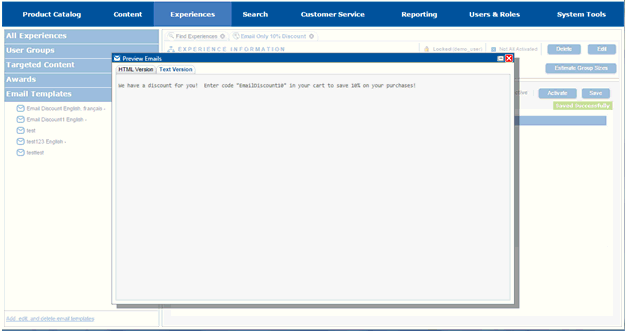
Preview the text version, making notes of any changes you want to make.
Select the close icon to dismiss the window.
Make any desired changes to the HTML version of the email body.
Make any desired changes to the text version of the email body.
Select Save to save your changes.
Select Preview to preview your changes.
Repeat these steps until you are satisfied with the bodies of the email.
Select Activate to activate the email.

You will see that the activation status of the email changes from Not Active to Active.
Slide the divider back down so that you can see the top portion of the right-hand work pane.
You will see that the outline for the email template box has turned green. This indicates that the email template was successfully modified and saved. The email is now considered active in the experience.

You will see three rectangles labeled Sent, Opened, and Clicked at the bottom of the email template box. These are connection points for additional components in the experience. If you want additional actions to occur once the email is sent, you connect components to the Sent connector. If you want additional actions to occur once the email is opened, you connect components to the Opened connector. If you want additional actions to occur once a link in the email has been clicked, you connect components to the Clicked connector. It is not necessary to have components connected to each connection.