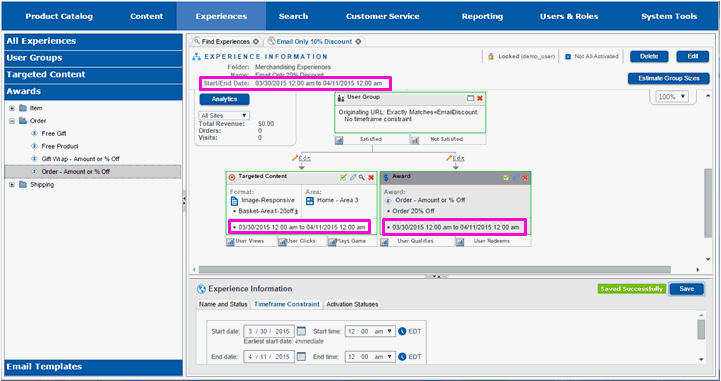
Experiences can have time frames associated with them that specify the date they can start and/or must end. If a start date is not given, then an experience starts immediately. If an end date is not given, then the experience runs indefinitely and must be canceled by hand if it is to end. Time frames are defined for the entire experience, so you edit the experience information.
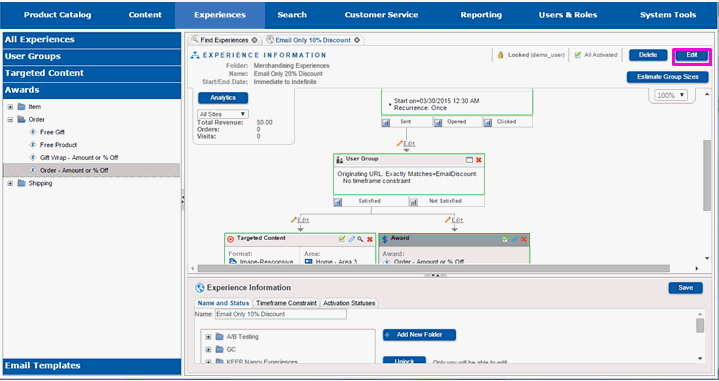
Select Edit.
You will see the bottom of the right-hand working pane fill in with information for the entire experience.
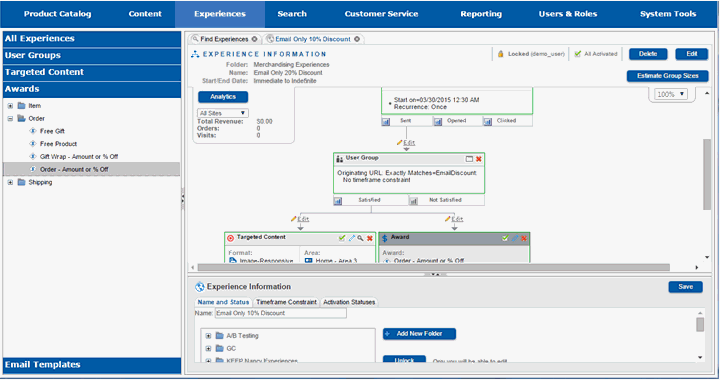
Slide the divider up so that you can see the entire bottom pane.
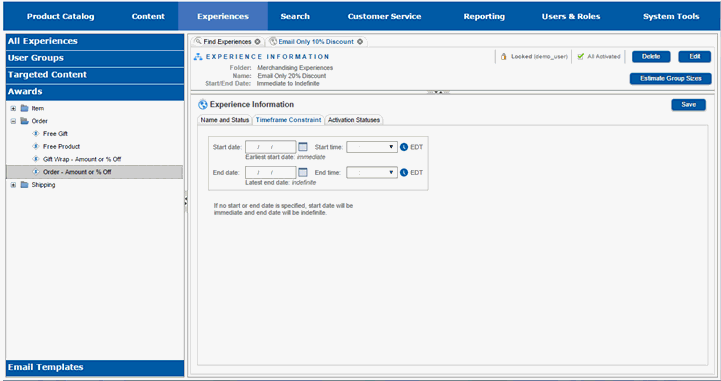
Select the Timeframe Constraint tab.

You will see the fields for entering a start and/or stop date for the experience.
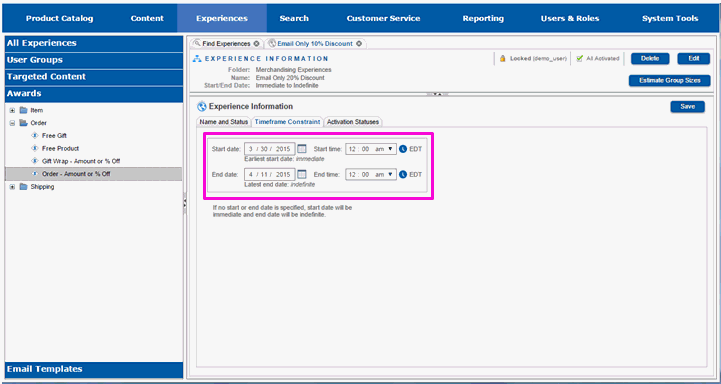
Enter a start date for the experience or use the calendar control to select one.
Enter a start time for the experience.
Enter an end date for the experience or use the calendar control to select one.
Enter an end time for the experience.
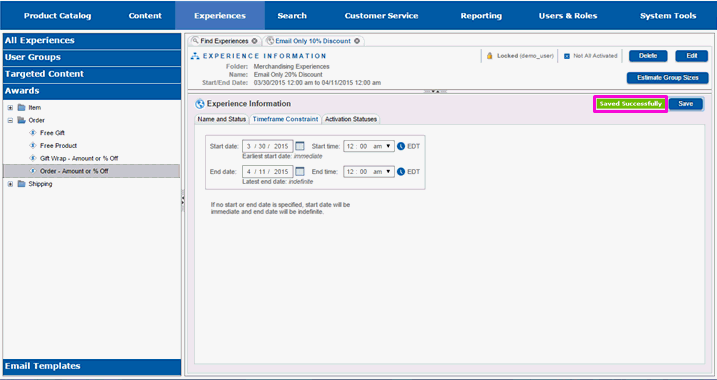
Select Save.

You will see a message indicating the save was successful.
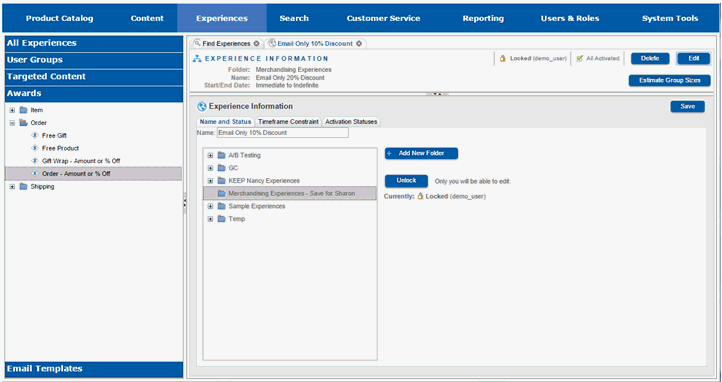
Slide the divider pane down so that you can see the components in the experience.
You will see that the timeframes for them have been set to match the timeframes for the experience. No component can run for a period that is greater than the experience's.