Install the Module
- Identify the prerequisite and subsequent installation tasks that you must perform in conjunction with this task.
- If the rack rear door is installed, open it.
- Remove the module from its antistatic packaging.
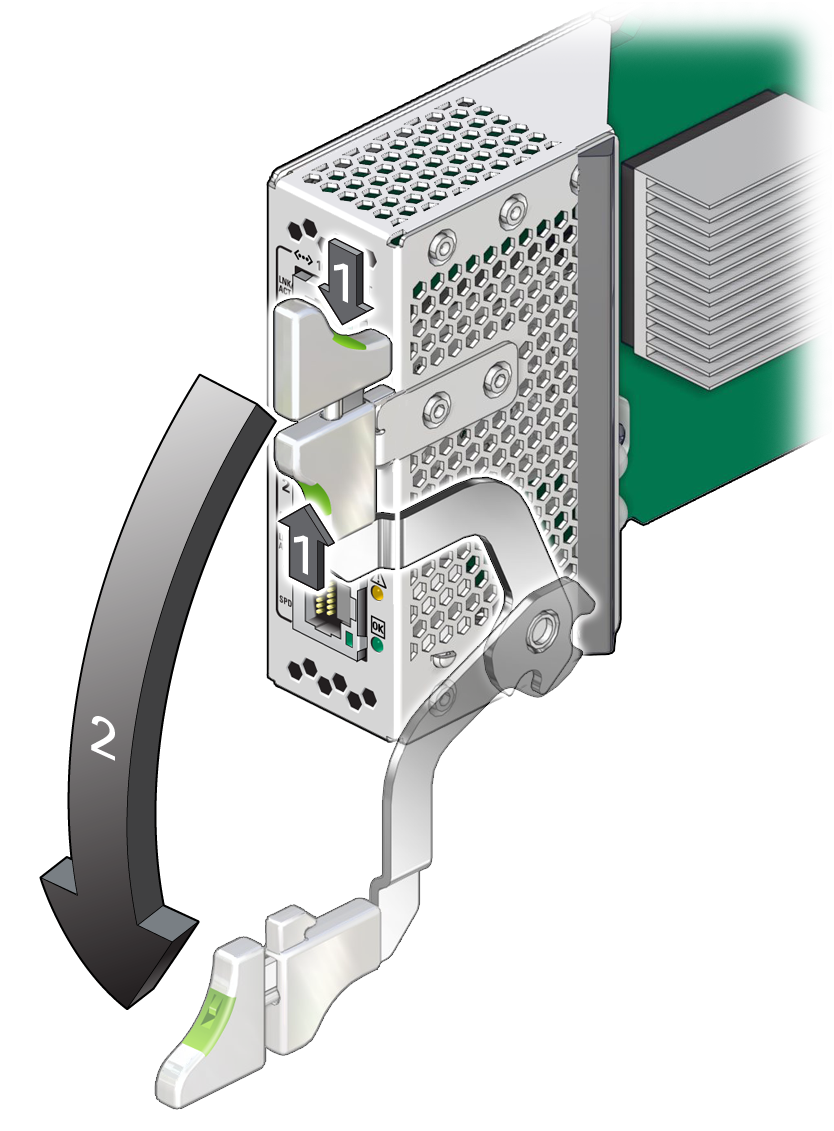
- Squeeze the top and bottom of the release lever, and move the release lever to the fully open
position.

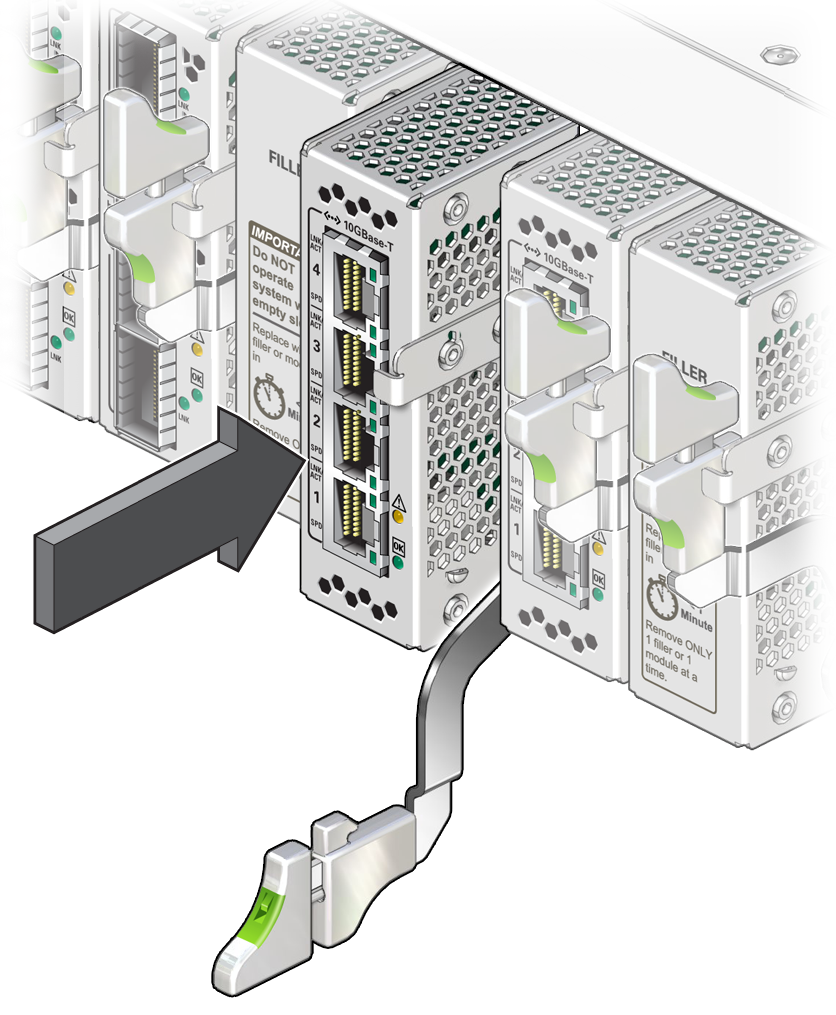
- Align the module to the slot
where you are installing it.
The LEDs and data cable receptacles face you, and the release lever is to the lower right.
-
Slide the module into the chassis.

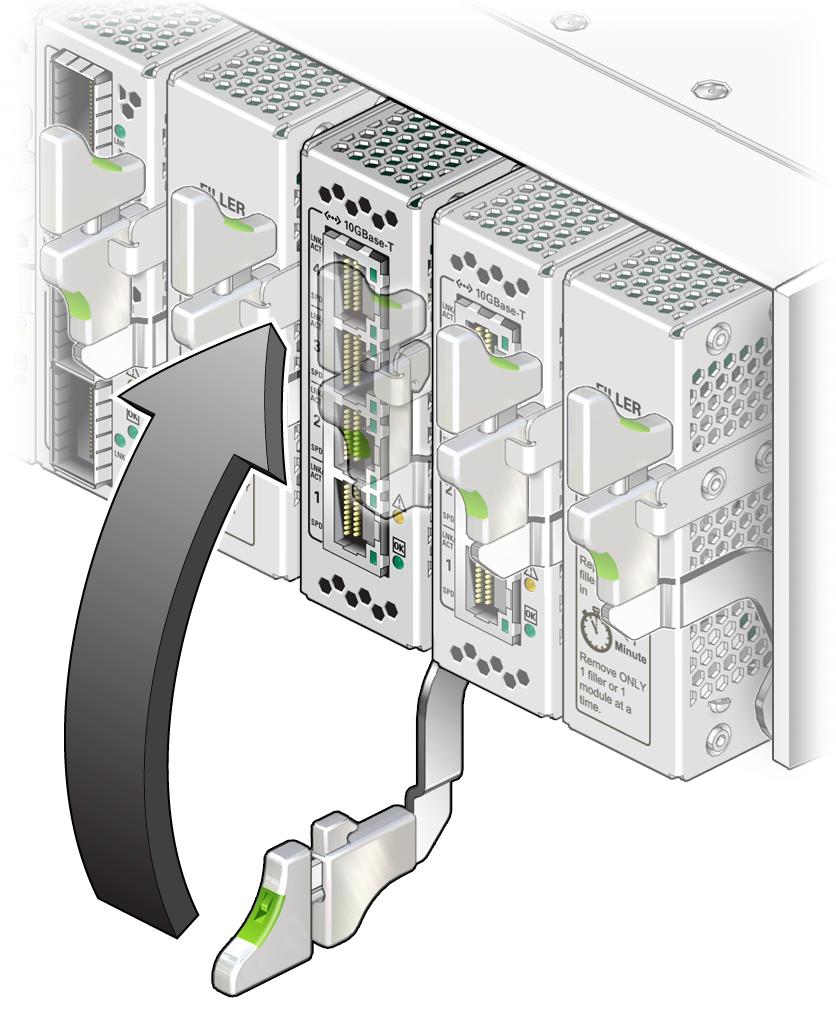
- When the module is almost completely seated in the slot and the release lever begins to rise,
press down slightly on the top of the module to ensure that the notch at the end
of the release lever catches onto the groove in the slot entrance in order to
secure the module.
Note - Ensure the handle appears in the fully locked position, such as in the illustration, when fully engaged.
- Wait approximately 60 seconds to verify that the green OK LED lights.
- Connect the data cables to the module.