| Oracle® Retail Predictive Application Server Cloud Edition User Guide Release 19.0 F24877-28 |
|

 Previous |
 Next |
| Oracle® Retail Predictive Application Server Cloud Edition User Guide Release 19.0 F24877-28 |
|
Previous |
Next |
You can use the Notifications module to determine the status of different RPASCE activities, such as Online Administration Tasks, segment build completions or failures, segment commit completions or failures, approvals and rejections, and so on.
In this way, you can continue working on other tasks while the submitted action occurs in background. You receive a Snackbar notification at the bottom of the screen or a Toast notification at the top right of the screen when the activity status has updated for a few actions. You can open a workspace by clicking Plan Created Notification in the Notification Panel or Notification Table in the Notification Tab.
|
Note: For shared workspaces, Commit notifications for completion or failure are sent to the workspace owner and all users with whom the workspace is shared. Regardless of which user commits the workspace, only the user who commits the workspace will receive the Snackbar and Toast notifications for that Commit. |
You only see notifications that are addressed to you. You can further reduce the number of notifications by:
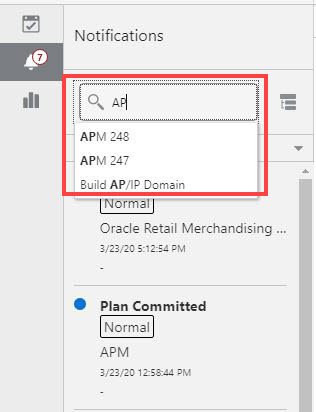
Search for a notification using the search box
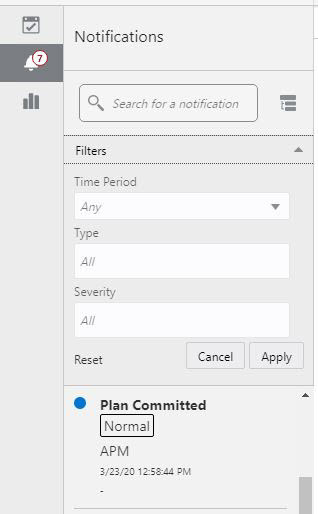
Filter the notifications by time period, type, or severity
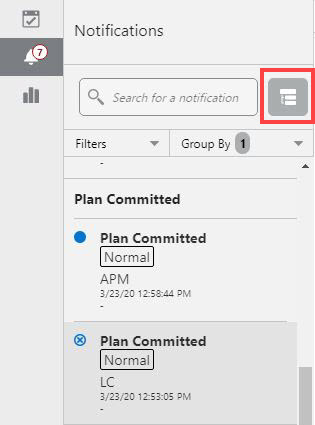
Group the notifications by type, department, or location
Table 6-1 Notification Severity
| Notification | Severity |
|---|---|
|
Administrative Task Completed |
Important |
|
Administrative Task Failed |
Critical |
|
Workspace Built |
Important |
|
Workspace Build Failed |
Critical |
|
Workspace Committed |
Normal |
|
Workspace Commit Failed |
Critical |
|
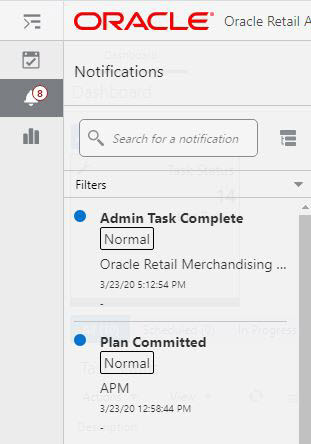
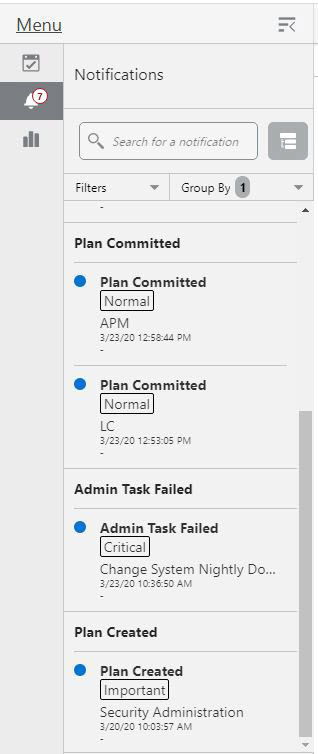
Note: For each notification in the Notifications panel, you see the Type, the Severity, a description, the creation date, and the name of the sender. As shown in Figure 6-1, the sender is identified as adm which indicates the notification was sent by the system administrator. |
To view the Notifications panel:
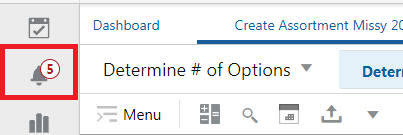
Click Notifications on the left sidebar menu.
You can click on either the notifications icon to open the notifications window. If launched this way, it partially covers the current workspace that you are viewing.
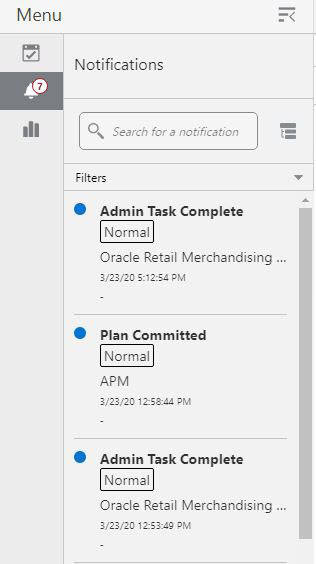
If you want to continue with the work in the current workspace and simultaneously launch the Notifications panel, click Menu, which launches the notifications list by moving the current workspace.
You can use the scroll bar to move up and down the list of notifications.
Click See All to see all notifications in list form. It opens a Notifications Tab.
To search for a specific notification, enter a search term in the Search box.
To filter notifications:
Once in the Notifications Module, click the Filters list to see the list of available filters. You can filter by Time Period, Type, and Severity. You can also click Reset to clear all filters, or click Apply to apply the filters.
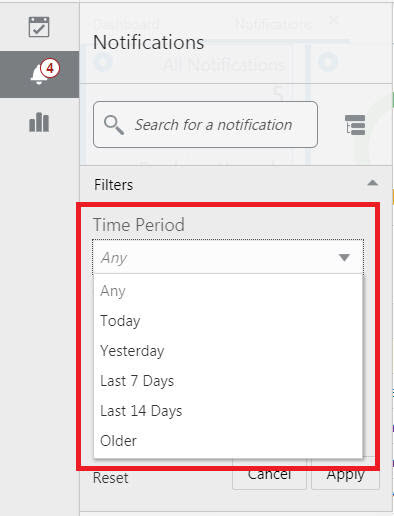
Provide values for Time Period, Type, and Severity in the Time Period filter.
Figure 6-8 Notifications Time Period Filter Options
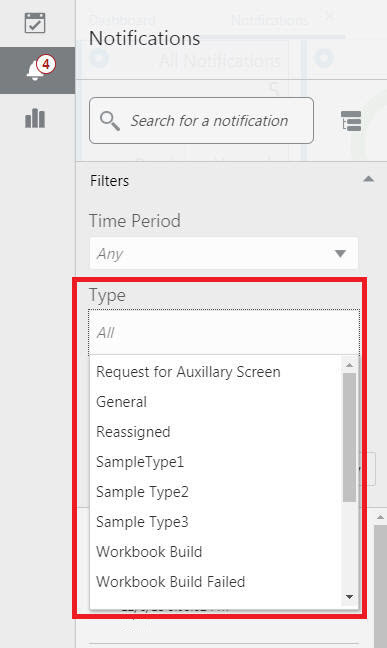
Select a Type filter option.
Figure 6-9 Notifications Type Filter Options
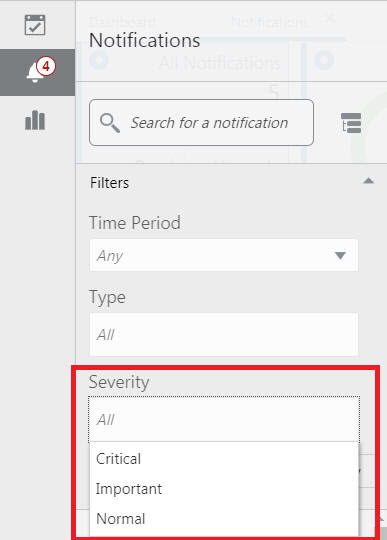
Select a Severity filter option.
Figure 6-10 Notifications Severity Filter Options
After you have selected the filter options, you can use Reset to clear the filter options, OK to apply the filter criteria and close the options selector, or Cancel to close the options selector without applying the filters.
To define group notifications, complete the following steps:
To open the Group By window, click Group View from the Notifications module.
You can view the Group By next to the filters.
Figure 6-12 Notifications View Group By Type
To group by type, use the options Department, Class, Subclass, Location, Supplier, Performance, Brand, Rollup Count. and Additional Information.
To group by then by, use the options No Selection, Department, Class, Subclass, Location, Supplier, Performance, Brand, Rollup Count, and Additional Information.
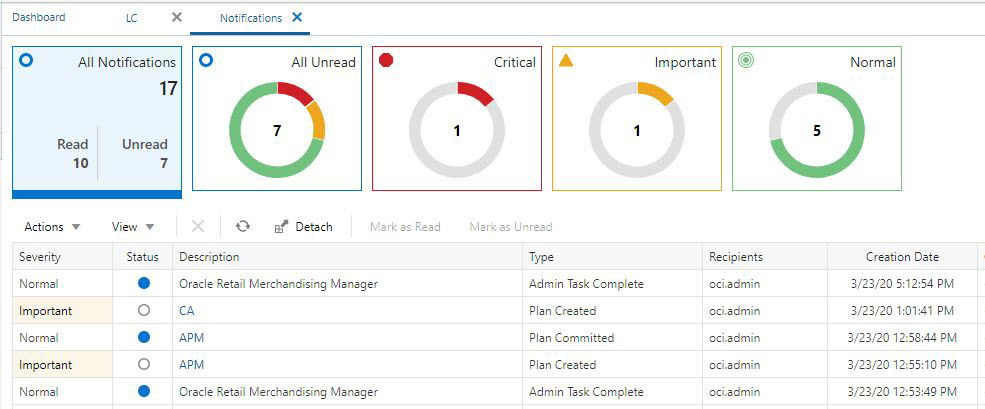
When you click See All in the Notifications Drawer, it opens a Notifications tab. The Notifications tab lists all notifications, all unread notifications, critical, important, and normal notifications. You can select the desired tile to view the indicated notifications.
The actions that can be performed on the list of Notifications are Mark a notification as Read, Mark a Notification as Unread, Delete a Notification, and Refresh the Notifications list. You can perform these actions either by clicking the Actions menu and then the desired event or by directly clicking the shortcut buttons available.
Figure 6-13 Notifications Tab List of Actions
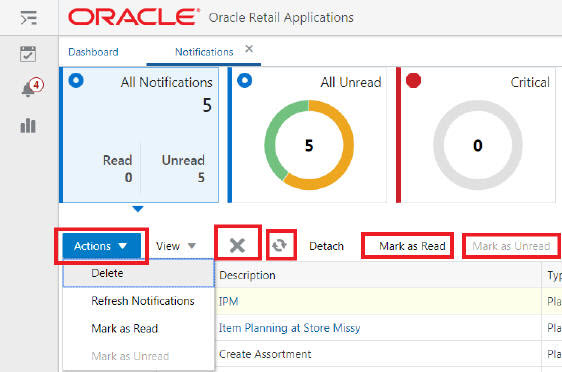
You can also Detach the Notifications list table for more visibility. Click Detach or click View Menu -> Detach.
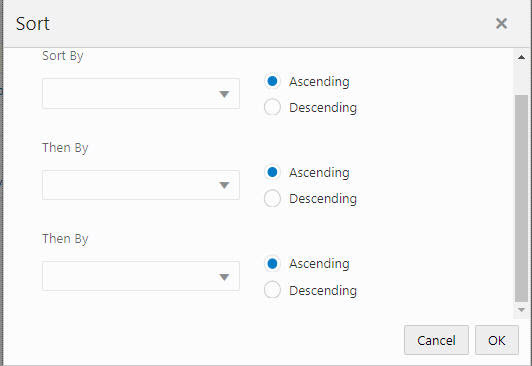
Sort the notifications list by clicking View Menu -> Sort. It opens a Sort window where you can enter Sort By, Then By and Then By to sort your notifications list. Sort can be performed in Ascending or Descending on each option.
When an activity is started, changed, or completed, you see a Snackbar notification at the bottom or a Toast notification at the top right of the screen that informs you of the activity or status. The notification also provides you with links for actions such as Edit, Open, Dismiss, and so on, based on the type of notification. Table 6-2 lists all the Snackbar and Toast notifications.
Table 6-2 Snackbar and Toast Notifications
| Notification | Description |
|---|---|
|
Plan creation initiated |
[Plan] is being prepared. You will receive a notification when this is complete. |
|
Plan opened |
[Plan] opened. |
|
Plan renamed |
[Plan] has been renamed to [Plan] |
|
Plan deleted |
[Plan] has been deleted |
|
Plan build successful |
[Plan] is ready. |
|
Plan build failed |
[Plan] build failed. |
|
Calculate successful |
Calculation complete for [Plan] |
|
Commit successful |
Commit complete for [Plan]. |
|
Nothing to calculate |
Nothing to Calculate in [Plan]. |
|
Refresh successful |
Refresh Complete for [Plan]. |
|
Seed successful |
[Plan] seeded successfully. |
|
Seed failed |
[Plan] was not seeded. Contact your administrator to verify the seed source is valid. |
|
Admin task submitted |
[Task] has been submitted. You will receive a notification when this is complete. |
|
Plan tab/window closed |
[Plan] closed. |
|
Internet Slow Connection |
Your internet connection is experiencing increased latency. This may make this application feel less responsive. |
|
Connection Restored |
Your internet connection latency is back to a normal level. |