| Oracle® Retail Predictive Application Server Cloud Edition User Guide Release 19.0 F24877-28 |
|

 Previous |
 Next |
| Oracle® Retail Predictive Application Server Cloud Edition User Guide Release 19.0 F24877-28 |
|
Previous |
Next |
This chapter describes workspace filters.
Workspace filters are shown in Figure 12-1.
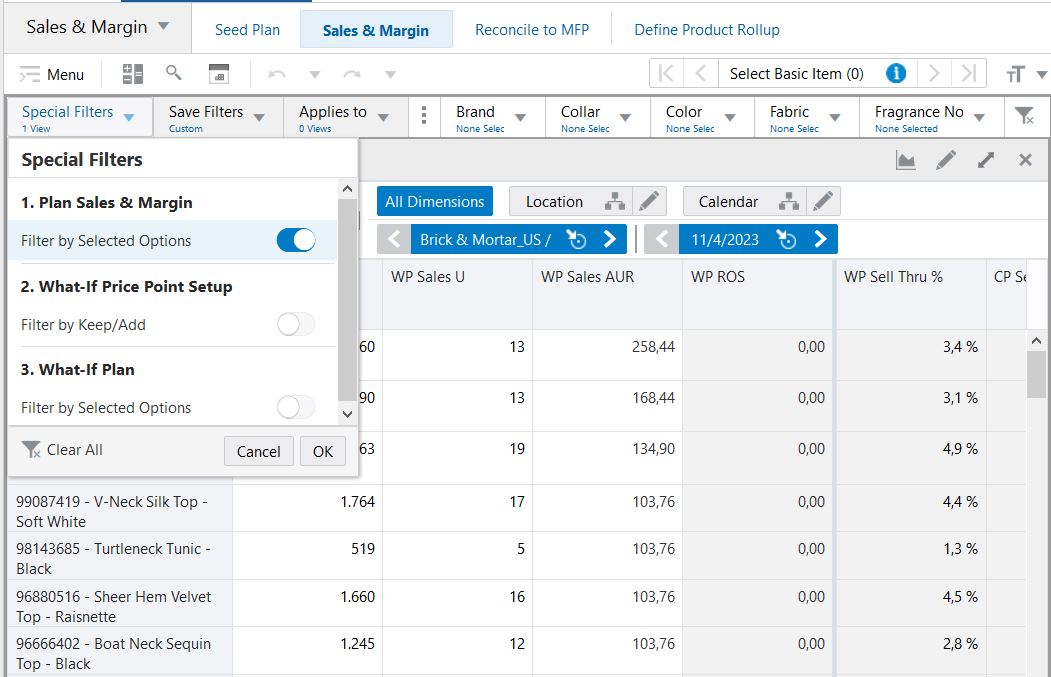
Special Filters are preconfigured rules that filter data so that only positions that fulfill the requirements of the query are displayed in the view. Special filters can be used to validate the assortment by product and location attributes or by style/color options such as new, carryover, or non-go forward.
Special filters are configured in RPASCE Configuration Tools by a systems implementer. They are defined to have a workspace view name, a dimension level to be filtered, and the condition and measures that are filtered on. For example, if a systems implementer has configured a special filter to filter for stores with sales greater than $3500, a planner can turn on that special filter to display only those stores.
Special filters are used to affect the visible positions in the workspace view. These filters contain special rules, so planners can focus dynamically on the information that is important to them. Hovering over a special filter displays information about the filter criteria. Special Filters are referred to as Position Queries in Oracle Retail Predictive Application Server Cloud Edition Configuration Tools User Guide.
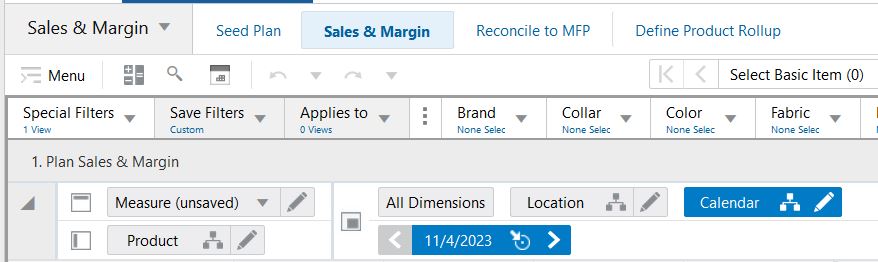
The dimension that the filter is based on must be in the page edge (Z-axis), also known as the driving dimension. The dimensions in the X-axis and Y-axis are the filter dimensions. The data in the filter dimensions is based on the current position of the driving dimension.
When a special filter is applied to a view, the positions in the filter dimensions (X-axis and Y-axis) that fulfill the requirements of the filter for the particular position of the driving dimension (Z axis) are the only ones shown in the view. All other positions are hidden automatically.
When more than one driving dimension is present, all of the driving dimensions must be in the Z-axis for the position filter to execute. If one or more driving dimensions are taken out of the Z-axis and placed in the X-axis or Y-axis, the associated position filters are not executed. A given view can have more than one position filter, driven by one or more dimensions in the Z-axis and driving different dimensions in the X-axis and Y-axis.
You can select the Special Filters Definition that must apply. The Special Filters Definition is also known as the Position Query Definition (PQD).
You can select the special filter from the Special Filter drop-down list. The special filter drop-down list has the filters listed per views. To apply special filters, you can slide the toggle to on or off.
When more than one driving dimension is present, all of the driving dimensions have to be in the Z-axis for the special filter to execute. If one or more driving dimensions are removed from the Z-axis and placed in the X-axis or Y axis, the associated special filters are not executed. A given view can have more than one special filter, driven by one or more dimensions in the Z-axis and driving different dimensions in the X-axis and Y-axis.
Automatically re-evaluate data after a calculate, refresh, page edge scroll changes, or slice move and view swaps.
These special filters can be applied to a view similarly to traditional position queries; however, they do not require a page-axis dimension assignment and do not vary if one exists. See the Oracle Retail Predictive Application Server Cloud Edition Configuration Tools User Guide for information about creating position queries without a driving dimension.
Once the special filter is applied, the positions that do not match the criteria are hidden. You can verify positions using Edit View to view the positions in the hidden area. Any positions that were manually hidden previously will be unhidden if they match the special filter.
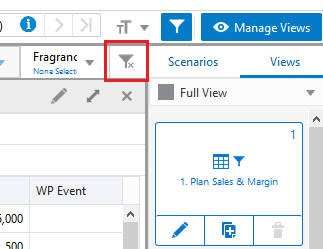
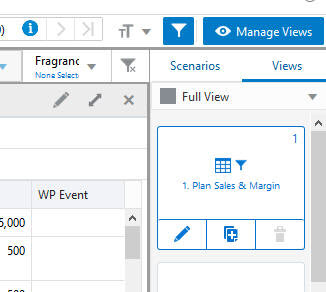
When the special filter is turned on, the Special Filter icon on the Quick Access Tool bar appears highlighted and is applied to the view in the view management drawer.
Special filters operate by filtering the positions of the dimensions on the row and the column axes based upon the selected position of one or more dimension on the page axis. As the selected position on the page axis changes, the set of visible row and column positions will update automatically.
Not all dimensions on the page axis necessarily affect the row and column position filtering. Those dimensions that do affect the filter are called driving dimensions.
|
Note: Special filters are auto-applied when the workbook is built. |
Figure 12-4 Verify Positions with Edit View
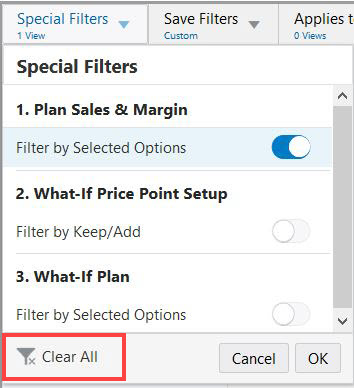
You can clear all the special filters applied by clicking on the special filters LOV, clicking Clear Filters, and clicking OK.
If you scroll to a new slice where no position meets the requirements of the special filter, all positions in the view are displayed and a warning is displayed with the message, No matching positions in some or all of the views. All positions will be shown for the views.
Planners may need to apply a manual show or hide over special filter result for analyzing the data. In such case, an out of sync alert is highlighted in the Special Filter drop-down list. This helps you to highlight that there has been manual show or hide applied over the special filter result.
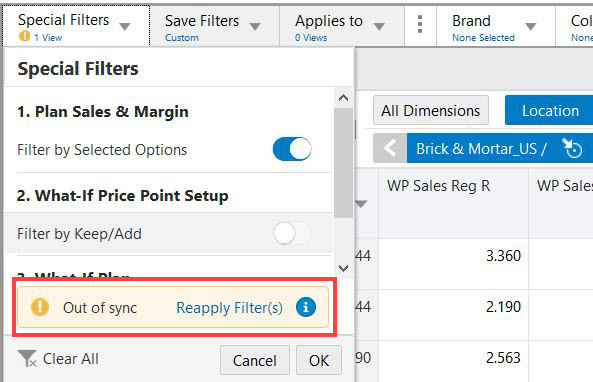
You can see the out of sync alert icon i highlighted on the Special Filter header. Click the Special Filter drop-down to see an Out of Sync alert at the bottom of the list with a Re-apply Filters link. To revert back to the special filter result, click the re-apply filter link which re-evaluates the filter and hides the manual show or hide updates.
With the manual show or hide applied over the special filter result and you move the page edge scroll to another page, the special filter result will not re-evaluate. In such a case, an out of sync alert is highlighted in the Special Filter drop-down list. You can choose to work with the selection or click the Re-apply Filter link to re-apply special filter.
Figure 12-7 Out of Sync & Re-apply Filters Link
Some applications support business practices that are heavily attribute driven. For these applications, the user may want to examine products organized by their attributes instead of products organized by their regular hierarchical structure. Attribute filters can be used to filter by any number of attributes on the fly in order to quickly and efficiently target specific information. Attribute filters are helpful in cases when a user wants to retain the traditional product roll-up scheme but simply filter the set of visible positions to those that meet certain attribute-based requirements.
The filtering of positions based on attributes can be done through the Edit View show/hide position functionality but the attribute filters provide an easy and a convenient way and are simple to initiate and clear.
Attribute filters are present, along with the special filters, in the workspace Filters bar and can be used to apply, modify, and remove position filters based upon the attribute values of the positions.
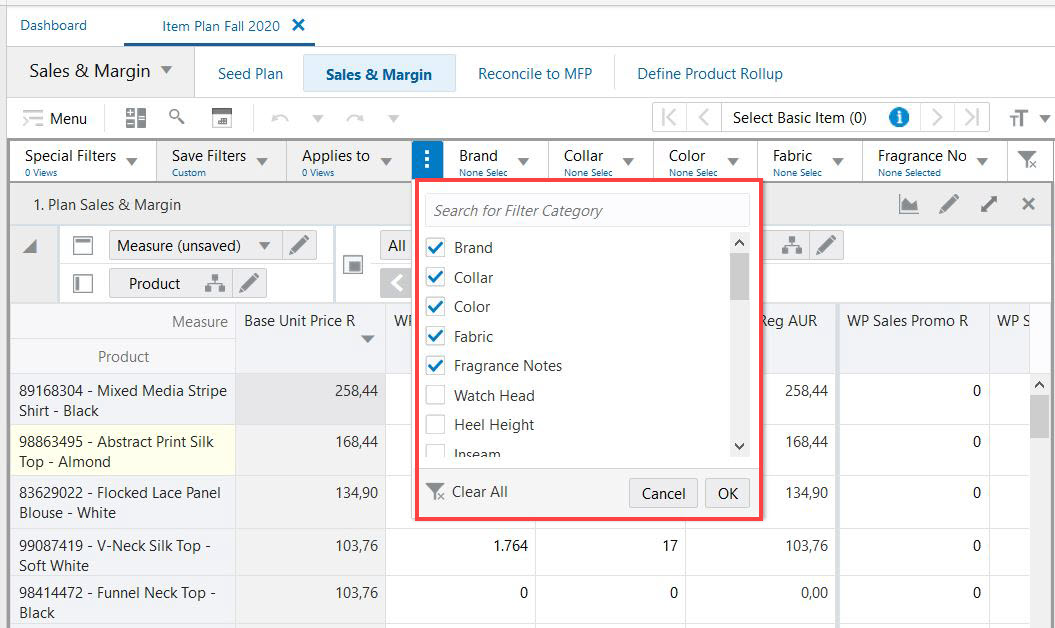
You can select or hide the attribute filters from the Filter Category selection menu. The number of categories selected as filters cannot exceed five. If this value is exceeded, OK is unavailable. The first five attribute filters are displayed on the filter bar by default.
You can also search for the Filter Category. The Clear All button can be used to clear the selections. Click OK to see the selected filters on the bar. Special Filters cannot be hidden, as they might contain always on filters.
|
Note: Hiding a filter category will also remove its applied filters. It is assumed that the attributes are unique across levels, that is, the same attribute cannot exist in multiple levels. |
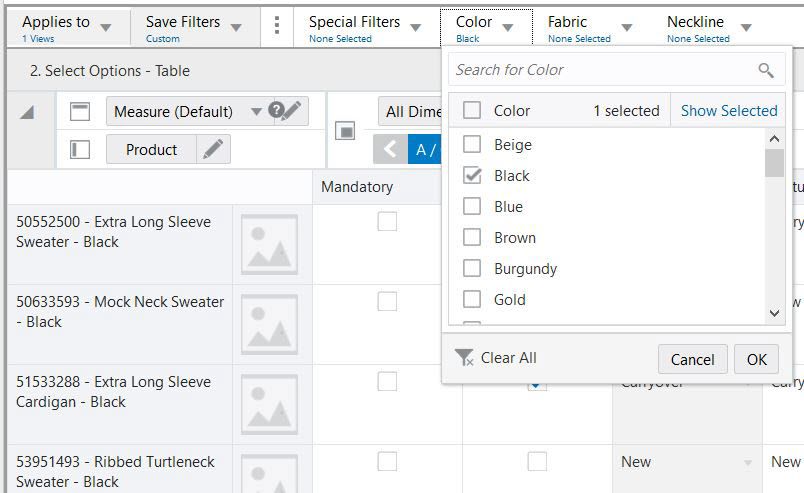
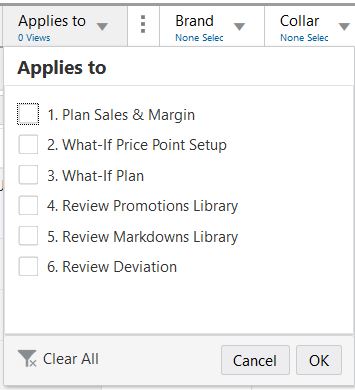
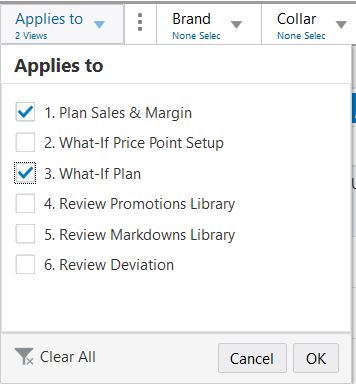
You can select the views that the selected attribute filter must apply to: either one view, a number of views, or all views under the tab. Click OK to run the attribute filter. Once the attribute filter is applied, the positions that do not match the criteria are hidden. You can verify the positions using Edit View to view the positions in the hidden area. Any positions that were manually hidden previously will be unhidden if they match the attribute filter.
When the attribute filter is turned on, a filter icon is applied to the view in the view management drawer. Attribute filters operate by filtering the positions of the dimensions on the row or column axis, based upon the selected attribute of one or more dimensions.
You can clear all the attribute filters applied to a view when you click the Applies to LOV and then click Clear All, and finally click OK.
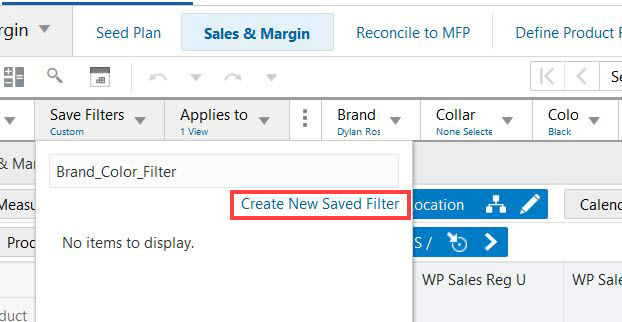
Once you have selected the attribute filters and their values, you can save the filter selections for later use. Saved Filter represents a combination of attribute filters only; it does not contain special filters or views.
To create a new saved filter, type in the filter name and click Create New Saved Filter to add Brand_Color_Filter to the list of saved filters. To select an existing saved filter, select it from the list of saved filters. To find the saved filter, enter the name of the filter in the Save Filters text box.
To delete a saved filter located in Save Filters, click the X icon next to the name of the filter.