| Oracle® Retail Assortment Planning User Guide for the RPAS Fusion Client Release 14.1 E55312-01 |
|

 Previous |
 Next |
| Oracle® Retail Assortment Planning User Guide for the RPAS Fusion Client Release 14.1 E55312-01 |
|
Previous |
Next |
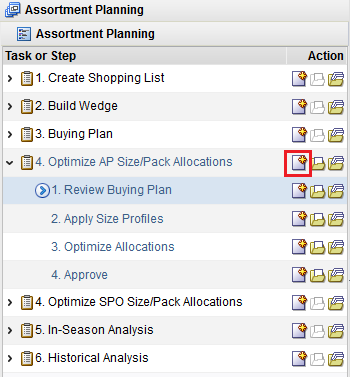
Size/pack allocation is the seventh step in the AP business process. There are two different approaches to managing size and prepack Profiles in AP and they follow very similar processes. The only difference is that in the Optimize AP version, the Buyer is selecting the size and prepack profiles to be used while in the Optimize SPO version, the size and prepack selections were made using an external solution such as Oracle Retail Size Profile Optimization (SPO) and loaded into AP. Both approaches finish with allocating the Buy Plan down to the size or prepack and store/site/application (Point of Commerce) level.
This process step includes the following task:
The choice of Optimize AP or Optimize SPO depends on whether the Buyer must select the size and prepack profiles or use the profiles loaded from an external source.
Table 8-1 Business Role in Optimization Size/Pack Allocations
|
|
The Buyer Analyst makes size and pack decisions. |
|
|
The Allocator allocates the Buy Plan down to the size/pack and store/site/app (Point of Commerce) level. |
In the Optimize AP version of this task, the Buyer selects size and prepack profiles for the style-colors added to the assortment. Then, the Allocator (or the Buyer, if desired) runs the Allocation algorithm to spread the Receipt Plan from the Buying Plan down to the size and prepack at the store/site/application (Point of Commerce) level from the style-color and cluster level.
These allocations can then be exported and shared with an allocation execution solution.
This task has the following steps:
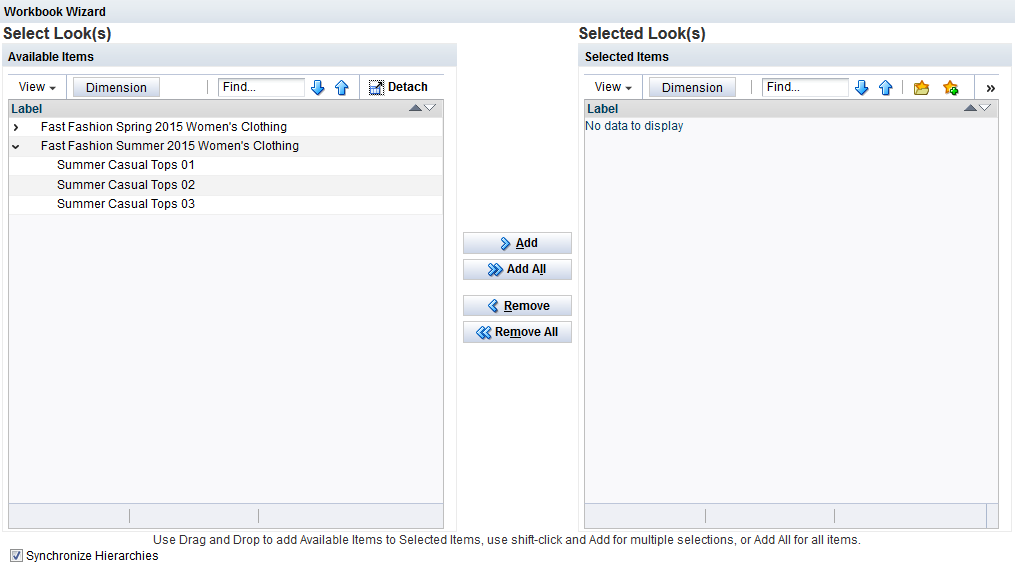
To create the Optimize AP Size & Pack Allocations workbook:
Select the New Workbook icon in the Optimize AP Size & Pack Allocations task.
The workbook wizard opens.
In the Select Looks page, select the looks to be loaded into the workbook. Click Finish.
The workbook is created.
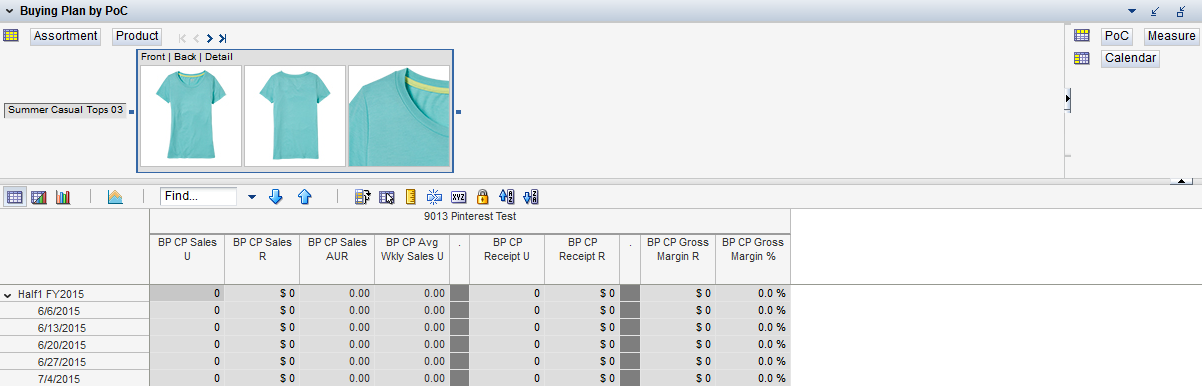
There is one view in this step.
In this view, the Buyer can review the Buying Plan that was created for this Look in the Buying Plan Task. It is included here to refresh the Buyer's memory and ensure the allocations created in this workbook align with the Buying Plan. The allocation algorithm uses the Buying Plan.
In this step, the Buyer can create allocations of the initial receipt down to the style-color-size level for each store, site, and application.
This step has one custom menu option.
In this custom menu, the CP Receipt U measure from the Buying Plan is allocated by style-color down to the store, site, and application level (PoC) by size based on the size profile assigned to each style-color and store, site, or application (PoC).
This step has the following tabs and views:
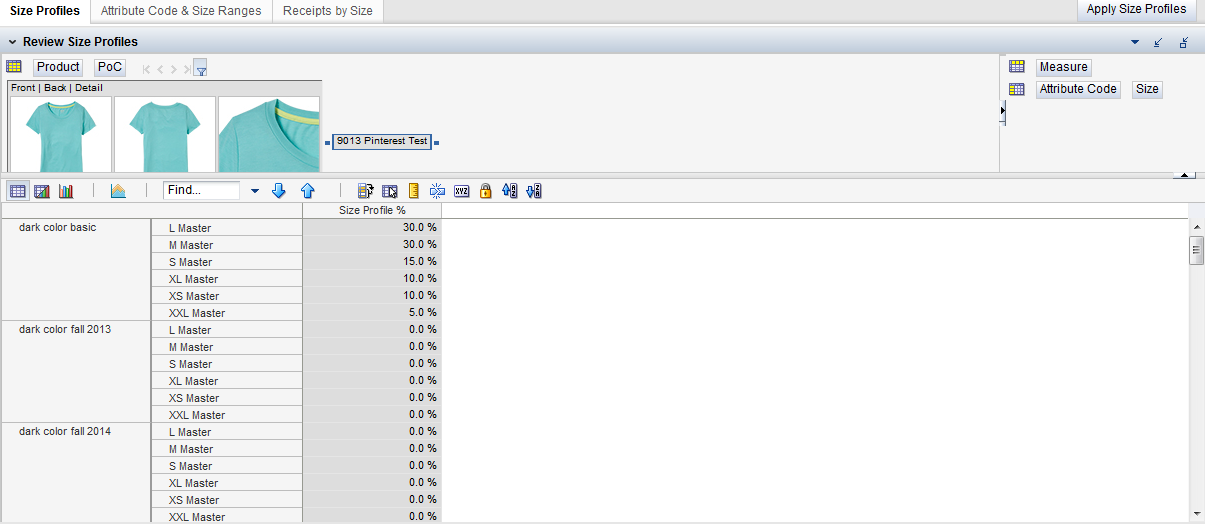
There is one view on this tab.
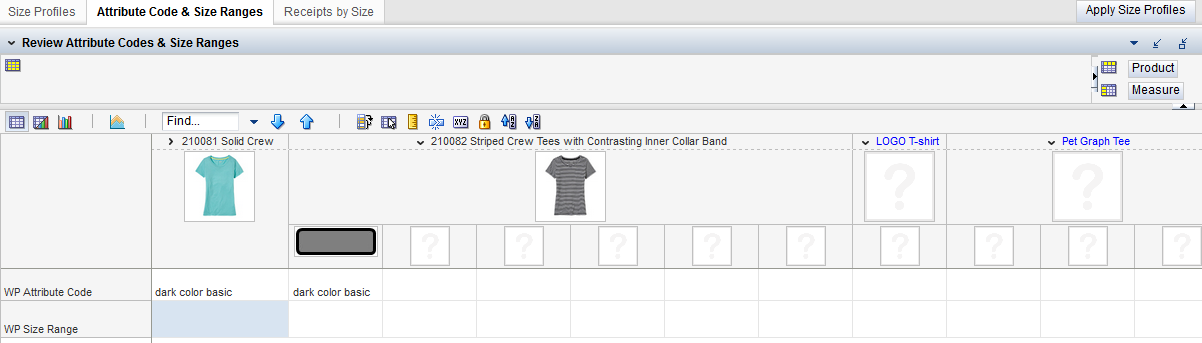
In this view, the Buyer is able to review the pool of size profiles that can be assigned to style-colors in this Look. The profiles include the typical sales penetration by size, down to the store level, if they were created or loaded that level. The profiles were either loaded from an external solution or were created in the Define Size Profiles and Pack Task.
There is one view on this tab.
In this view, the Buyer can select the size profile to be used for each style-color. If the Buyer is using a solution such as SPO to optimize Size Profile assignment, this step will be completed in that solution and the results are just reviewed here.
There is one view on this tab.
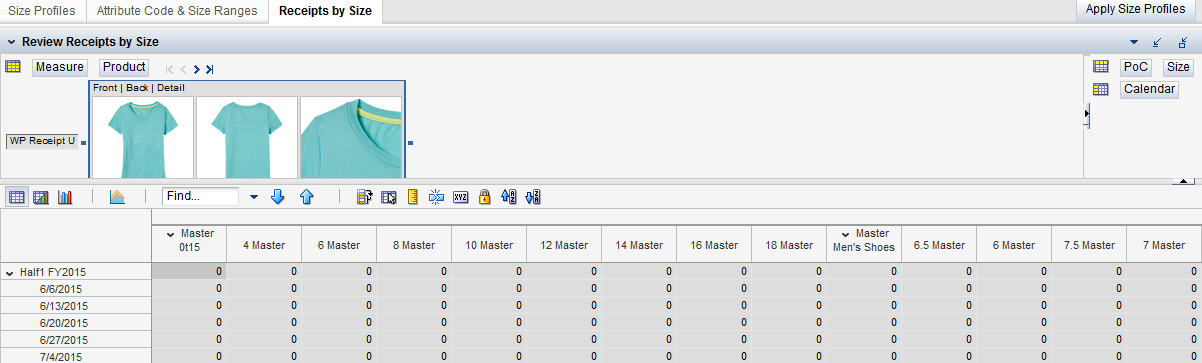
After running the Apply Size Profiles custom menu, the Buyer is able to review the allocations by style-color-size down to the store, site, and application level. The Buyer can choose to change the Size Profile assignment and rerun the custom menu, or choose to manually adjust the results.
In this step, the Buyer can create allocations of the initial round of receipts by prepack down to the store, site, or application level.
This step has the following tabs and views:
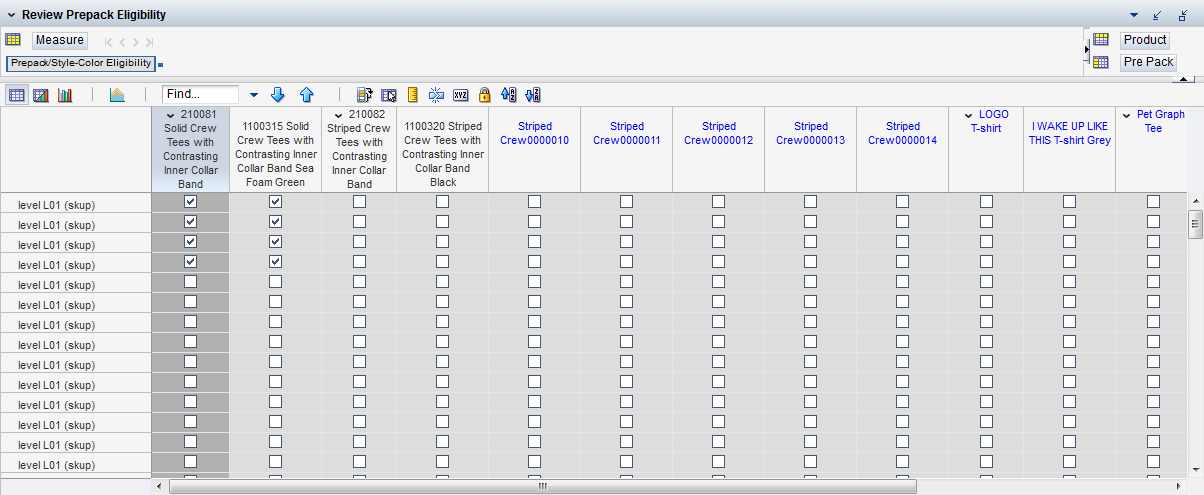
On this tab, the merchant is able to view the prepacks (and their composition) that can be used in the assortment. They were created in an external solution and loaded into AP or they were created in the Administrative section.
In this view, the merchant is able to view/edit the prepacks that are active down to the style-color. They may have been assigned and loaded from an external solution.
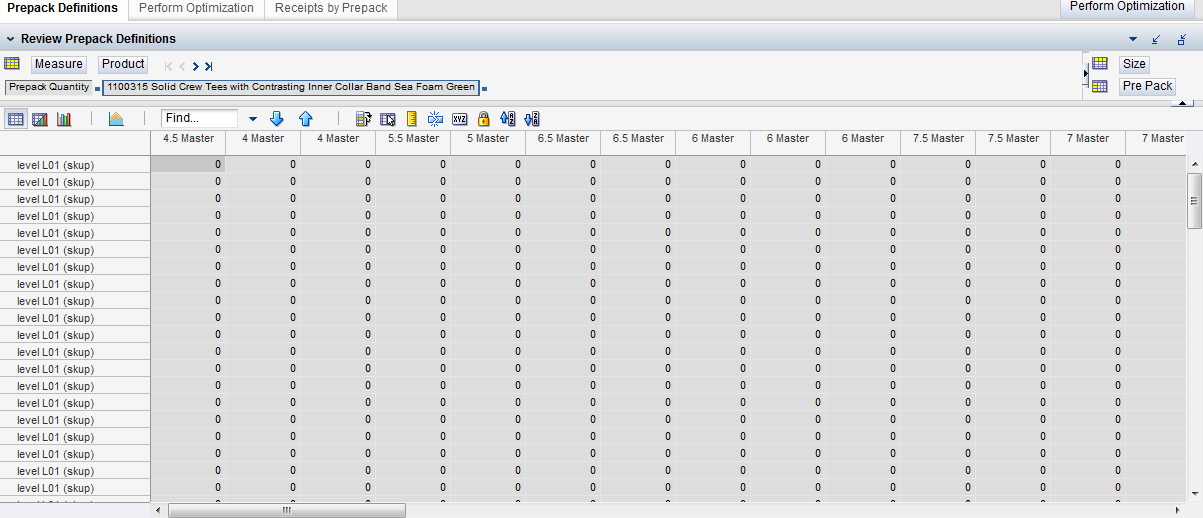
In this view, you can view/edit the number of each size that are available in a prepack. For example, prepack xyz may contain 12 total units:
2 units of size Small
4 units of size Medium
4 units of size Large
2 units of size X-Large
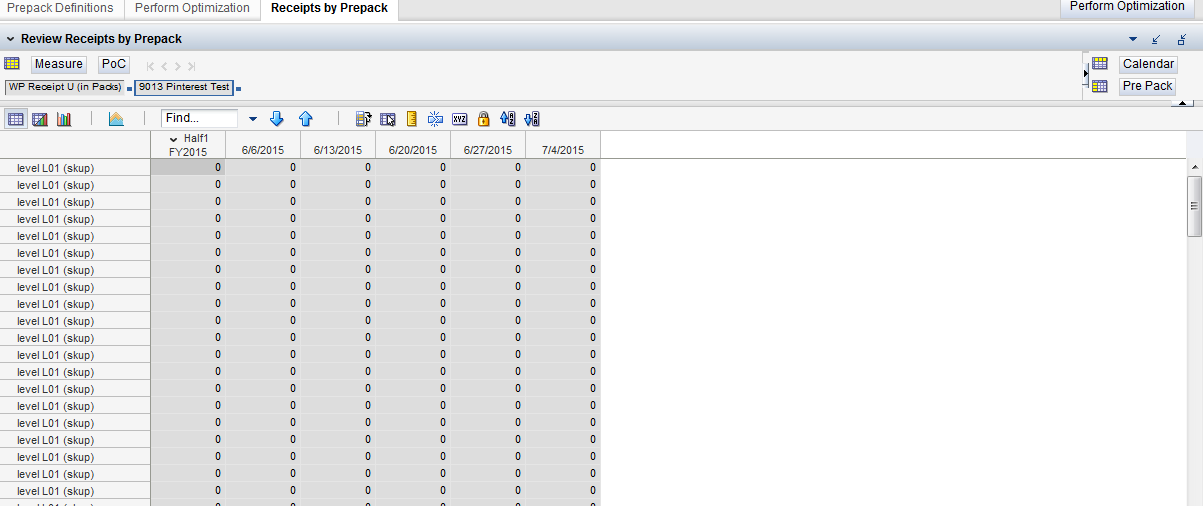
On this tab, the Buyer is able to review the results of the optimization of the initial round of receipts down to the prepack and store, site, and application level.
In this view, you review the total allocated receipt units by prepack to each PoC.
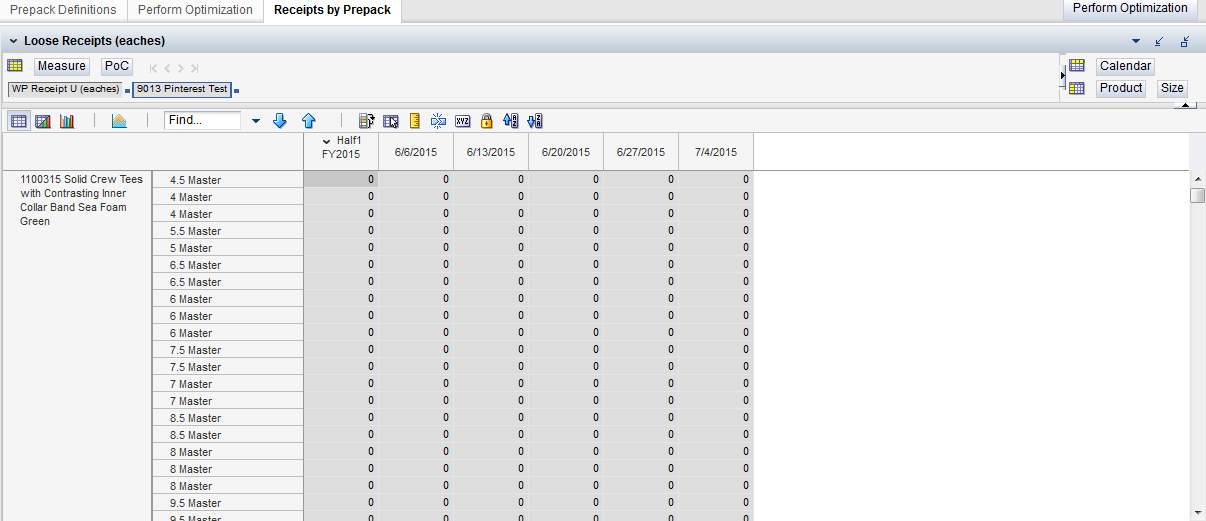
In this view, the user is able to review the remaining receipt units that were not allocated as prepacks. This occurs when the prepacks contain a quantity into which the buy quantity in units cannot be divided without a remainder.
For example, if the prepack contains 12 units and the receipt in units is 148, the allocation algorithm is able to allocate 12 prepacks of 12 units and 4 units (as 12 multiplied by 12 equals 144) would be considered loose receipt units that would be visible in this view.
In this step, the Buyer approves the settings and allocations, copying them from Working Plan versions to Current Plan versions. The Current Plan versions should be made available for reporting and execution of the allocations.