| Oracle® Retail Merchandising Cloud Services Administration Guide Release 16.0.027 E96476-02 |
|

 Previous |
 Next |
| Oracle® Retail Merchandising Cloud Services Administration Guide Release 16.0.027 E96476-02 |
|
Previous |
Next |
If Data Level Security is enabled in Merchandising, then for the users to have access to the data, the below must be setup through the Data Upload Utility available in Merchandising. This is used both in the core Merchandising solution, as well as Allocation, Invoice Match, Pricing, and Sales Audit.
Security Groups
Security User and Security User Role
Security User and Security Group mapping information
Merchandise Hierarchy LOV filtering access information
Purchase Order Approval Limits
Perform the following procedure to define a Security Group in the system.
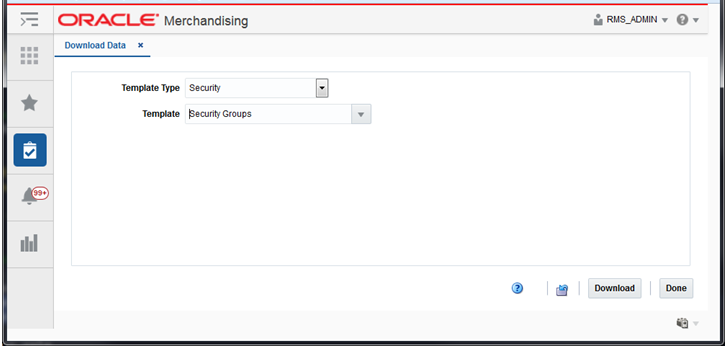
Navigate to Foundation Data > Data Loading > Download.
In the Download Data screen, select Template Type as 'Security' and Template as 'Security Groups'.
Click the Download button.
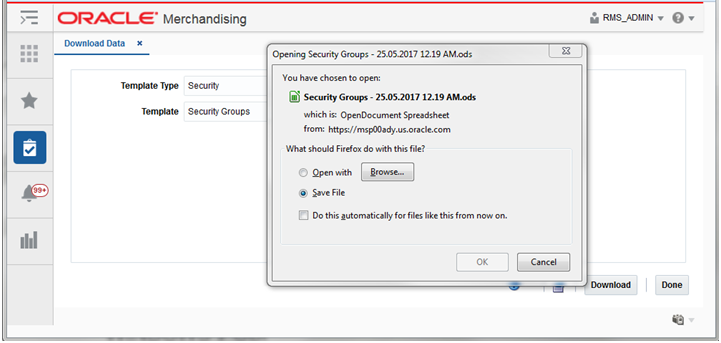
Save File to a local directory location when prompted.
Click the Done button.
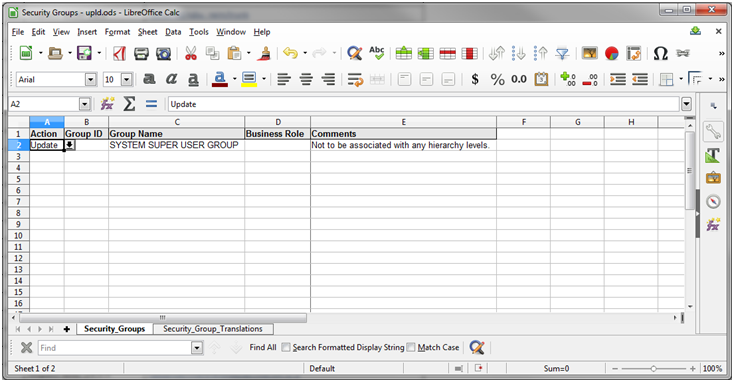
Open the downloaded file.
Save As < file name>.
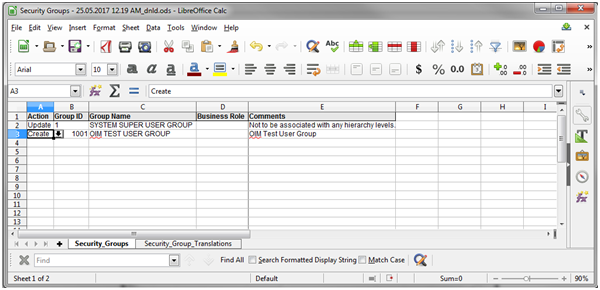
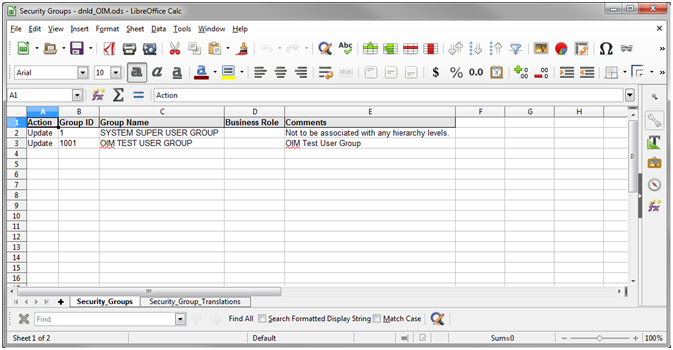
In the Security_Groups tab, enter/select the following:
Action: 'Create'
Group ID: <Group ID>
Group Name: <Group Name>
Business Role: <role> (optional)
Comments: <comments> (optional)
In the Security_Groups_Translations tab, enter the translated Security Group descriptions (optional).
Save and Close the file.
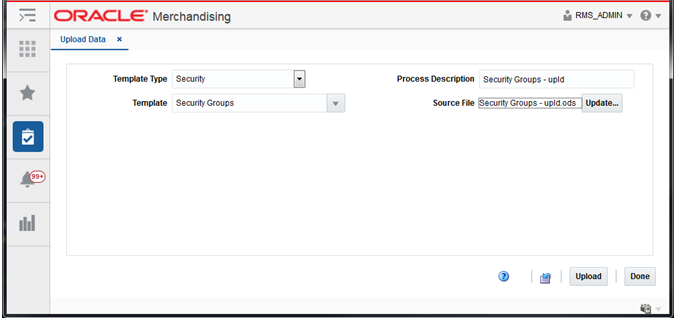
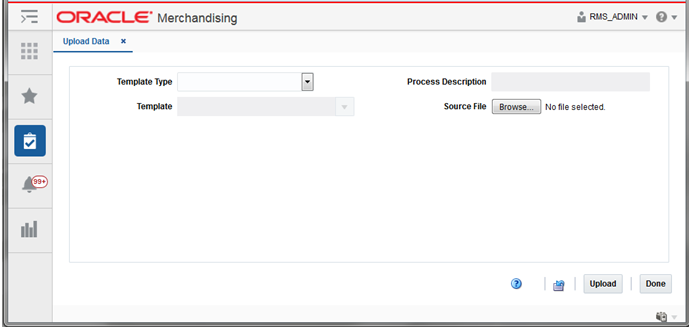
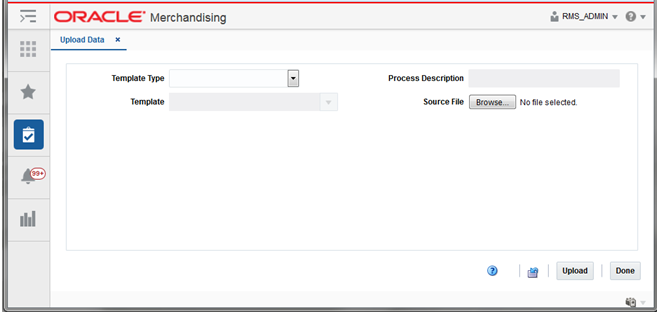
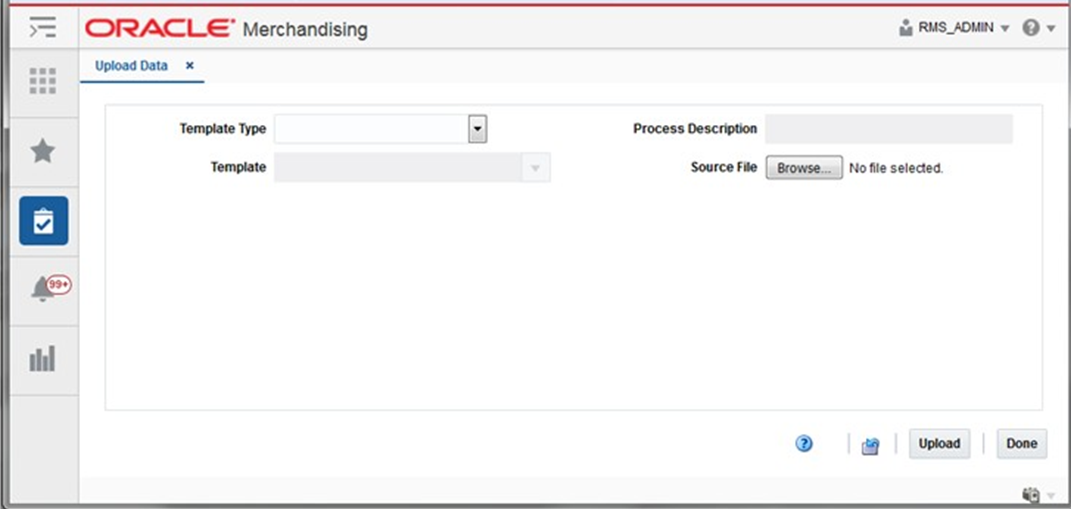
In the RMS Application, navigate to Foundation Data > Data Loading > Upload.
In the Upload Data screen, select:
Template Type as 'Security'
Template as 'Security Groups'
Enter new Process Description or retain as is
Browse and select the Source file that was created in Step 10
Click the Upload button.
Click the Done button.
View the newly created Security Group by downloading the Security Groups spreadsheet (Steps 1 - 6).
|
Note: The system generated Group ID. This Group ID should be mapped to the Security Users. |
The Application (LDAP) User ID used to login to the RMS application must be defined as a Security User.
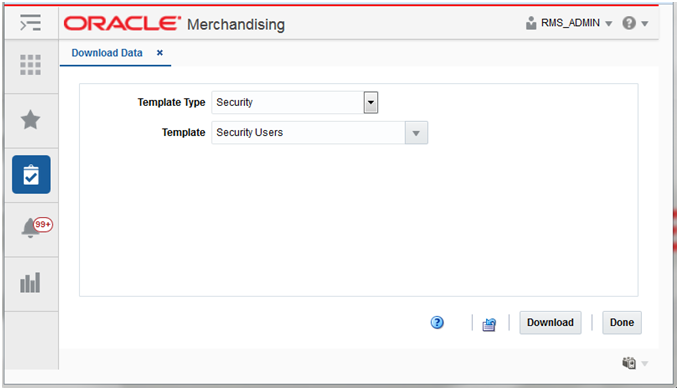
Navigate to Foundation Data > Data Loading > Download.
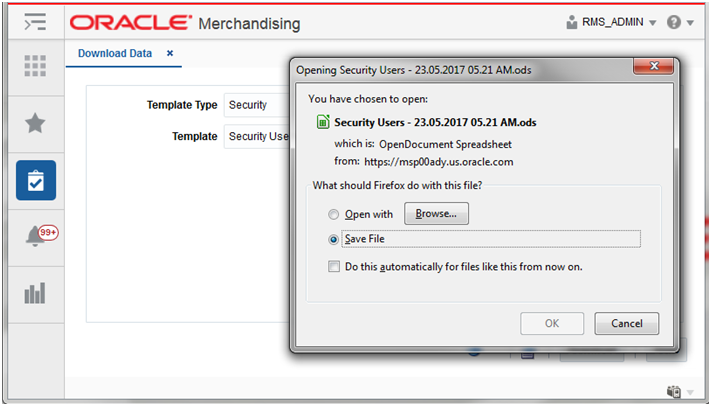
In the Download Data screen, select Template Type as 'Security' and Template as 'Security Users'.
Click the Download button.
Save File to local directory location when prompted.
Click the Done button.
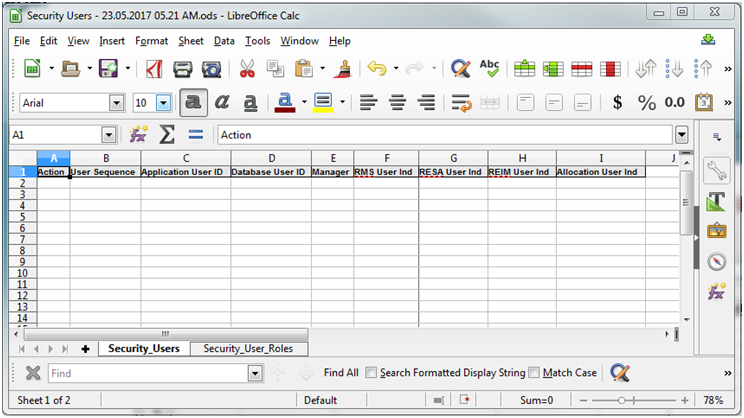
Open the downloaded file.
Save As < file name>.
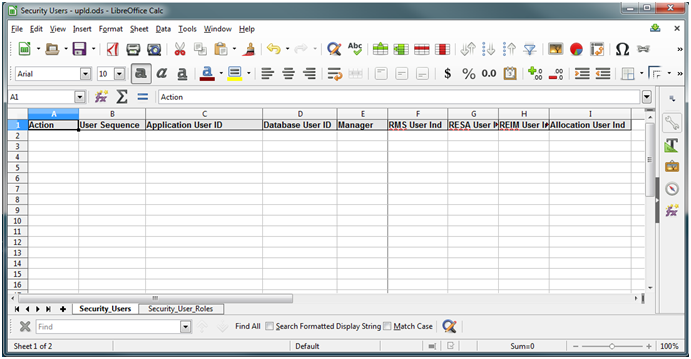
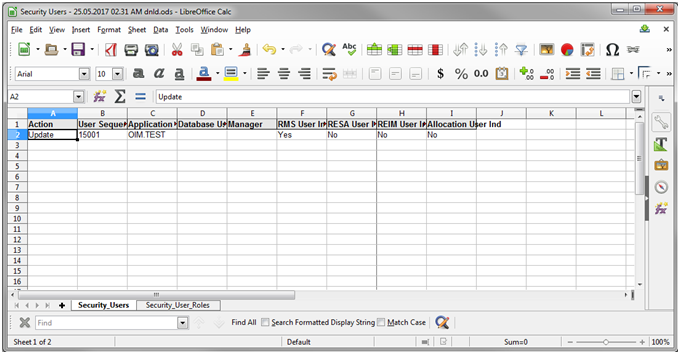
In the Security_Users tab, enter/select the following:
Action: 'Create'
User Sequence: <number>
Application User ID: <Application User ID>
RMS User Ind: Yes
ReSA User Ind: Yes/No
ReIM User Ind: Yes/No
Allocation User Ind: Yes/No
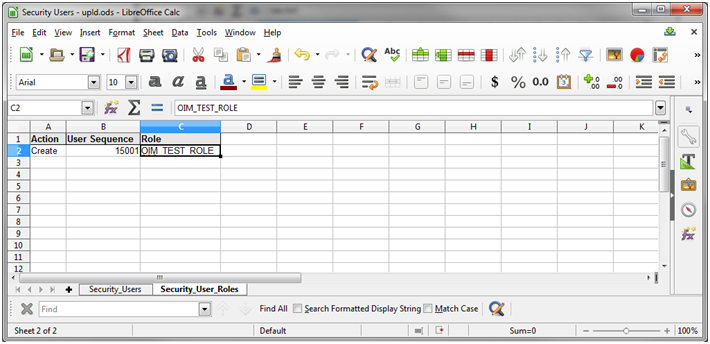
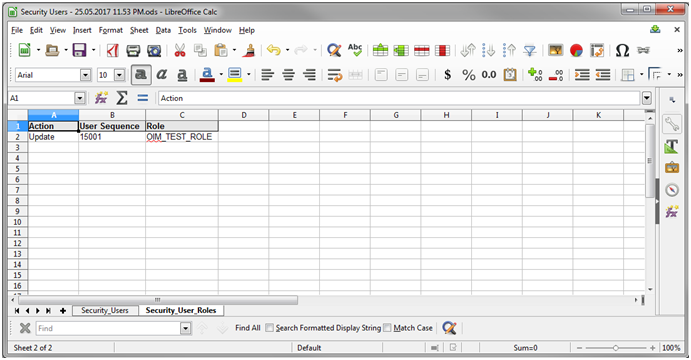
In the Security_User_Roles tab, enter/select the following:
|
Note: Proceed to set up Security User Role, only if Role Privileges have been setup. |
Action: 'Create'
User Sequence: <number>
|
Note: This must be the User Sequence provided in the Security_Users tab. |
Role: <Role>
Save and Close the file.
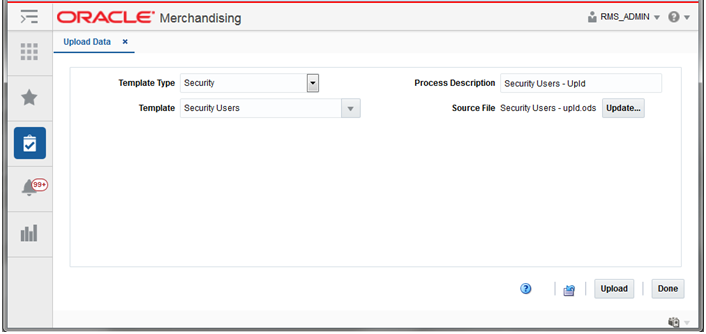
In the RMS Application, navigate to Foundation Data > Data Loading > Upload.
In the Upload Data screen, select:
Template Type as 'Security'
Template as 'Security Users'
Enter Process Description or retain as is
Browse and select the Source file that was created in Step 10
Click the Upload button.
Click the Done button.
View the newly created Security User and Security User Role by downloading the Security Users spreadsheet (Steps 1 - 6).
Note the system generated User Sequence. This Security User (User Sequence) will be mapped to the Security Group.
The security user must be assigned to a security group. This is achieved by associating the User Sequence assigned to the Application User ID with a Security User Group.
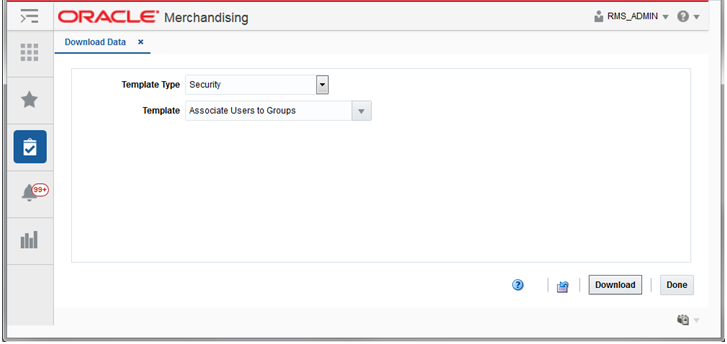
Navigate to Foundation Data > Data Loading > Download.
In the Download Data screen, select Template Type as 'Security' and Template as 'Associate Users to Groups'.
Click the Download button.
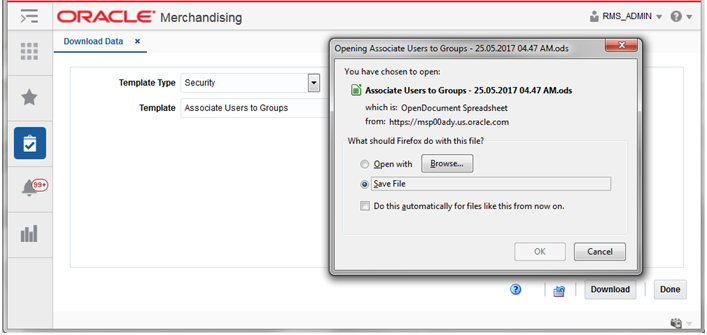
Save the file to a local directory location when prompted.
Click the Done button.
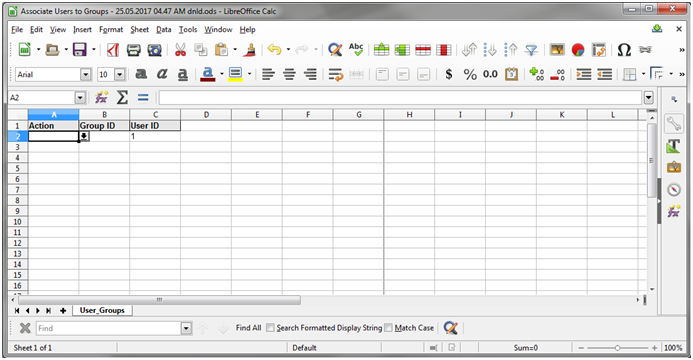
Open the downloaded file.
Save As < file name>.
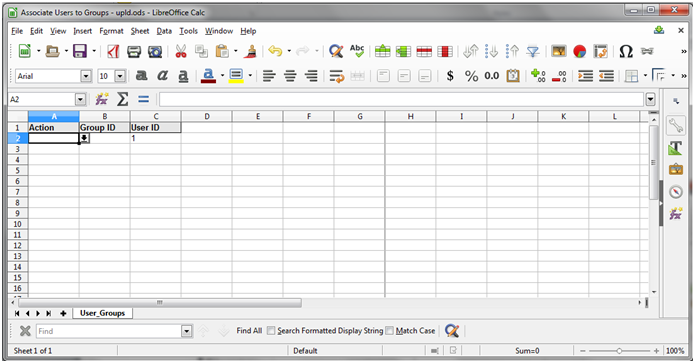
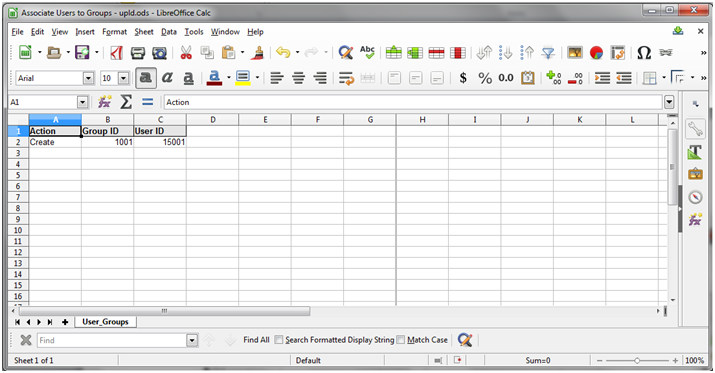
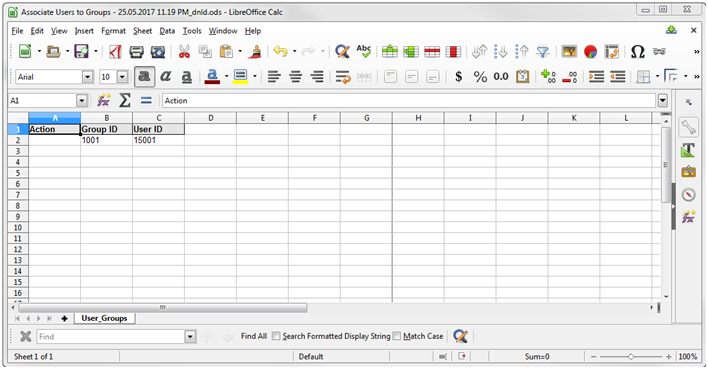
In the User_Groups tab, enter/select the following:
Action: 'Create'
Group ID: <Group ID>
User ID: <User ID>
Save and Close the file.
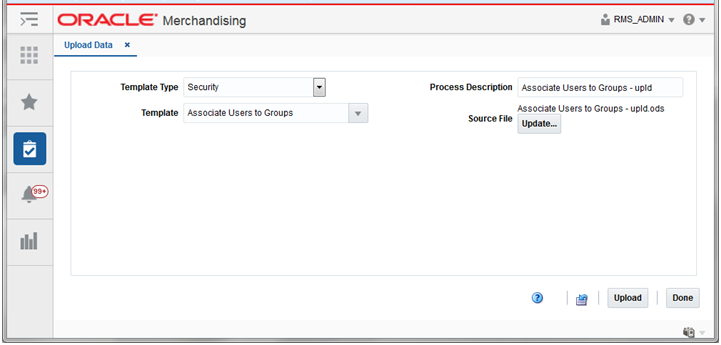
In the RMS Application, navigate to Foundation Data > Data Loading > Upload.
In the Upload Data screen, select:
Template Type as 'Security'
Template as 'Associate Users to Groups'
Enter new Process Description or retain as is
Browse and select the Source file that was created in Step 9
Click the Upload button.
Click the Done button.
View the newly created User Groups mapping by downloading the User Groups spreadsheet (Steps 1 - 6).
The security group can only access the merchandise hierarchies and organization hierarchies assigned to the user through Filter Groups. If a security group is not assigned to any Filter Group then the users in the group are considered 'super users' and will have access to all merchandise hierarchies or all organization hierarchies respectively.
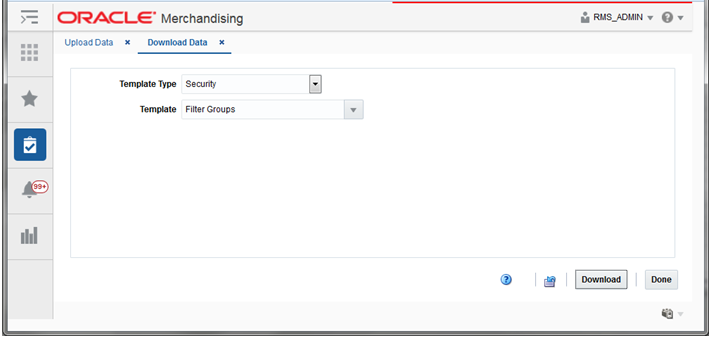
Navigate to Foundation Data > Data Loading > Download.
In the Download Data screen, select Template Type as 'Security' and Template as 'Filter Groups'.
Click the Download button.
Save File to local directory location when prompted.
Click the Done button.
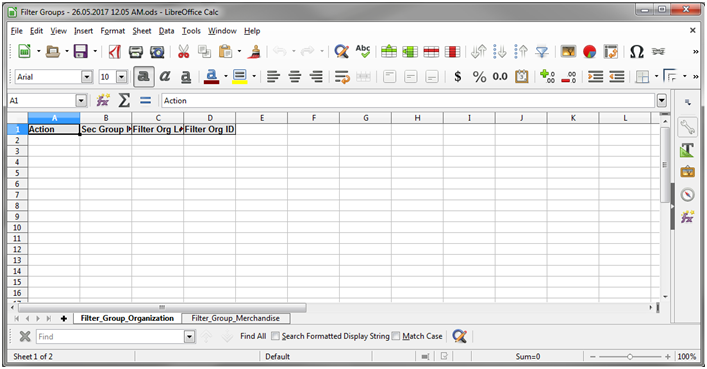
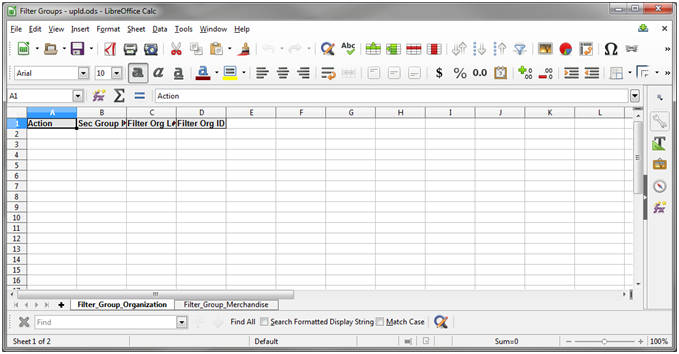
Open the downloaded file.
Save As < file name>.
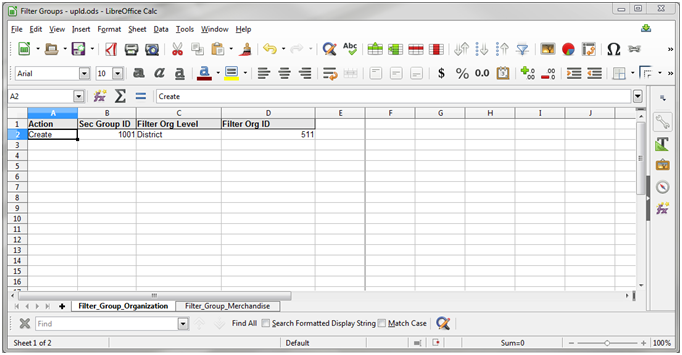
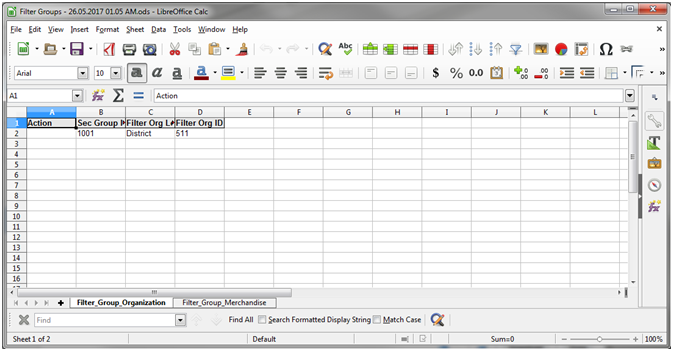
In the Filter_Group_Organization tab, enter/select the following:
Action: 'Create'
Sec Group ID: <User Security group ID>
Filter Org Level: <Organization hierarchy level>
Filter Org ID: <ID of the Organization hierarchy level>
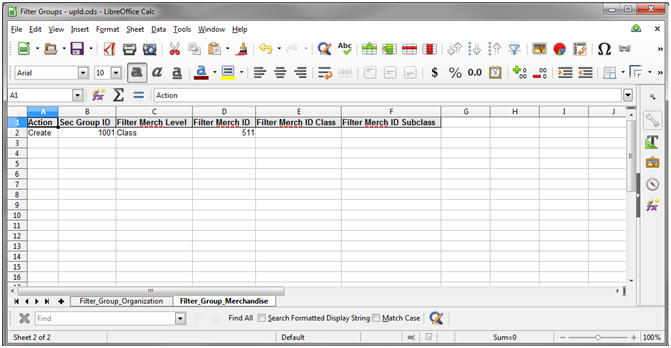
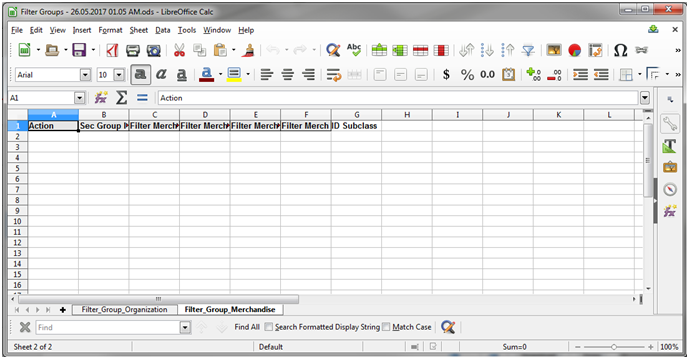
In the Filter_Group_Merchandise tab, enter/select the following:
Action: 'Create'
Sec Group ID: <User Security group ID>
Filter Merch Level: <Organization hierarchy level>
Filter Merch ID: <ID of the Merchandise hierarchy level>
Filter Merch ID Class: <Class ID of the Merchandise hierarchy level> (optional depending on the selected Filter Merch Level)
Filter Merch ID Subclass: <Subclass ID of the Merchandise hierarchy level> (optional depending on the selected Filter Merch Level)
Save and close the file.
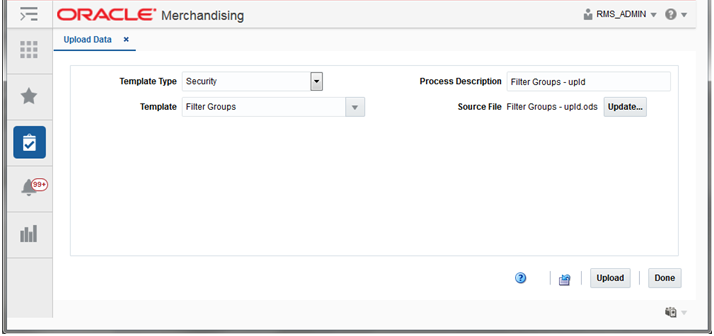
In the RMS Application, navigate to Foundation Data > Data Loading > Upload.
In the Upload Data screen, select:
Template Type as 'Security'
Template as 'Filter Groups'
Enter new Process Description or retain as is
Browse and select the Source file that was created in Step 10
Click the Upload button.
Click the Done button.
View the newly created Filter Groups mapping by downloading the Filter Groups spreadsheet (Steps 1 - 6).
The setup of role privileges can be used to manage the size of a purchase order that a user can approve. The basis of this is either cost or retail based on the system option configuration. This setup is not required if user roles will not have an approval limit.
Log into the RMS Application.
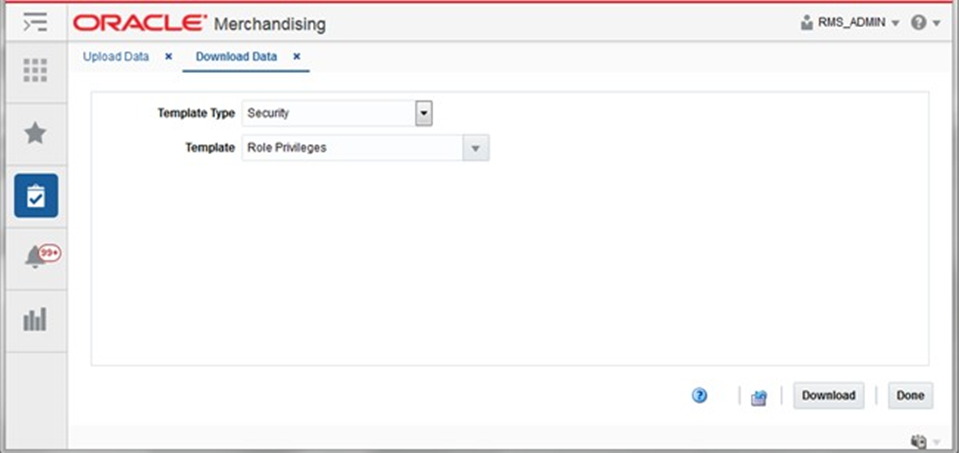
Navigate to Foundation Data > Data Loading > Download.
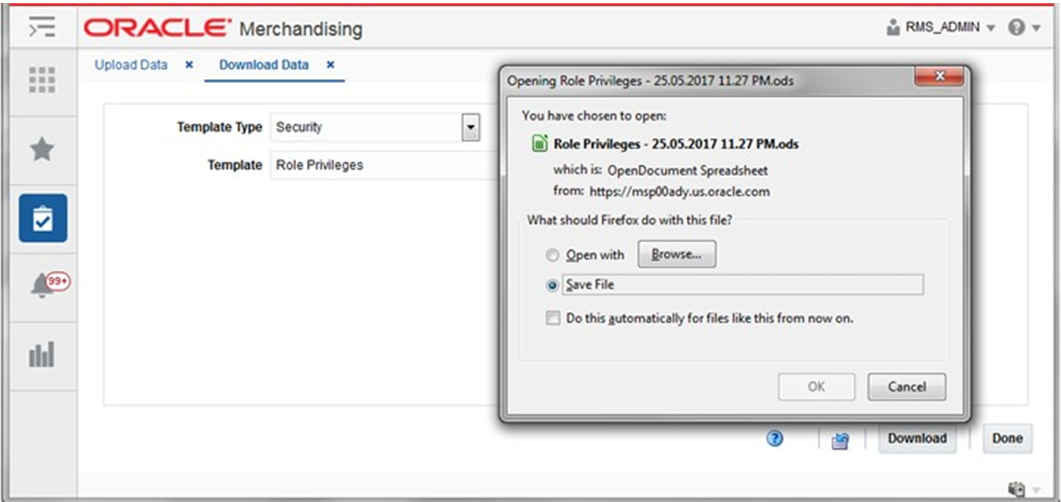
In the Download Data screen, select:
Template Type as 'Security'
Template as 'Role Privileges'
Click the Download button.
Save File to the local directory location when prompted.
Click the Done button.
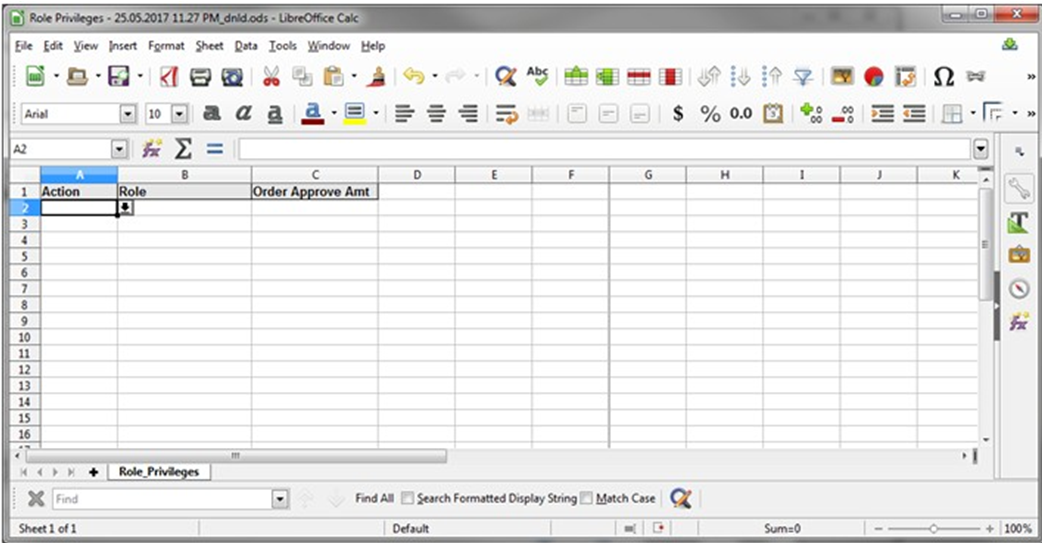
Open the downloaded file.
Save As < file name>.
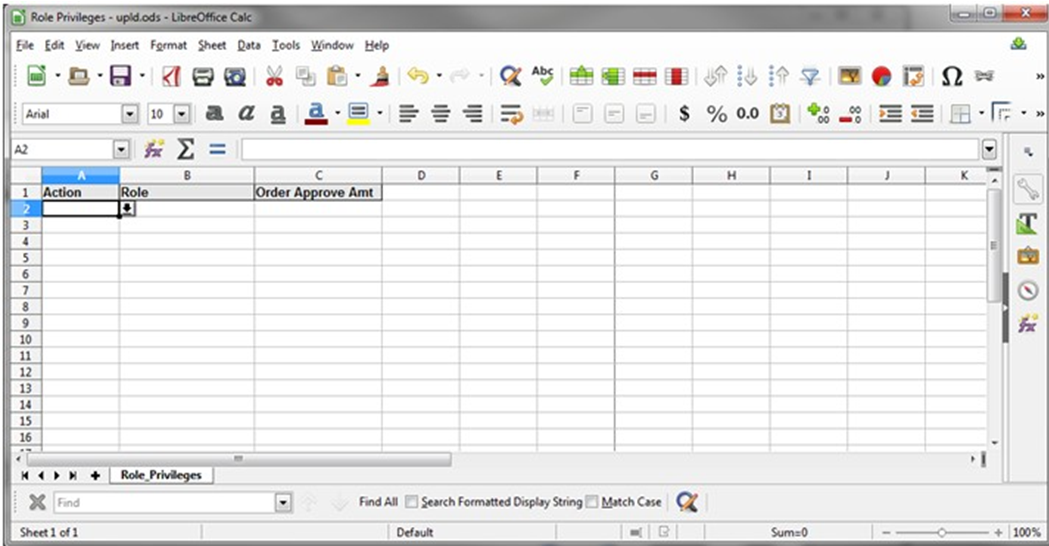
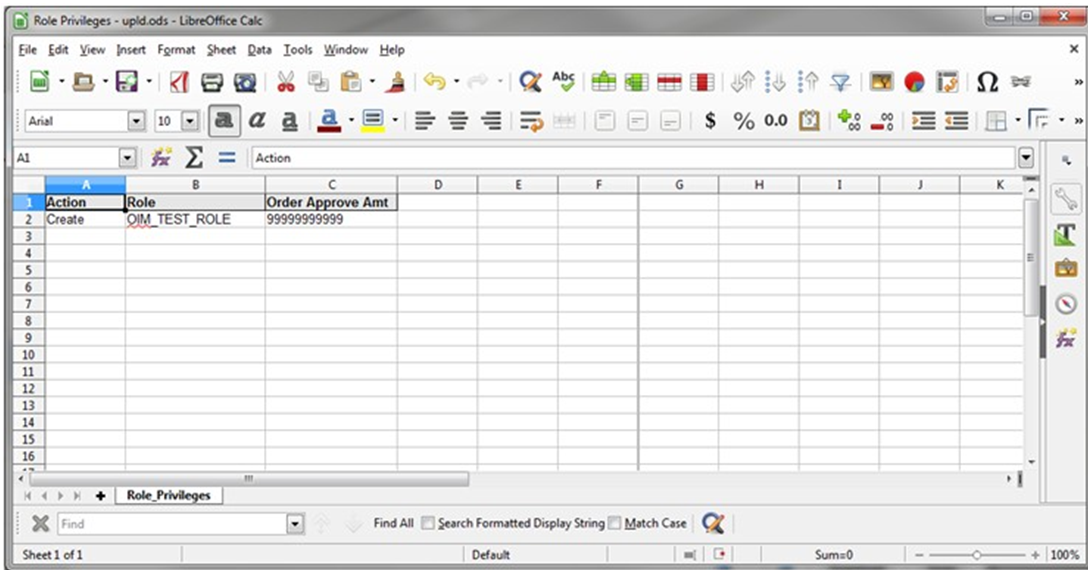
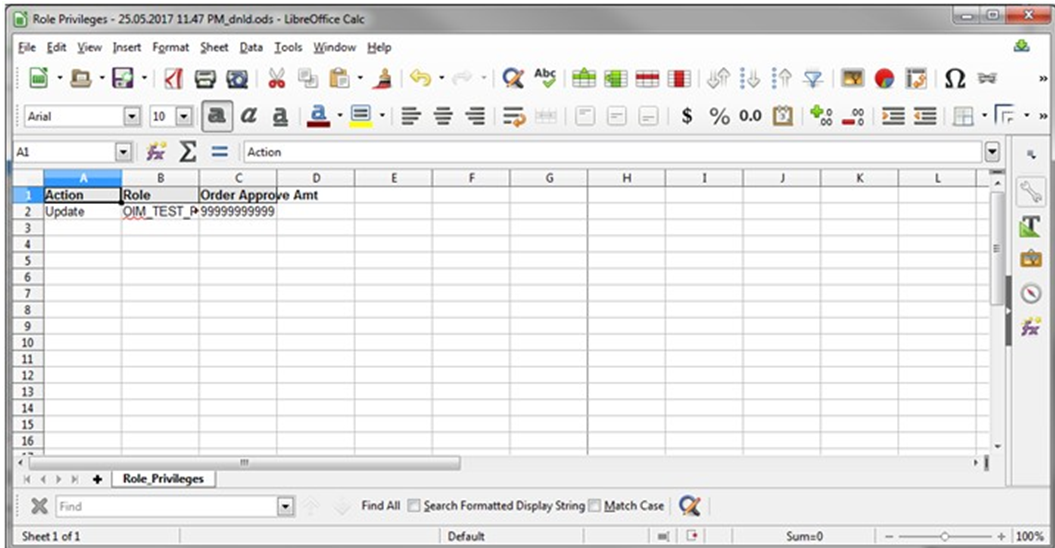
In the Role_Privileges tab, enter/select the following:
Action: 'Create'
Role: <Role>
Order Approve Amt: < Upper limit that the role will be able to approve on an order>
Save and Close the file.
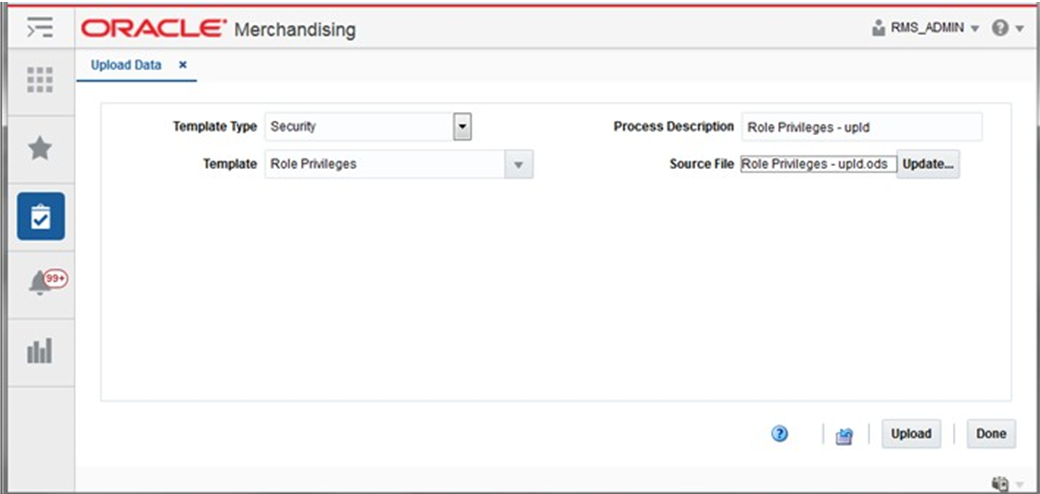
In the RMS Application, navigate to Foundation Data > Data Loading > Upload.
In the Upload Data screen, select:
Template Type as 'Security'
Template as 'Role Privileges'
Enter new Process Description or retain as is
Browse and select the Source file that was created in Step 10
Click the Upload button.
Click the Done button.
View the newly created Role Privileges by downloading the Role privileges spreadsheet (Steps 2 - 7).