Creating a New Case
OIPA now allows direct entry of case information. A new Case in OIPA is created from the Central Add dropdown menu. A case can be given a unique case number to make it easier to find during a case search.
The existing functionality of case creation via external system is supported. The user can create a case from central add dropdown menu "Create Case from external system". On clicking this menu, the user is navigated to the screen of external system for case creation. This link is available only if external system is integrated with OIPA.
On case screen, after saving the case, user will have two buttons available as listed below:
- Add application: This allows a user to create the application in the case.
- Add existing application: When the user clicks this button an "orphan application search" pop up opens, which allows the user to search the existing application to add to the case. Only orphan applications should be searchable while searching application to for adding to case. Refer below figure for details:
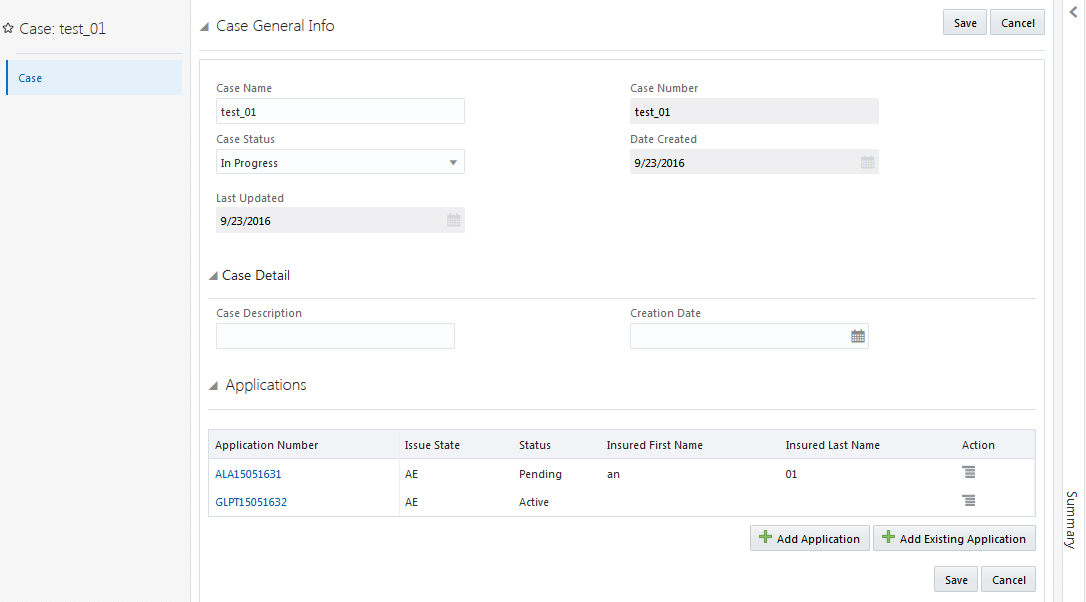
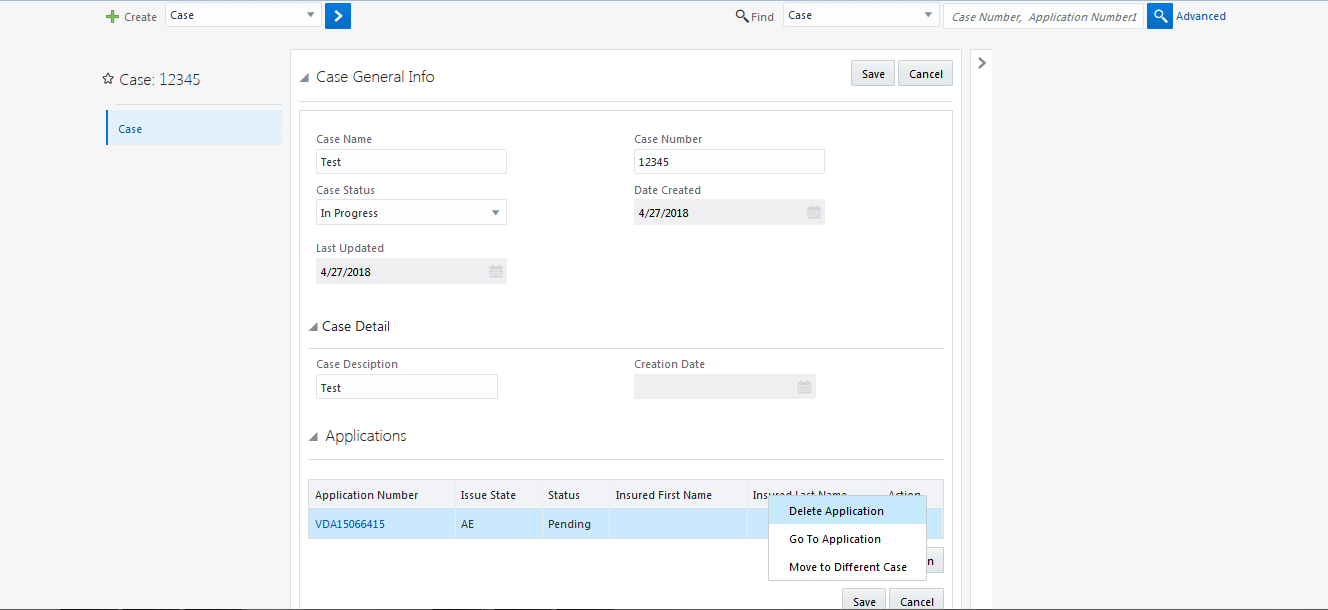
On the case screen, the applications are listed and hamburger icon is present next to each application entry. These hamburger icons have one more menu added to it 'Move to different case'. The user can move an application under different case by using this menu. When the user clicks on this menu, case search screen should open which allows the user to search the case under which he wishes to move the application. The user can associate an application to the newly created case by clicking on the Add Application button.
Steps to Create a New Case
- From the Central Add dropdown menu, select Case. The case creation screen appears.
- Enter the basic case details that are mandatory.
- Case Name is the name that a case is given.
- Case Number is the unique identifier for a case. Depending upon the configuration for the case screen, this field may be automatically populated or a manual entry may be allowed for it.
- Case Status is the status of the case at any moment. It is Pending by default.
There are two sections on the Case screen that contain case information — Case and Case Detail. The Case section contains basic case information.
-
Click the Save button when finished. Once a new case is saved, the Date Created and Last Updated fields are automatically populated.
The user can associate an application to the newly created case by clicking on the Add Application button.
For more information on adding an application upon case creation, refer the Add Application section.
Editing a Case
As long as a case in the Pending state, it can be edited. To edit any case:
- Perform a unified search for any case that you want to edit.
- When you click on the desired case from the search results, the Case screen or the Case Overview screen should be displayed.
- Edit any field as required.
- Click on Save.