VMware vSphere Client

What is vSphere Client?

The vSphere Client is an application that enables management of a vSphere installation. The vSphere Client provides an administrator with access to the key functions of vSphere without the need to access a vSphere server directly.

Installing vSphere Client

After installing the vSphere Hypervisor onto your server, you can then install the vSphere Client onto your Microsoft Windows® machine. Installing the vSphere Client, includes:

  • Downloading the vSphere Client from VMware
  • Assigning a License to VMware vSphere Hypervisor
  • Assigning the network time servers
  • Adding additional virtual network

To install the vSphere Client:
  1. Open your web browser. Enter the IP address of the ESXi host which you configured in the procedure, Configuring vSphere Hypervisor. (http://<ESXi host ip address>) and press Enter. This accesses the web page to download the vSphere Client to your Windows machine. For example,

    http://172.30.58.164

    A warning displays followed by a prompt allowing you to accept or reject the certificate.

  2. Press Enter to accept the certificate.
  3. Click Download vSphere Client.
  4. Navigate to the location on your PC where you downloaded the vSphere Client.
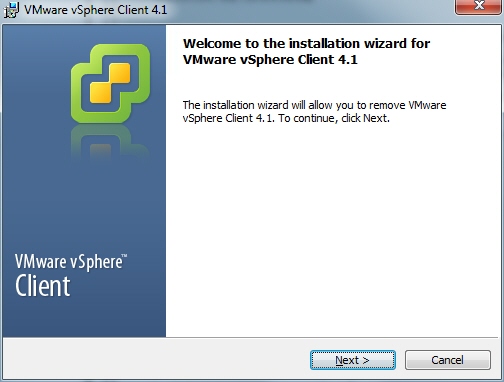
  5. Double-click the file to begin the installation. The file proceeds to extract the application files and continues the installation process. The following screen displays.
    This screenshot shows the screenshot that displays during vSphere Client download.
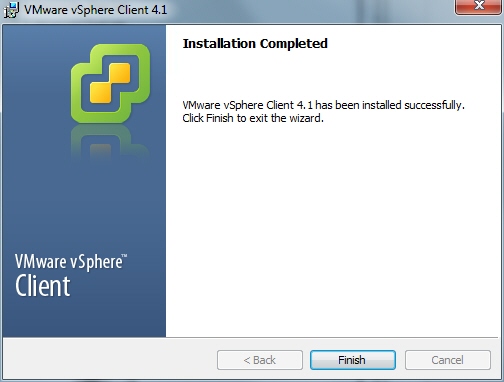
  6. Click Next. Select I agree to the terms in the license agreement and click Next. Continue the installation by following all remaining instructions for installing the vSphere Client. When the installation is complete, the following screen displays.
    This screenshot shows the screen that displays when the installation is complete.
  7. Click Finish to complete the installation. The VMware vSphere Client icon appears on your PC desktop.
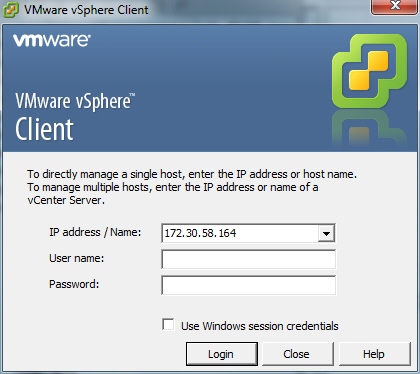
  8. Double-click the VMware vSphere Client icon. The following screen displays.
    This screenshot shows the VMware vSphere Client login screen.
  9. In the IP address / Name text box, enter the IP address or the domain name of the ESXi host. For example:

    IP address / Name: 172.30.58.164

  10. In the User name text box, enter the user name assigned to you by the system administrator of the ESXi host. For example:

    User name: root

  11. In the Password text box, enter the password assigned to you by the system administrator of the ESXi host. For example:

    Password: jre453i

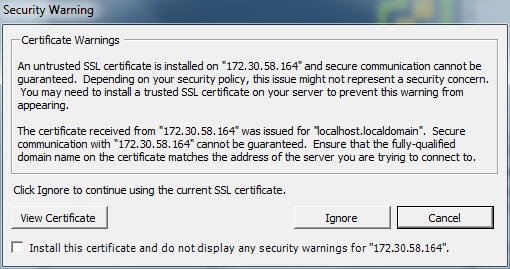
  12. Click Login. The following Security Warning displays:
    This screenshot shows the security warning displayed upon login.
  13. Place a check mark in the box that indicates: Install this certificate and do not display any security warnings for <ip_address>. The IP address is the address of the ESXi host.
  14. Press Ignore. The VMware Evaluation Notice alert displays.
  15. Click "Assign license to the ESXi host."

    Note:

    vSphere 4 Hypervisor is licensed for 2 physical CPUs (free, never expires).

Getting the vSphere Hypervisor License

To get the VMware vSphere Hypervisor License:

  1. Enter the following URL:
    https://www.vmware.com/account/login.do
  2. Register for a VMware account by clicking Register. Or if already registered, enter your email address or VMware customer number, and password, and click Sign In.

    VMware sends the following message to the email address you specified during registration:

    Thank you for creating a VMware account. To complete the registration process, please click the button below.

  3. Open your email message from VMware and click the Activate Now button.
    The VMware ‘s Enter Your Password screen displays.
  4. In the Password text box, enter the password you specified when registering with VMware and click Continue.

    The "Account Activated" screen displays with the following message:

    Success! Your account has been activated.

  5. Copy and paste the following link into your browser:
    https://my.vmware.com/web/vmware/evalcenter?p=free-esxi5&lp=default&lp=1&ie=UTF-8&q=vmware%20vsphere%20hypervisor%20esxi%204.1%20license
  6. In the box, On how many physical servers do you plan to install VMware vSphere Hypervisor?, enter the number of servers on which you are installing the VMware vSphere Hypervisor.
    Valid values are 1 - 999.
  7. Place a check mark in the box, I agree to the terms and conditions outlined in the VMware vSphere Hypervisor End User License Agreement. and click Register.
    VMware sends you an email message for accessing your VMware ESXi License.
  8. Open your email message from VMware and click Access Now.
    A VMware vSphere Hypervisor license string displays.
  9. Copy the VMware vSphere Hypervisor license key string.

Applying the VMware vSphere Hypervisor License

To apply the VMware vSphere Hypervisor license:

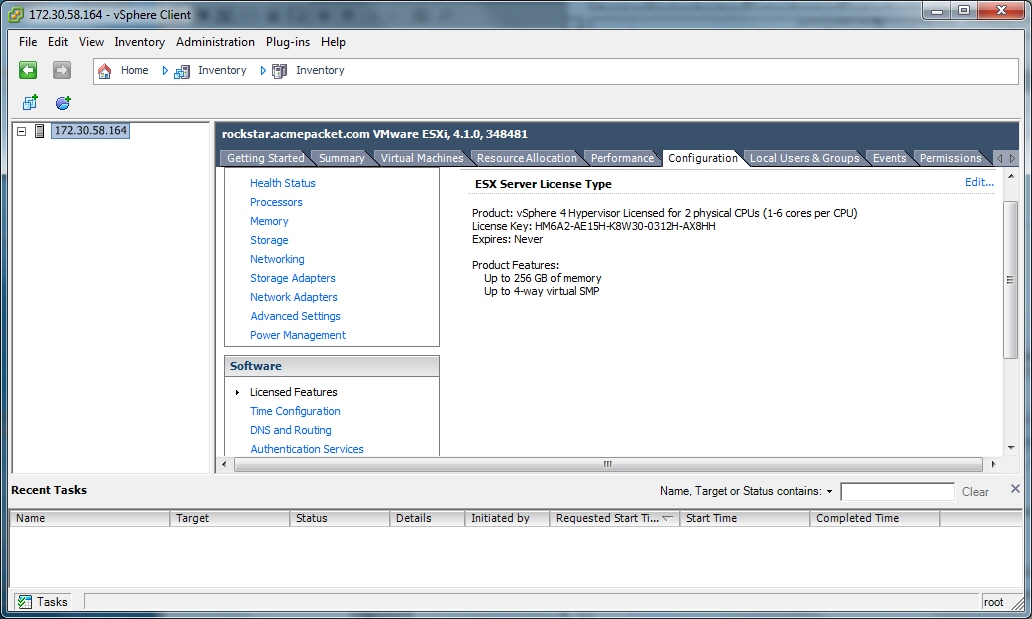
  1. Click OK to close the VMware Evaluation Notice window that displayed in Step 14. The following window displays. The ESXi Host IP displays in the left column.
    This screenshot shows the screen that displays when you close the VMware Evaluation Notice window.
  2. Click the Configuration tab.
  3. In the left column, under the Software category, click Licensed Features.
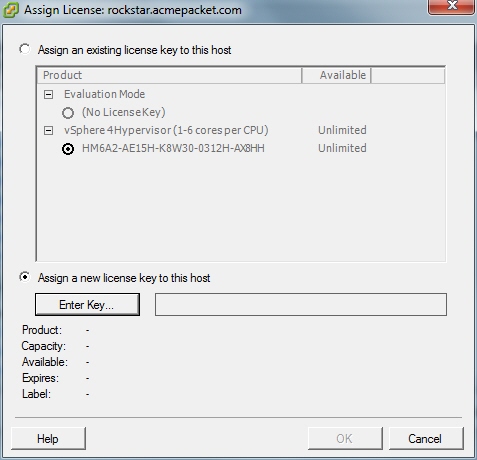
  4. In the upper right corner of the window, click Edit. The following window displays.
    This screenshot shows the Assign License dialog box.
  5. Click the radio button Assign a new license to this host. and click Enter Key. A pop-up displays allowing you to enter the license key string.
  6. In the New License Key text box, paste the license key string you copied from Step 24. Or enter the license key string manually.