Entering Routing Responses
This topic describes the self-service pages that routing recipients use to enter routing responses.
For an overview of the routing process, see Understanding Applicant Routing.
|
Page Name |
Definition Name |
Usage |
|---|---|---|
|
HRS_APP_RTE_SRCH |
View a list of routing requests that have been sent to you. |
|
|
HRS_APP_RTE_RSP |
Enter a response to a routing request. |
|
|
HRS_RTE_RESTEX_SEC |
View text resume details from the context of a routing. |
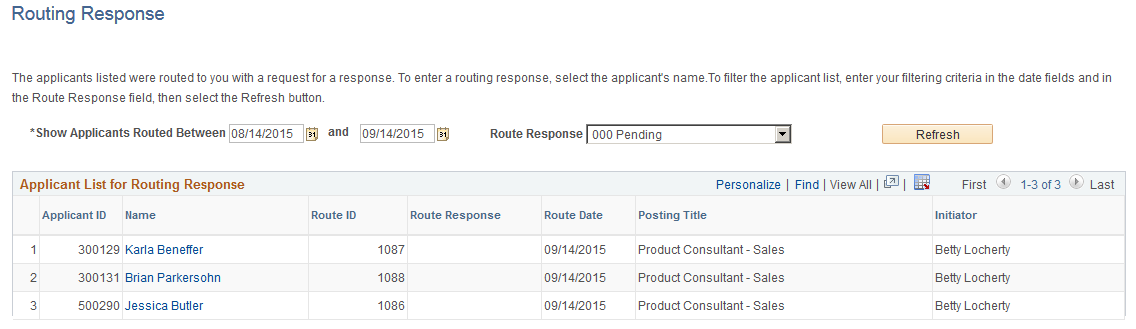
Use the Routing Response list page (HRS_APP_RTE_SRCH) to view a list of routing requests that have been sent to you.
Navigation
Users who receive a routing request can access this page using the link in the routing request email notification
Image: Routing Response list page
This example illustrates the Routing Response list page.
Filter Criteria
|
Field or Control |
Definition |
|---|---|
| Show Applicants Routed Between |
Enter the date range for the routing requests you want to list on this page. This is matched against the route date shown in the Applicant List for Routing Response grid. |
| Route Response |
Select a value to filter the list by the routing response that you provided The default value, 000 Pending displays requests where no response has yet been provided. Select All to see all requests, both pending and completed. |
| Refresh |
Click to update the list of routing requests based on the specified filter criteria. |
Applicant List for Routing Response
|
Field or Control |
Definition |
|---|---|
| Applicant ID and Name |
These fields identify the applicant who was routed. Click the applicant name to access the Routing Response details page, where you can supply your routing response. Each applicant that was routed to you is listed separately, even if the person who sent the routing used a group action to route multiple applicants at the same time. |
| Route Response |
Displays the routing response if one has been saved. Responses can be entered by the routing recipient (on the Routing Response details page) or by a recruiting user on the Edit Routing Page. |
| Route Date |
Displays the date that the routing was originally sent. |
| Posting Title |
Displays the posting title for the job opening for which you are being asked to review the applicant. |
| Initiator |
Displays the name of the person who routed the applicant. |
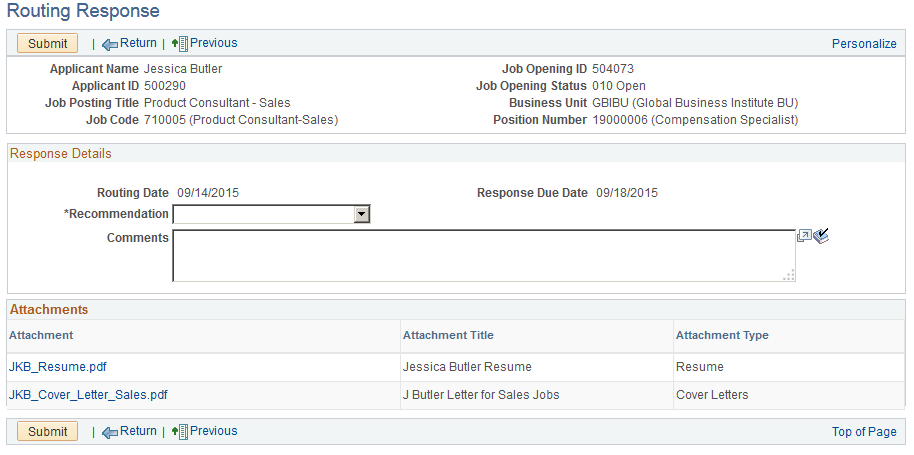
Use the Routing Response detail page (HRS_APP_RTE_RSP) to enter a routing response.
Navigation
Click the name of an applicant on the Routing Response list page.
Image: Routing Response detail page
This example illustrates the Routing Response detail page.
Toolbar
|
Field or Control |
Definition |
|---|---|
| Submit |
Click to save your changes on this page and return to the Routing Response list page. When you submit a response, this page becomes read-only. For this reason, be sure to enter any comments before submitting. If the routing was configured to send response notifications, submitting the response triggers the notification. |
| Return |
Click to return to the Routing Response list page. |
| Previous and Next |
Use these buttons to navigate to other routing requests that were listed on the Routing Response list page.. |
Header Information
The read-only fields at the top of the page identify the applicant and the job opening for which the applicant is being considered. A routing applies only to this specific context.
Response Details
Important! These fields are editable if you have not yet submitted a response (including if a recruiter entered a response on your behalf). After you submit a response, these fields are read-only, and you cannot make further changes.
|
Field or Control |
Definition |
|---|---|
| Routing Date |
Displays the date that the routing was sent. |
| Response Due Date |
Displays the response due date that was set by the person who sent the routing request. |
| Recommendation |
Enter your recommendation regarding the next step to take for this applicant for the current job opening. Values come from the statuses that have been configured for the Route status area on the Status Area Page. |
| Comments |
Enter comments related to the routing response. Recruiting users can access these comments on the Routing Response Comments Page |
Attachments
This grid lists the attachments that were included in the routing. The person who sends the routing uses the Include Attachments Page to choose additional attachment types to include.
Note: This grid can include attachments even if the original routing notification did not. This occurs when the person who sent the routing chose not to include attachments in the notification.
|
Field or Control |
Definition |
|---|---|
| Attachment |
Displays the file name of the attachment. Clicking this link opens the file.Click the file name to open the attachment. |
| Attachment Title |
Displays the description provided by the person who uploaded the file. When a file is uploaded, the default description is the file name, but the user can modify this description. The title shown here most likely will not match the file name used for any email attachments. The system renames files that are attached to routing emails because the original files names of the attachments might not be self-explanatory. |
| Attachment Type |
Describes the purpose of the attachment. |
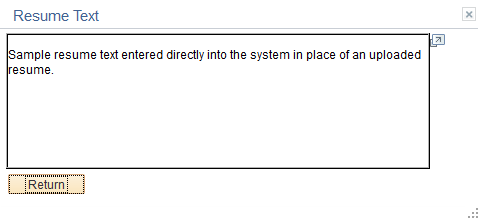
Use the Resume Text page (HRS_RTE_RESTEX_SEC) to view text resume details from the context of a routing.
Navigation
On the Routing Response detail page or on the Preview Notification page, click the file name column for a resume that was pasted into an application rather than being uploaded.
Image: Resume Text page
This example illustrates the Resume Text page.