WebLogic Managed Server
Cert Manager allows the user to connect to the WebLogic Admin Server, and update the certificate associated with any of the managed servers.
This allows users to update the certificate that is seen in the browser when accessing the Token Proxy Webportal pages.
The Common Name of the certificate that is applied to the Managed Server should reflect the hostname of the URL by which it will be accessed, otherwise regardless of serving the certificate up, a user’s browser will still show the URL as insecure as hostname validation will fail.
-
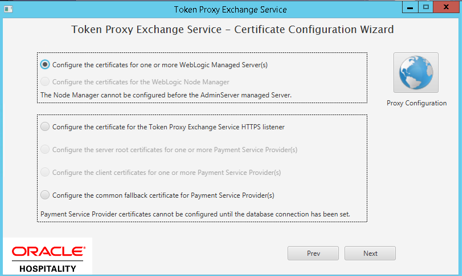
After Login, select the option Configure the certificates for one or more WebLogic Managed Server(s).
-
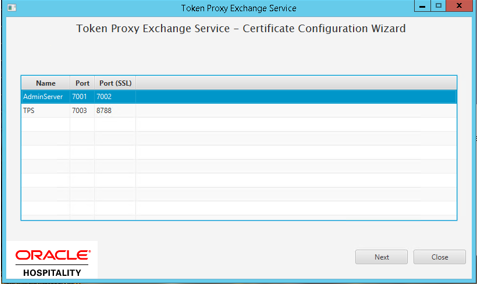
You will be provided with a list of the managed servers that are present on your WebLogic instance.
-
Select the Managed Server that you want to assign a certificate to. If you need to add certificates to the AdminServer and the tokenproxy_server, repeat the process for both.
-
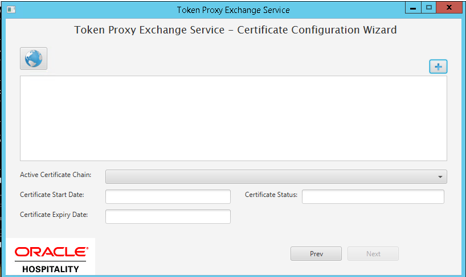
The Cert Manager allows the supported certificate to be imported by browsing or using drag and drop. Browse to the location of the certificate you want to import from add icon (
 ) available on the top right of the page or you can also drag the certificate to the Cert Manager page (be attentive of the File Extension filter in the file browser window).
-
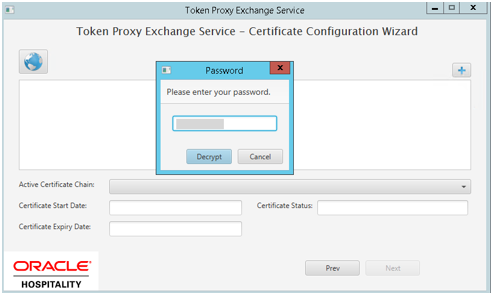
You will be prompted to provide the password for the certificate you have selected. Enter the password and select Decrypt.
-
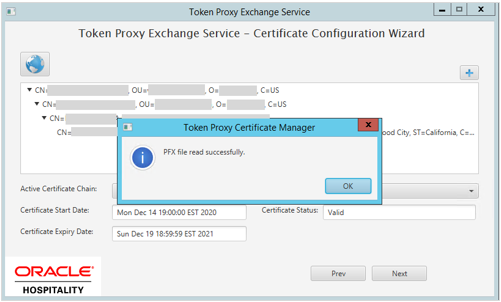
If the entered password is correct, then you should see a file read successfully message.
-
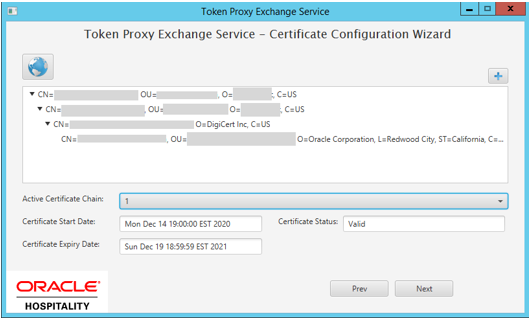
The Cert Manager will display the certificate chains from the certificate provided.
-
Select from the Active Certificate Chain drop-down list, the required alias if more than one is available.
-
This will display the associated Certificate Expiry Date and Status.
-
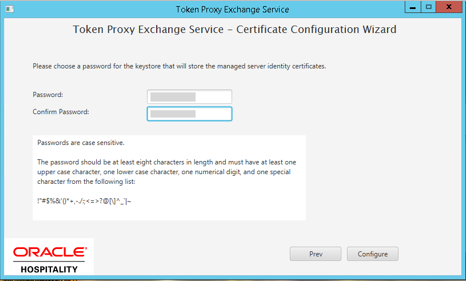
Click Next to choose a password for the keystore.
-
Provide and confirm the password that meets the minimum requirements, for the keystore that will store identity certificate.
-
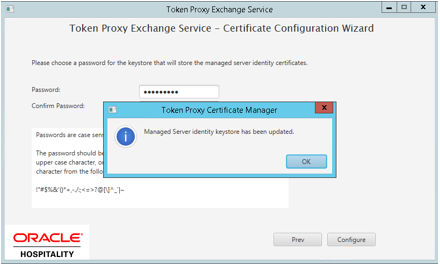
Click Configure to configure the Managed server certificates.
Parent topic: WebLogic - Certificate Configuration Wizard