 to
go to the Process
Monitor window.
to
go to the Process
Monitor window. The Process Modeller helps create and manage Process Pipelines. You can use the Process Modeling components on a canvas to create model Pipelines.
Enter specific terms (keywords from Process ID, Process
Name, or Process Description) in the Search
field to search for matching pipelines. You can sort the pipelines based
on Process ID, Process Name, or Application. Click to
go to the Process
Monitor window.
The records table consists of the following user interface elements of existing Business Process Pipelines with the details of Process ID, Process Name, Process Description, Version, Instance, Application, and Last Modified date.
· Click Add  to
create a new Pipeline. See Create
a Process Pipeline for details.
to
create a new Pipeline. See Create
a Process Pipeline for details.
· Click the Process Name link to launch and edit the Process Flow. Edit a Process Pipeline for details.
· Click  to delete a Pipeline.
NOTE |
Pipeline processes cannot be deleted for the records that are preconfigured in the service. Similarly, pipeline processes which have instances under them cannot be deleted. |
· Click  to view the following sub-menu:
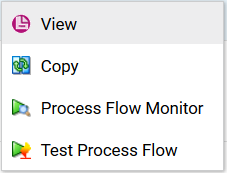
Description of the Process Modeller More Menu follows
§ Click View to see the process flow in the canvas.
§ Click Copy to create a new pipeline with the same process flow. The copy is editable.
§ Click Process Flow Monitor to monitor the pipeline.
§ Click Test Process Flow to test or check whether the Business Pipeline you designed works as expected.
To create a Process Pipeline, follow these steps:
1. Click Add to
display the Process Details context
window.
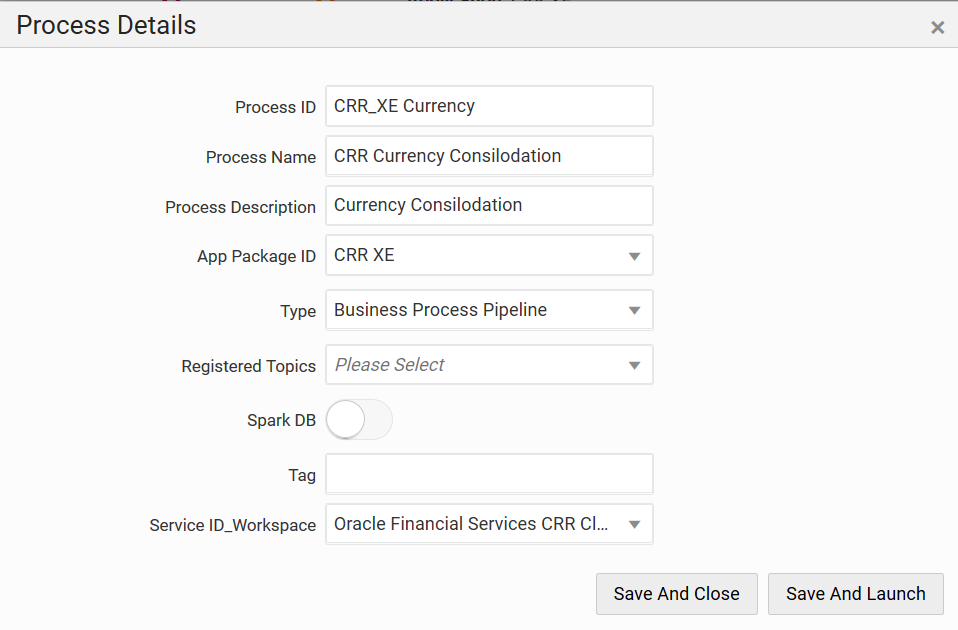
Description of the Process Details Context Window follows
2. Enter the required details in the Process ID, Process Name, and Process Description fields.
3. Select the required service package from the App Package ID drop-down list.
4. Select the required process pipeline type from the Type drop-down list.
NOTE |
The Registered Topics drop-down list and the Spark DB button are provided for future enhancements and are not functional in this release. |
5. Enter any required tags in the Tag field.
6. Select the required workspace from the Service ID_Workspace drop-down list.
For Service Names and the Service IDs to be mapped, refer to the following table:
Service Name |
Associated Service ID |
· Oracle Financial Services Crime and Compliant Management Transaction Cloud Service · Oracle Financial Services Crime and Compliant Management Customer Screening Cloud Service · Oracle Financial Services Crime and Compliant Management Know Your Customer Cloud Service |
Common Service_WS001 |
Oracle Financial Services Crime and Compliant Management Regulatory Reporting Cloud Service |
Oracle Financial Services CRR Cloud Service_WS001 |
7. Click:
§ Save And Close to save the process pipeline and close the context window.
§ Save And Launch to save the process pipeline and open the Process Flow window in the canvas.
§ X to discard the details entered and close the context window.
To edit a Process Pipeline, click the required active link in a Process ID record to open the Process Flow window in the canvas.