5 Visitors
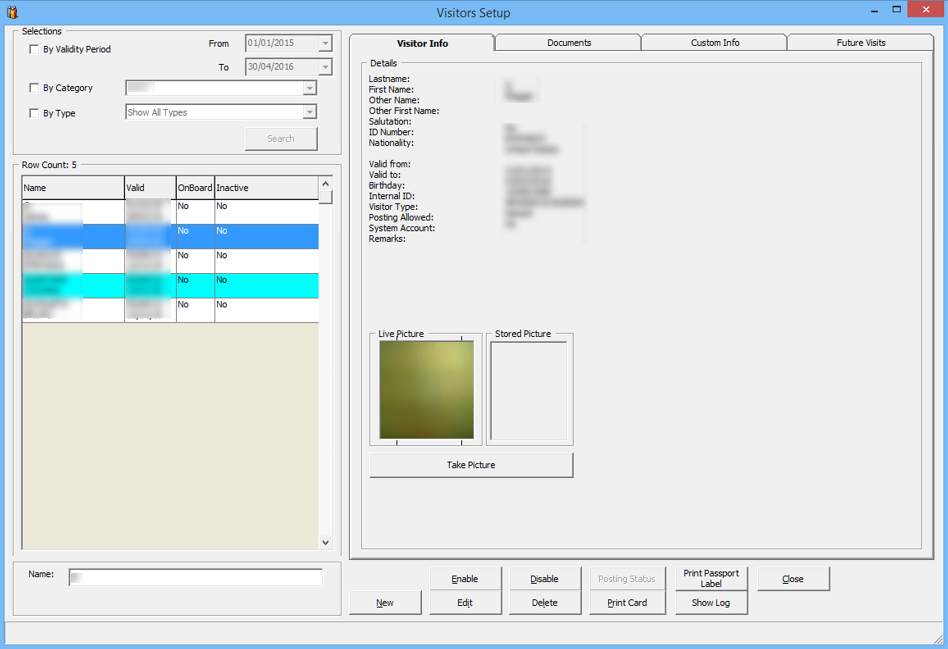
The Visitor function allows the Security Office and Gangway staff to enter visitors information, produce visitor passes and track whether the visitor is onboard or ashore. This function is accessible in Management module, Cashier, Visitor drop-down menu.
Figure 5-1 Visitor Setup Window

Editing Visitor Information
- Select the Visitor using the selection filters of the Visitor Setup window.
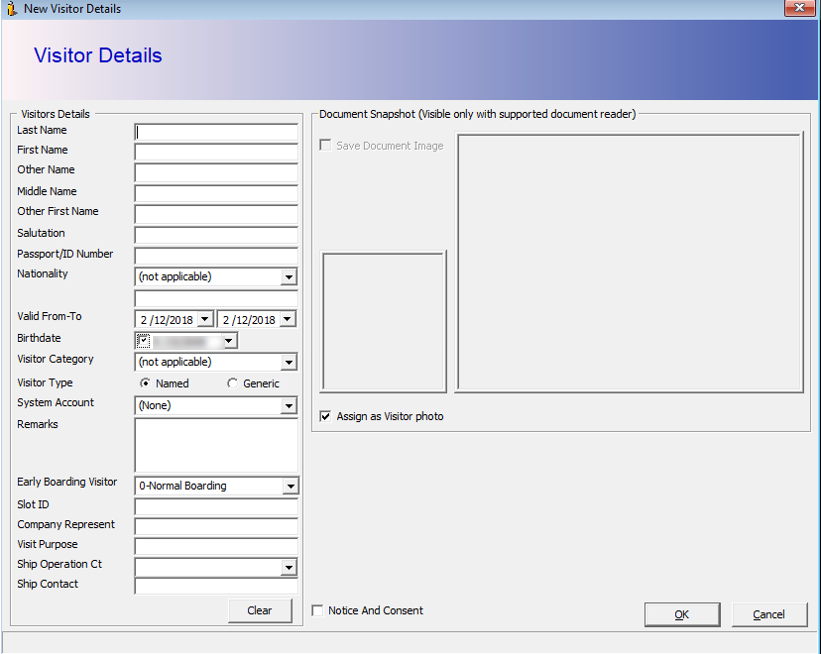
- Click Edit to open the Visitor Details form.
- Edit the relevant information and then click OK to save.
Enablling/Disabling a Visitor
Since the Visitor account does not have a cabin assigned or required to be check in/check out, the account is managed by setting the status as Active/Inactive in Enable/Disable function.
- Select the visitor name from the Visitor Account grid and click either Enable or Disable.
- At the Disable Visitor prompt, click Yes to proceed.
- In the Inactive column of the Visitor name grid, status of the visitor changes to Yes/No, depending on the selected option.
Figure 5-3 Visitor Status

Changing Status to Onboard/Ashore
When a Visitor goes onboard/ashore, Security Officer is required to set the visitor status as Onboard/Ashore to ensure all visitors movement is registered and accounted for.
- Search the visitor name from the Visitor Setup window.
- Double-click on the visitor name and select Yes at Change Status prompt.

