3 Quick Encode
The Quick Encode is a program designed to transfer the board-card information onto an RFID wearable device, enabling the guest to access their cabin or purchase items from a shop with the RFID wearable tag.
Prerequisites, Supported Systems and Compatibility for Quick Encode
-
Quick Encode.exe
-
SPMS Parameters:
-
Quick Encode, Encode Mode Interval Time (Default is 5000ms)
-
Quick Encode, Verify Mode Interval Time (Default is 10000ms)
-
Quick Check-in, Extended Search Criteria: Must include the Reservation Board Card number in the value.
-
-
Download the following program executables from OMNIKEY website.
-
OMNIKEY_5x2x_unattended_w7_x64_r1_2_26_140_0.zip
-
-
Microsoft Windows 10 — 32–bit/x64–bit System
-
Ving Vision RFID 5.9
-
VisiOnline Online & Offline mode
-
VDA Micro Master (supports Mifare 1Kcard only)
-
OMNIKEY RFID Reder software version 1.2.26.140
Compatibility
SPMS version 20.2 or later. For customer operating on a version below 20.2 database upgrade to the recommended or latest version is required.
RFID Encoder Setup
This section describes the steps to set up the OMNIKEY RFID Reader for use in SPMS.
-
Unzip the OMNIKEY_5x2x_unattended_w7_x64_r1_2_26_140_0.zip driver that you downloaded from OMNIKEY website to a temporary folder.
-
Right-click on the Setup file and select Properties.
-
Navigate to the Compatibility tab, select ‘Run this program in compatibility mode for’ and then select the operating system from the drop-down list.
-
Run the HID_OMNIKEY_5x2x_unattended_w7_x64_r1_2_26_140_0.exe to install.
-
At the License Agreement screen, accept the license terms and agreement, and then click Next.
Figure 3-1 OMNIKEY License Agreement

-
On the Ready to Install the Program screen, click Install to begin the installation.
-
A Setup Status screen appears while the OMNIKEY driver is being installed, indicating the installation progress. Click Finish at the Install Shield Wizard Complete screen to exit.
Setting up VisiOnline Door Interface
This section describes the configuration steps for an SPMS Interface program such as VisiOnline Interface or Ving Vision RFID Interface.
-
Start VisiOnline Door.exe.
-
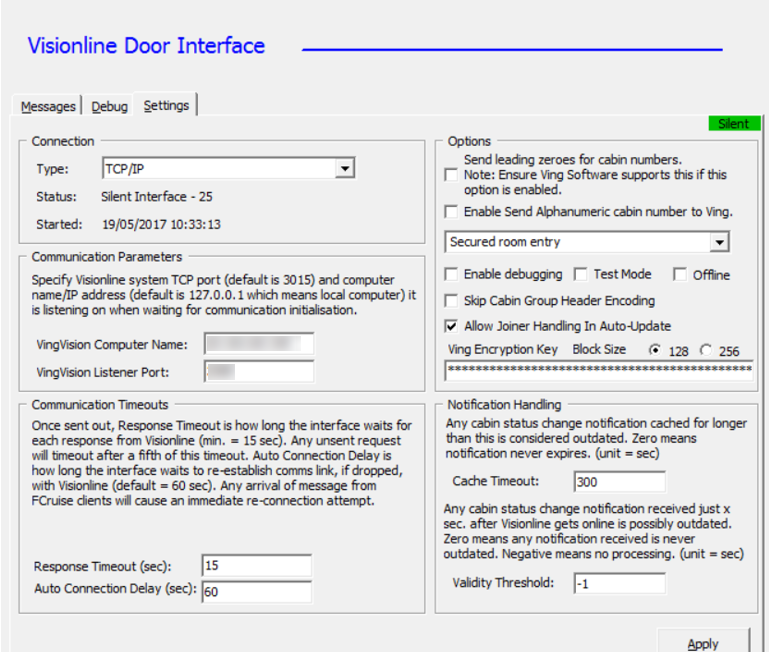
Navigate to the Settings tab, Communication Parameter section and enter the VingVision Computer Name and port number in their respective fields.
Figure 3-2 Ving Connection
-
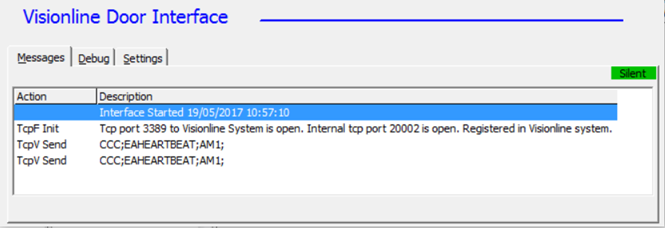
Restart the Interface program and ensure the Interface connects to the VisiOnline System when it starts up.
Figure 3-3 Visionline Interface Connection
Installing the Quick Encode
This section describes the steps to setup the Quick Encode software.
Configuring Quick Encode software
Before your begin, ensure the “Encode Track 3” option is enabled in the Management, Options, Hardware setting.
-
Run Quick Encode.exe.
-
Click the Settings icon.
Figure 3-4 Device Selection in Software Setup

-
Select one of the device/reader in the following option.
-
Card Reader #1: Select the RFID device to connect to.
-
RFID Reader #1: Select the correct RFID reader type.
Figure 3-5 Device Selection in Software Setup

-
Click Save to save the settings.
-
Customize Labels
The message prompts on the encoder are customizable and this is set up in Administration module, System Setup, Labels Setup.
-
Log in to the Administration Module, System Setup, Labels Setup.
-
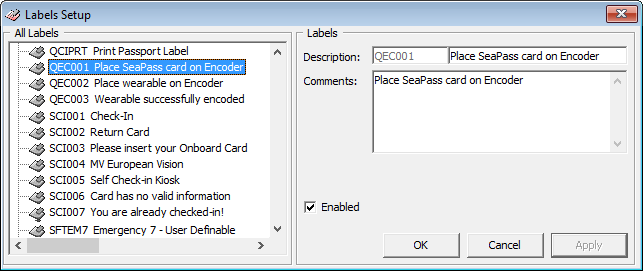
In the Labels Setup window, look up for these labels and edit the text in the Description field.
-
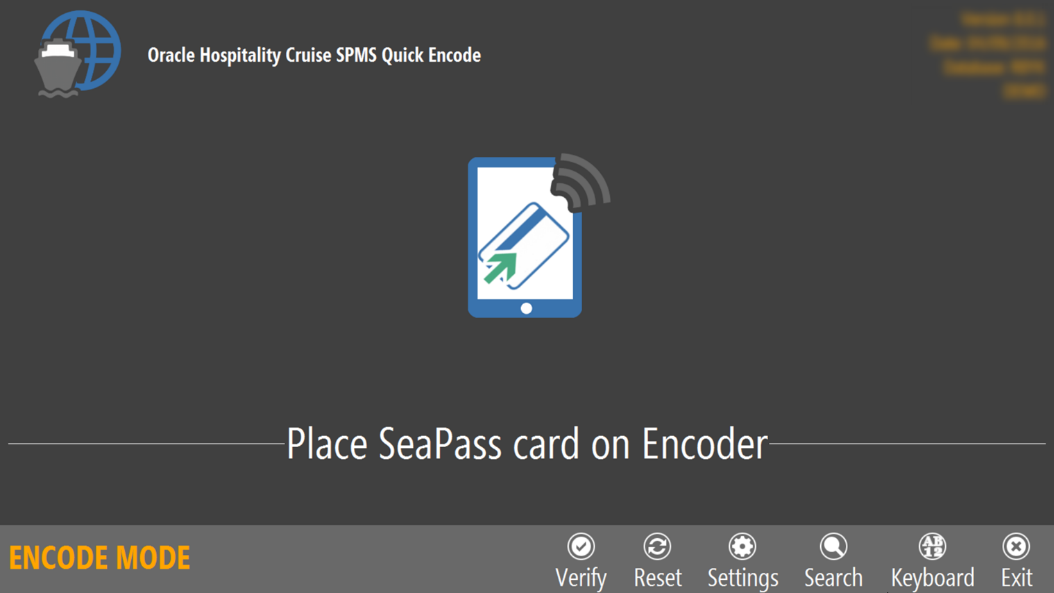
QEC001: Place SeaPass card on Encoder
-
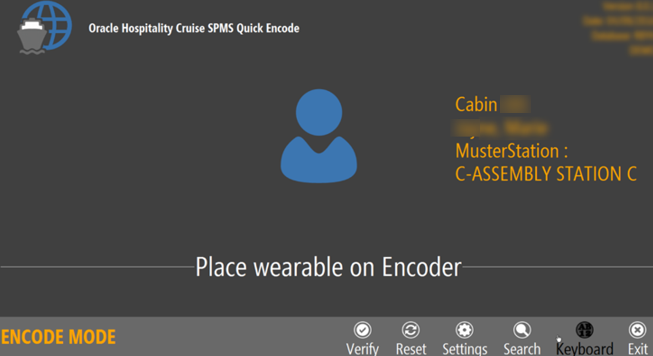
QEC002: Place Wearable on Encoder
-
QEC003: Wearable Successfully encoded
Figure 3-6 Customize Labels
-
-
Click Apply to save the changes.
Using the Quick Encode Functionality
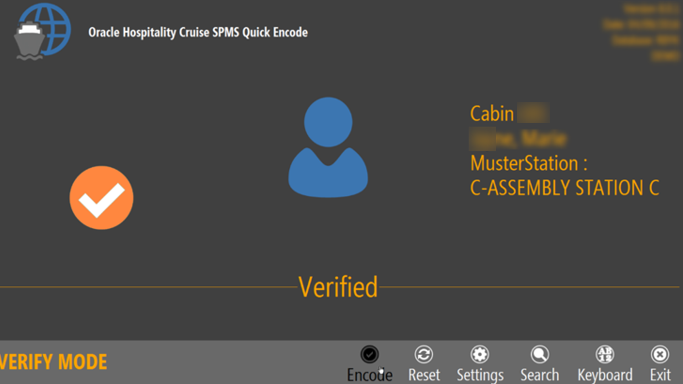
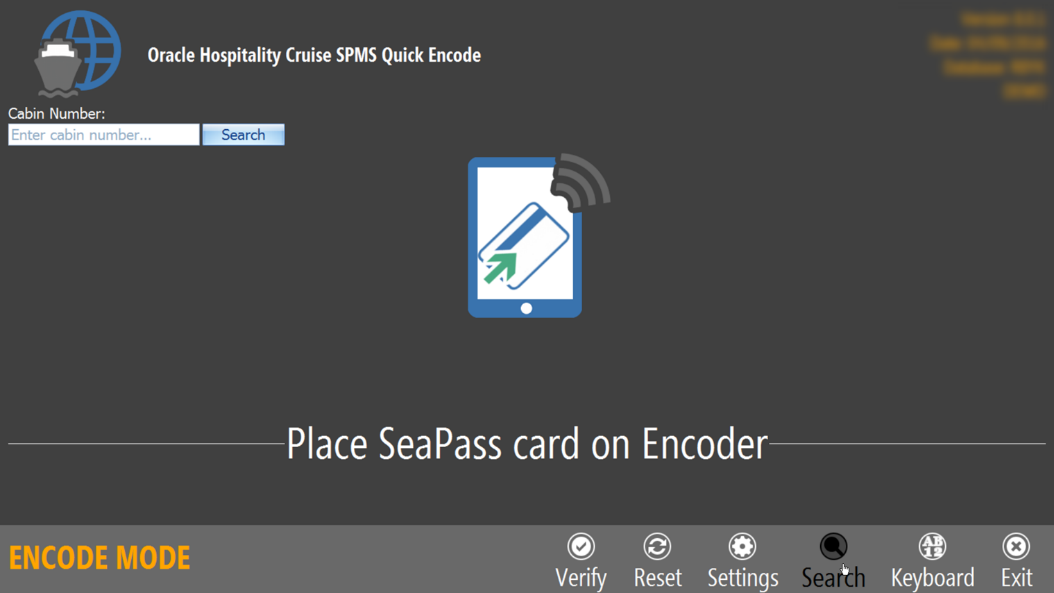
The Quick Encode module has two modes: The Encode Mode that allows you to encode and verify an RFID wearable, and a Verify mode that verifies the encoded information. The mode chosen is shown.
-
You can perform encoding of the wearable/access card.
-
Encodes information encoded to track 1, track 2, and track 3 on the wearable.
-
If the wearable RFID ID does not exist in the RFID table, the system encodes as a new card by requesting the door lock information from Ving Vision which has RFID record created with RFID PRINTED = “0”.
-
If the wearable RFID ID exists in the RFID table, the system encodes the card by requesting the door lock information from Ving Vision and updates the existing RFID record.
-
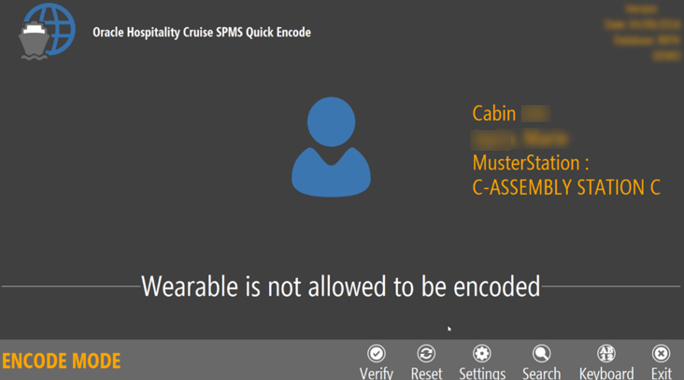
If the wearable RFID ID exists in the RFID table and wearable is printed directly from SPMS through a printer (RFID_PRINTED=1), it prompts the “Wearable is not allowed to be encoded”. See Figure 3-7
If the card is not the Ving RFID card type (Mifare 1K), the system encodes the Track 1 and Track 2 data only and skips the Track 3 door encoding.
-
If the door system is an Online Lock (from IFC VisiOnline), the system encodes Track 3 door lock for Non Ving RFID card type and personalizes the card for the guest.
Figure 3-7 Encode Mode for Non Ving RFID Card
