6 Feature Deactivation

This section describes the FABR feature deactivation procedure. Run this section only if there is a problem and it is desired to revert back to the pre-activation version of the software. In general, as long as there are no Application Routing Rules using the FABR application, it will have no impact on the system and does not need to be deactivated. The deactivation procedure will cause all the FABR related configuration data (including the ComAgent DP service related configuration and Application Routing Rules using FABR) to be removed. The crafts person must ensure that this is acceptable.

6.1 Pre-Deactivation Procedures

Before beginning the feature deactivation, complete the pre-deactivation procedure described below.

6.1.1 Perform Health Check (Pre-Feature Deactivation)

This procedure is used to determine the health and status of the DSR network and servers. This procedure performs a health check. If this procedure fails, contact My Oracle Support (MOS) for assistance.

  1. Log in to the SOAM VIP GUI. Establish a GUI session on the SOAM server by using the VIP address of the SOAM server. Open the web browser and enter the URL:
    http://<Primary_SOAM_VIP_IP_Address>
  2. Log in as the guiadmin user.

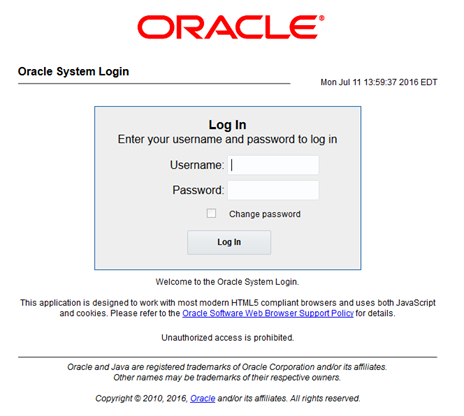
    Figure 6-1 Oracle System Login


    Oracle System Login

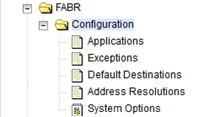
  3. In the SOAM VIP GUI, verify if the FABR folder is visible. Locate and verify the FABR folder from Main Menu is visible and the configuration folder items are present.

    Figure 6-2 Configuration Folder


    Configuration Folder

    Note:

    It should only be present after feature activation, so if it is not present, then the feature is already deactivated and there is no need to complete this deactivation procedure.
  4. Log in to the NOAM VIP GUI. Establish a GUI session on the NOAM server by using the VIP address of the NOAM server. Open the web browser and enter the URL:
    http://<Primary_NOAM_VIP_IP_Address>
  5. Log in as the guiadmin user.

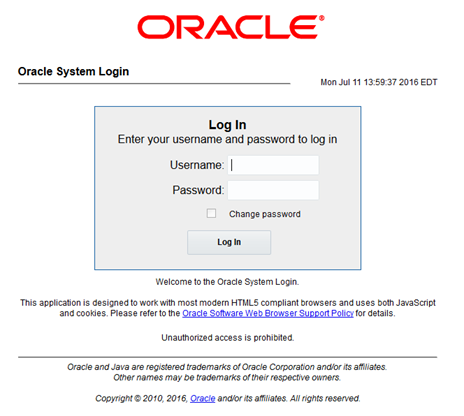
    Figure 6-3 Oracle System Login


    Oracle System Login

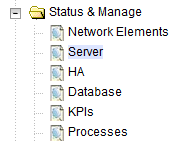
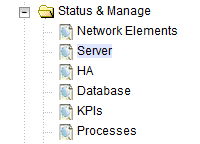
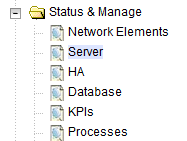
  6. Verify the server status. Expand Status & Manage option and click Server.

    Figure 6-4 Server Folder


    Server Folder

  7. Verify if all Server Status is Normal (Norm) for: Alarm (Alm), Database (DB), Replication Status, and Processes (Proc).

    Figure 6-5 Server Status


    Server Status

  8. Log the current alarms. Expand Alarms & Events option and click View Active.

    Figure 6-6 Alarms


    Alarms

  9. Click Report.

    Figure 6-7 Report


    Report

  10. Verify if the configuration data is correct for your network. Save or Print this report to keep copies for future reference.

    Figure 6-8 Save or Print


    Save or Print

    Compare this alarm report with those gathered in the pre-activation procedures.

    If this procedure fails, contact My Oracle Support (MOS) for assistance.

6.2 Deactivation Procedures

This chapter describes the FABR feature deactivation procedures.

6.2.1 Feature Deactivation

This section provides the detailed steps of the FABR deactivation procedures.

  1. Log in to the SOAM VIP GUI. Establish a GUI session on the SOAM server by using the VIP address of the SOAM server. Open the web browser and enter the URL:
    http://<Active_SOAM_IP_Address>
  2. Log in as the guiadmin user.

    Figure 6-9 Oracle System Login


    Oracle System Login

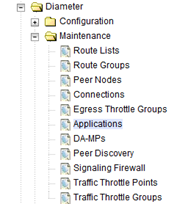
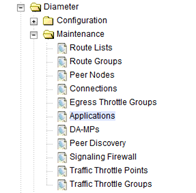
  3. Disable FABR application, expand the Diameter option, click Maintenance and select Applications.

    Figure 6-10 Applications Folder


    Applications Folder

  4. Select the FABR applications to disable, click Disable.

    Figure 6-11 Disable


    Disable

  5. Click OK to confirm.
  6. Log out of any active NOAM and/or SOAM GUI sessions.

    Figure 6-12 Log out GUI


    Log out GUI

  7. Establish a SSH session to the NOAM VIP. Log in as admusr.
  8. Navigate to the feature activation directory by running the command:
    $ cd /usr/TKLC/dsr/prod/maint/loaders/
  9. In the NOAM VIP GUI, run the feature activation script by running the following command:
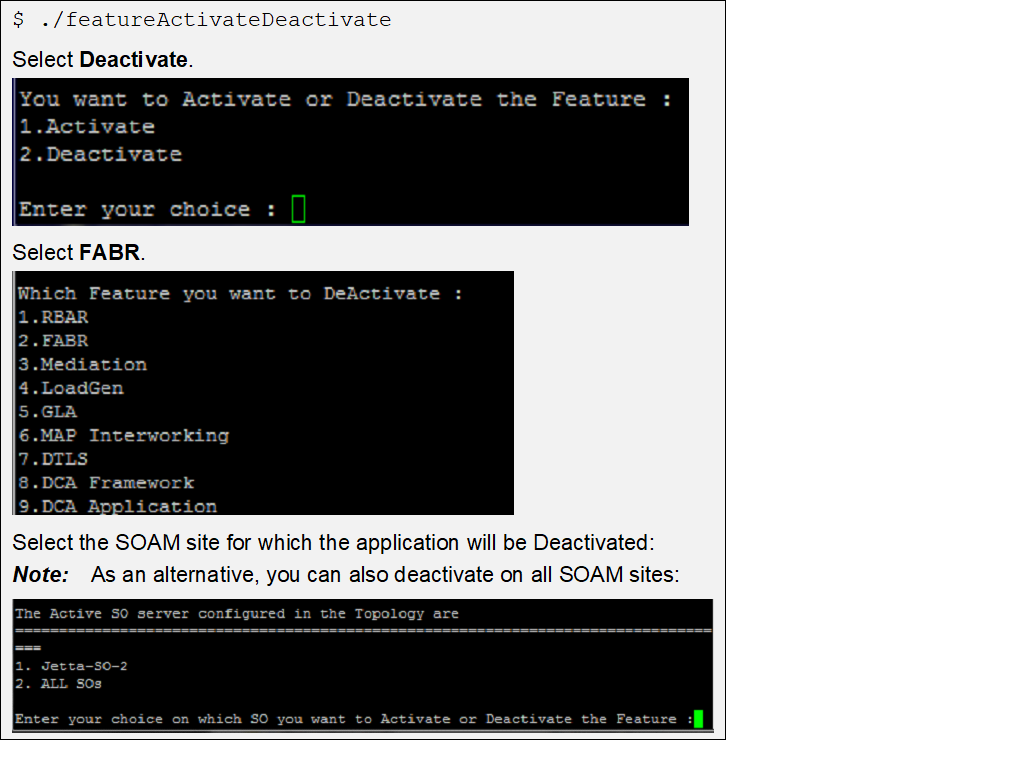
    $ ./featureActivateDeactive

    Figure 6-13 Run Script


    Run Script

    Refer to Sample Output of Deactivation (Active NOAM) for sample output.

  10. Log in to the active SOAM GUI, establish a GUI session on the active SOAM server by using IP address of the SOAM server. Open the web browser and enter the URL:
    http://<Primary_SOAM_VIP_IP_Address>
  11. Log in as the guiadmin user.

    Figure 6-14 Oracle System Login


    Oracle System Login

  12. In the active SOAM GUI, verify if the FABR folder is not visible under Main Menu.
  13. In the standby SOAM GUI repeat verification steps. Repeat Step 10, Step 11 and Step 12 for the standby SOAM.

    Note:

    If the verifications for the standby SOAM differ from the Active SOAM, stop and contact My Oracle Support (MOS).
  14. Log in to the SOAM VIP GUI. Establish a GUI session on the SOAM server by using the VIP address of the SOAM server. Open the web browser and enter the URL:
    http://<Active_SOAM_IP_Address>
  15. Log in as the guiadmin user.

    Figure 6-15 Oracle System Login


    Oracle System Login

  16. In the SOAM VIP GUI, restart the DA-MPs. Multiple iterations of this step may be executed during the feature deactivation procedure. This is dependent on the number of DA-MP servers within your system. Make a written record of the number of times the step was performed. It is recommended that no more than 50% of the DA-MPs be restarted at once. Expand Status & Manage option and click Server.

    Figure 6-16 Server Folder


    Server Folder

  17. Select the desired DA-MPs, press Ctrl to select multiple DA-MPs at once. Click Restart.
    1. Click OK to confirm.
    2. Verify if the server changes to the Err state and wait until it returns to the Enabled/Norm state.
    3. Repeat for the additional DA-MPs.
  18. In the SOAM VIP GUI, verify the maintenance screen. Expand the Diameter option, click Maintenance and select Applications.

    Figure 6-17 Applications Folder


    Applications Folder

    Verify if the FABR application is not present.

    If this procedure fails, contact My Oracle Support (MOS) for assistance.

6.3 Post-Deactivation Procedures

To deactivate the FABR feature, follow the procedures in this chapter.

6.3.1 Perform Health Check (Post-Feature Deactivation)

This procedure performs a post deactivation health check. This procedure is used to determine the health and status of the network and servers. If this procedure fails, contact My Oracle Support (MOS) for assistance.
  1. Log in to the NOAM VIP GUI. Establish a GUI session on the NOAM server by using the VIP address of the NOAM server. Open the web browser and enter the URL:
    http://<Primary_NOAM_VIP_IP_Address>
  2. Log in as the guiadmin user.

    Figure 6-18 Oracle System Login


    Oracle System Login

  3. In the NOAM VIP GUI, verify the server status. Expand Status & Manage option and click Server.

    Figure 6-19 Server Folder


    Server Folder

  4. Verify if all Server Status is Normal (Norm) for: Alarm (Alm), Database (DB), Reporting Status, and Processes (Proc).

    Figure 6-20 Server Status


    Server Status

  5. Log the current alarms. Expand Alarms & Events option and click View Active.

    Figure 6-21 Alarms


    Alarms

  6. Click Report.

    Figure 6-22 Report


    Report

  7. Verify if the configuration data is correct for your network. Save or Print this report to keep copies for future reference.

    Figure 6-23 Save or Print


    Save or Print

    Compare this alarm report with those gathered in the pre-deactivation procedures.

    Note:

    No routed service alarms should exist. These include the following alarms:

    Table 6-1 Alarm Condition

    Alarm - ID Alarm Condition
    19820 Communication Agent Routed Service Unavailable
    19821 Communication Agent Routed Service Degraded
    19822 Communication Agent Routed Service Congested
    19823 Communication Agent Routed Service Using Low-Priority Connection Group

    If this procedure fails, contact My Oracle Support (MOS) for assistance.