5 Feature Activation

Before feature activation, perform the system health check in Perform Health Check. This check ensures that the system is ready for feature activation. Performing the system health check determines which alarms are present in the system and if feature activation can proceed with alarms.

Figure 5-1 Warning


Warning

Read the following notes on feature activation procedures:

  • Where possible, command response outputs are shown as accurately as possible. Exceptions are as follows:
    • Session banner information such as time and date.
    • System-specific configuration information such as hardware locations, IP addresses, and host names.
    • ANY information marked with “XXXX” or “YYYY” where appropriate, instructions are provided to determine what output should be expected in place of “XXXX or YYYY”.
    • Aesthetic differences unrelated to functionality such as browser attributes: window size, colors, tool bars, and button layouts.
  • After completing each step and at each point where data is recorded from the screen, the technician performing the feature activation must track each step. The technician must track each iteration of the step that is executed.
  • Captured data is required for future support reference.

5.1 Pre-Activation Procedures

Perform Health Check

This procedure is used to determine the health and status of the network and servers. This must be run at the start of every maintenance window.

Note:

The health check procedure below is the same as the health check procedure described in Perform Health Check when preparing for feature activation, but it is repeated here to emphasize that it is being rerun if the procedure was performed outside the maintenance window.

5.1.1 Perform Health Check (Pre-Feature Activation)

This procedure provides steps to perform the required health checks.

Log in to the SOAM VIP GUI, establish a GUI session on the SOAM server by using the VIP address of the SOAM server.

  1. Open the web browser and enter the URL:
    http://<Primary_SOAM_VIP_IP_Address>
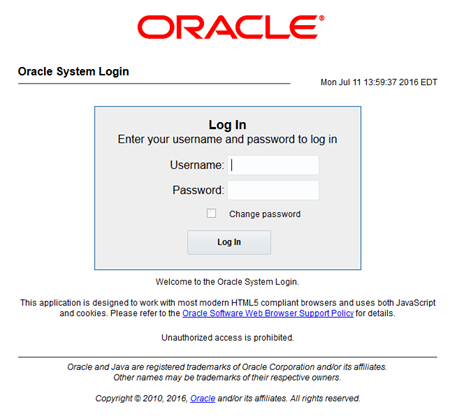
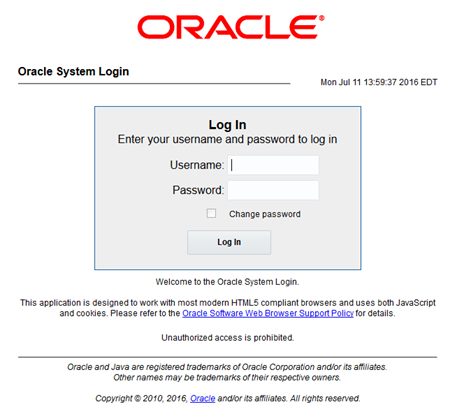
  2. Log in as the guiadmin user.

    Figure 5-2 Oracle System Login


    Oracle System Login

  3. Under the Main Menu, verify if the FABR folder is not present.
  4. Log in to the NOAM VIP GUI, establish a GUI session on the NOAM server by using the VIP address of the NOAM server.
  5. Open the web browser and enter the URL:
    http://<Primary_NOAM_VIP_IP_Address>
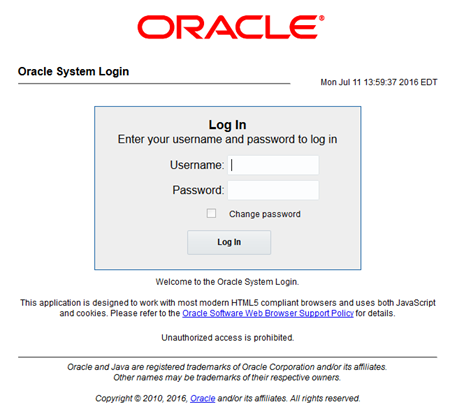
  6. Log in as the guiadmin user.

    Figure 5-3 Oracle System Login


    Oracle System Login

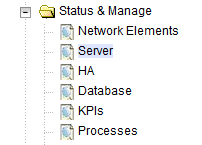
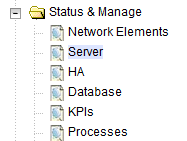
  7. Verify the server status, expand Status & Manage option and click Server.

    Figure 5-4 Server


    Server

  8. Verify if the Server Status is Normal (Norm) for: Alarm (Alm), Database (DB), Reporting Status, and Processes (Proc).

    Figure 5-5 Server Status


    Server Status

    Do not proceed to feature activation if any of the above states are not Norm. If any of these are not Norm, corrective action should be taken to restore the non-Norm status to Norm before proceeding with the feature activation.

    If the Alarm (Alm) status is not Norm but only Minor alarms are present, it is acceptable to proceed with the feature activation. If there are Major or Critical alarms present, these alarms should be analyzed before proceeding with the feature activation. The activation may be able to proceed in the presence of certain Major or Critical alarms. Contact My Oracle Support (MOS) for assistance as necessary.

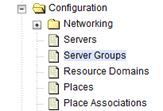
  9. Verify the Server Configuration, expand Configuration option and click Server Groups.

    Figure 5-6 Server Groups


    Server Groups

    Verify if the configuration data is correct for your network.

  10. Log current alarms, expand Alarms & Events option and click View Active.

    Figure 5-7 Alarms and Events


    Alarms and Events

  11. Click Report.

    Figure 5-8 Report


    Report

  12. Verify if the configuration data is correct for your network. Save or Print this report to keep copies for future reference.

    Figure 5-9 Save or Print


    Save or Print

    If this procedure fails, contact My Oracle Support (MOS) for assistance.

5.2 Activation Procedures

This section provides the detailed procedure for the feature activation. These procedures are run inside a maintenance window.

5.2.1 Feature Activation

This procedure provides detailed steps for FABR feature activation.

  1. Log out from any active NOAM and/or SOAM GUI sessions.

    Figure 5-10 Logout


    Logout

  2. Establish an SSH session to the NOAM VIP. Log in as admusr.
  3. Navigate to the feature activation directory by running the following command:
    $ cd /usr/TKLC/dsr/prod/maint/loaders/
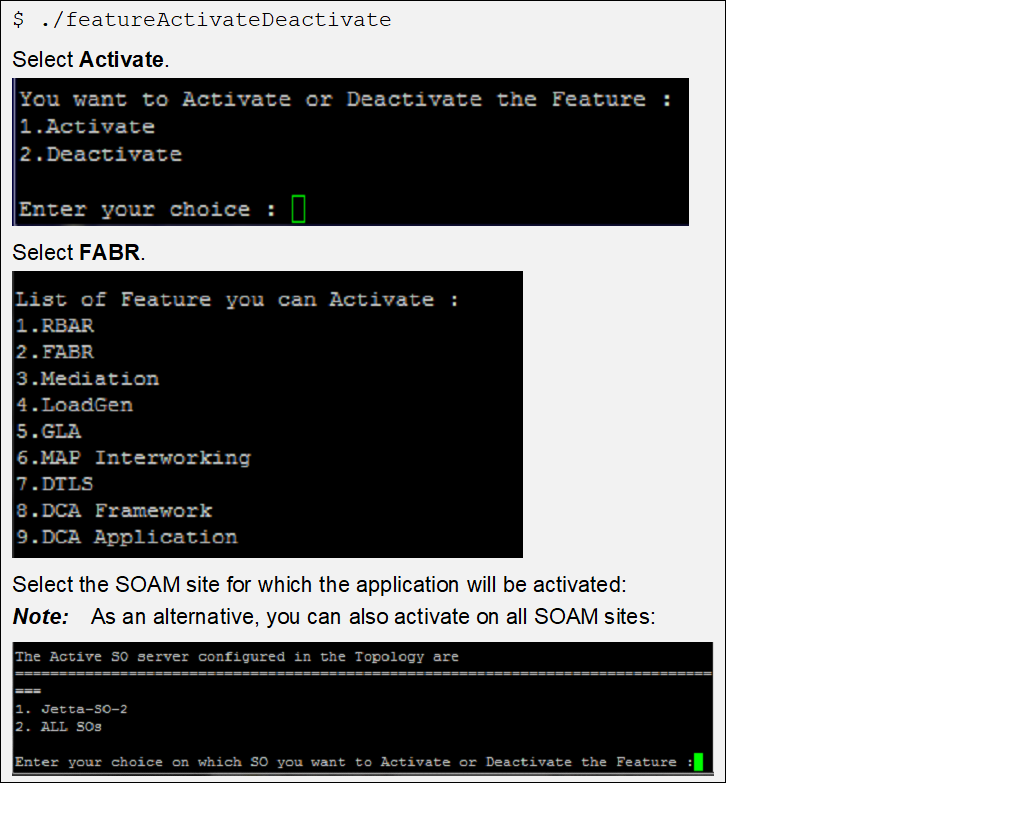
  4. Run the feature activation script using the following command:
    $ ./featureActivateDeactivate

    Figure 5-11 Feature Activation Script


    Feature Activation Script

    Refer to Sample Output of Activation (Active NOAM) for output example.

  5. Establish a GUI session on the Active SOAM Server by using IP address of the SOAM server. Open the web browser and enter the following URL:
    http://<Active_SOAM_IP_Address>
  6. Log in as the guiadmin user.

    Figure 5-12 Oracle System Login


    Oracle System Login

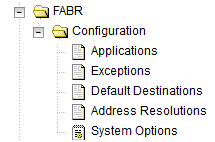
  7. Verify if the FABR folder is visible. Locate and verify the FABR folder from Main Menu, check if it is visible and verify if the configuration folder items are present.

    Figure 5-13 Configuration Folder


    Configuration Folder

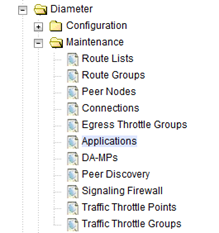
  8. Verify if the application maintenance screen is visible. Verify if the FABR application is present in the Application Status screen. Expand the Diameter option, click Maintenance and select Applications.

    Figure 5-14 Application Status


    Application Status

    Verify if the FABR status is uninitialized. The following data should be displayed:

    • Admin State = Disabled
    • Operational Status = Unk
    • Operational Reason = Unk
    • Congestion Level = Unk

    Where, Unk means Unknown.

  9. In the stand by SOAM GUI, repeat the verification step 5 up to step 8.

    Note:

    If the verifications for the standby SOAM differ from the active SOAM, stop and contact My Oracle Support (MOS).
  10. Establish a GUI session on the SOAM Server by using the VIP address of the SOAM server. Open the web browser and enter the URL http://<Active_SOAM_IP_Address>
  11. Log in as the guiadmin user.

    Figure 5-15 Oracle System Login


    Oracle System Login

  12. Restart DA-MPs. Multiple iterations of this step may be executed during the feature activation procedure. This is dependent on the number of DA-MP servers within your system. Make a written record of the number of times the step was performed. It is recommended that no more than 50% of the DA-MPs be restarted at once. Expand the Status & Manage and click the option Server.

    Figure 5-16 Server Folder


    Server Folder

    Select the desired DA-MPs, use the Ctrl button to select multiple DA-MPs at once.

  13. Click Restart.
    1. Click OK to confirm.
    2. Verify the server changes to the Err state and wait until it returns to the Enabled/Norm state.
    3. Repeat for the additional DA-MPs.
  14. Enable the application. Expand the Diameter option, click Maintenance and select Applications. Select the MP servers on which FABR is present, press Ctrl to select multiple servers at once. Click Enable.

    Figure 5-17 Enable


    Enable

  15. Click OK to confirm the operation.

    Note:

    If ComAgent remote server DP connections have not already been setup, you will receive the following Status after enabling:

    Figure 5-18 Status


    Status

    Note:

    If not already done so, refer Diameter Signaling Router Full Address Based Resolution (FABR) User’s Guide to configure the needed ComAgent connections.
  16. Complete the FABR configuration. Follow the instructions in Diameter Signaling Router Full Address Based Resolution (FABR) User’s Guide to complete FABR configuration.
  17. In the SOAM VIP GUI, verify if the application maintenance screen is visible. Assuming SDS is installed, and ComAgent remote server connections are configured, the following should be displayed. Expand the Diameter option, click Maintenance and select Applications.

    Figure 5-19 Applications Folder


    Applications Folder

    Verify if the FABR status is initialized. The following data should be displayed:

    • Admin State = Enabled
    • Operational Status = Available
    • Operational Reason = Normal
    • Congestion Level = Normal

    Figure 5-20 FABR Status


    FABR Status

    If this procedure fails, contact My Oracle Support (MOS) for assistance.

5.3 Post-Activation Procedures

This section describes the procedures to be followed after FABR feature activation.

5.3.1 Perform Health Check (Post-Feature Activation)

This procedure is used to determine the health and status of the DSR release network and servers. If this procedure fails, contact My Oracle Support (MOS) and ask for assistance.
  1. Log in to the NOAM VIP GUI. Establish a GUI session on the NOAM server by using the VIP address of the NOAM server. Open the web browser and enter the URL:
    http://<Primary_NOAM_VIP_IP_Address>
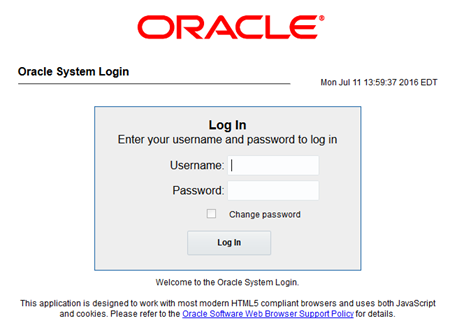
  2. Log in as the guiadmin user.

    Figure 5-21 Oracle System Login


    Oracle System Login

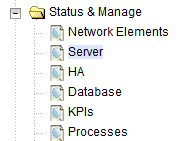
  3. Verify the server status. Expand Status & Manage option and click Server.

    Figure 5-22 Server Folder


    Server Folder

  4. Verify all Server Status is Normal (Norm) for: Alarm (Alm), Database (DB), Reporting Status, and Processes (Proc).

    Figure 5-23 Server Status


    Server Status

  5. Log current alarms. Expand Alarms & Events option and click View Active

    Figure 5-24 Alarms


    Alarms

  6. Click Report.

    Figure 5-25 Report


    Report

  7. Click Save or Print. Keep the report copies for future reference.

    Figure 5-26 Save or Print


    Save or Print

    Compare this alarm report with those gathered in the pre-activation procedures.

    If this procedure fails, contact My Oracle Support (MOS) for assistance.