- Subscriber Data Server Cloud Installation Guide
- Configuration Procedures
- Configure SDS NOAM Servers A and B (1st Site Only)
3.1 Configure SDS NOAM Servers A and B (1st Site Only)
- The SDS Network Element XML file for the Primary Provisioning SDS site must be created as described in Appendix A Creating an XML file for Installing SDS Network Elements.
- The Network Element XML files are present on the laptop’s hard drive.
- The user must connect to the SDS GUI before configuring to the first SDS server.
- Launch the approved web browser and connect to the SDS NOAM-A XMI IP
address.
Note:
If the Security Certificate Warning screen displays, click Continue to this website (not recommended).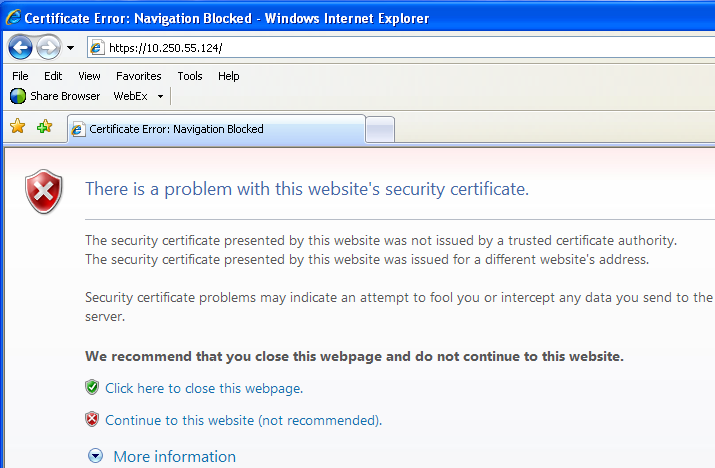
- To login, establish a GUI session as the guiadmin user on the NOAM-A
server, by using the XMI IP address.
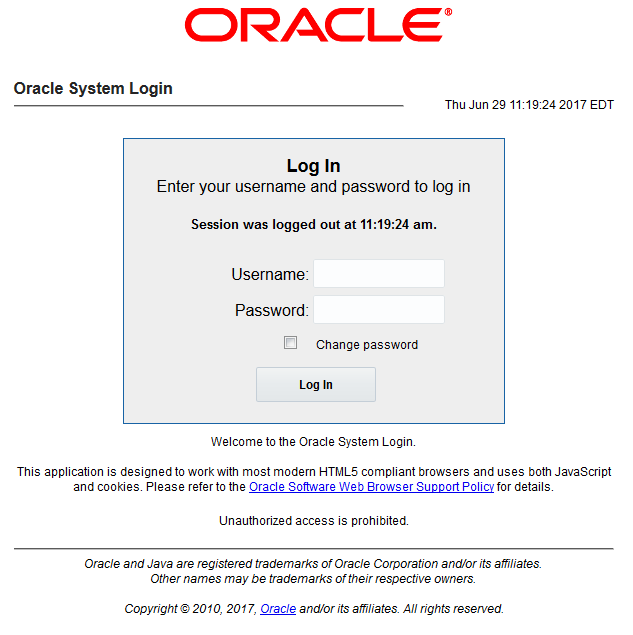
- To create the SDS NOAM-A network element, using the XML file, perform
the following steps:
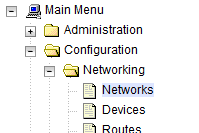
- Navigate to Configuration > Networking > Networks.
- Click Browse and type the pathname
of the NOAM network XML file.

Note:
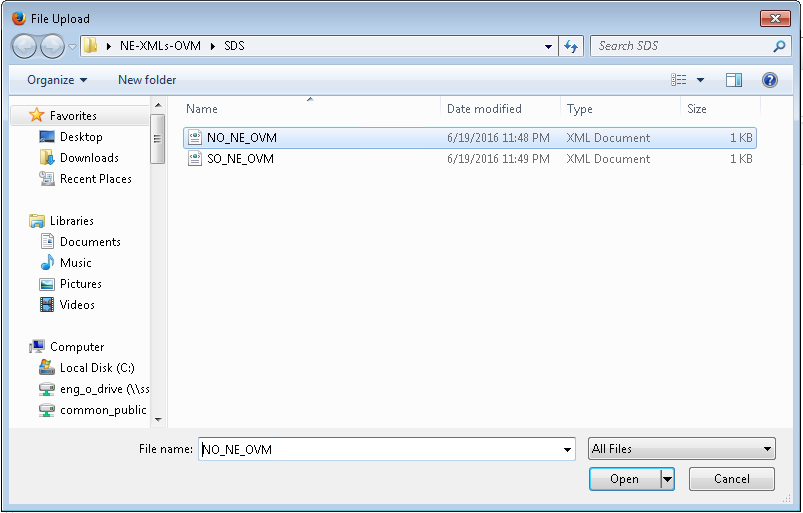
This step assumes that the XML files were previously prepared as described in Creating an XML file for Installing SDS Network Elements. - Select the location of the XML file and click
Open.
- Click Upload File to upload the XML
file.

If the values in the XML file pass, an information banner displays.

Note:
Left-click on the Info banner to display the banner.
- Navigate to Configuration > Networking > Networks.
- To map services to networks, perform the following steps:
- Navigate to Configuration > Networking > Services.
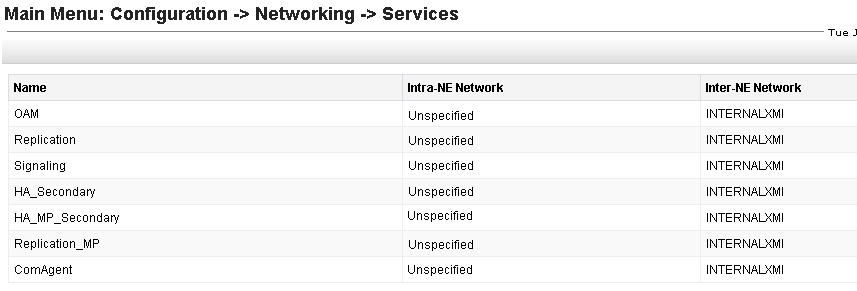
- Click Edit.
- Set the services as shown in the table below:
For example: If your IMI network is named IMI and your XMI network is named XMI, then your services configuration should look like the following:
Table 3-1 Services - IMI and XMI Network
Name Intra-NE Network Inter-NE Network OAM <IMI Network> <XMI Network> Replication <IMI Network> <XMI Network> Signaling <IMI Network> <XMI Network> HA_Secondary <IMI Network> <XMI Network> HA_MP_Secondary <IMI Network> <XMI Network> Replication_MP <IMI Network> <XMI Network> ComAgent <IMI Network> <XMI Network> Figure 3-1 Example for Services Configuration
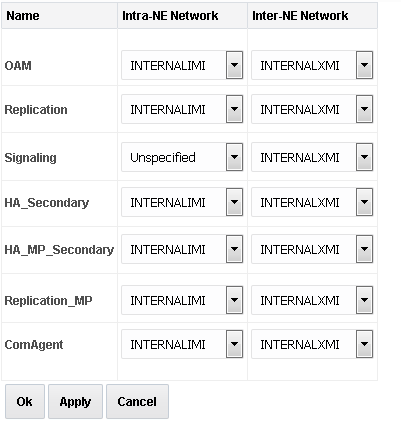
- Click OK to apply the
Service-to-Network selections. Dismiss any popup notifications.

- Navigate to Configuration > Networking > Services.
- To insert the 1st VM, perform the following steps:
- Navigate to Configuration > Servers.
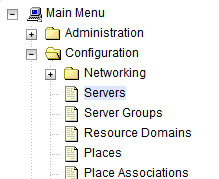
- To insert the new NOAM server into either the server or first server’s table, click Insert.
- Configure the following fields with these values:
- Hostname: Assigned Hostname
- Role: NETWORK OAM&P
- System ID: Assigned Hostname
- Hardware Profile: SDS Cloud Guest
- Network Element Name: [Select NE from list]
- Location: Optional
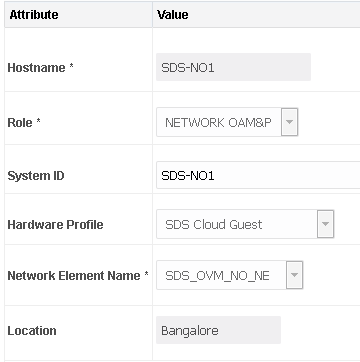
The network interface fields are now available with selection of choices based on the chosen hardware profile and network element.
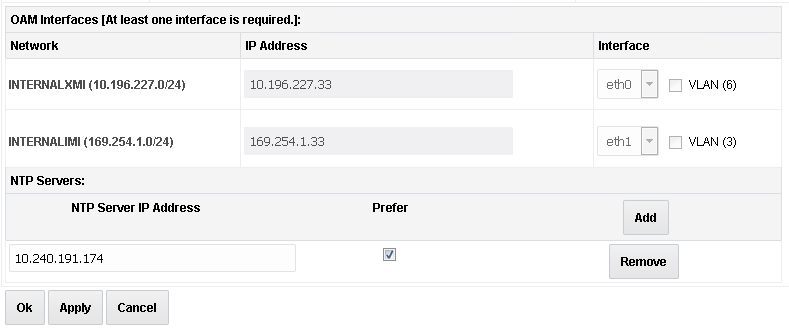
- Enter the server IP addresses for the XMI network, select ethX for the interface and leave the VLAN checkbox unchecked.
- Enter the server IP addresses for the IMI network, select
ethX for the interface and leave the VLAN checkbox
unchecked.
Note:
For OpenStack, these IP addresses must be the addresses used during instance booting and networking. - Add the following NTP servers:
NTP Server Preferred? Valid NTP Server Yes Valid NTP Server (Optional) No Valid NTP Server (Optional) No - Optionally, mark the Prefer checkbox to prefer one server over the other.
- Click OK, post entering all the server data.
- Navigate to Configuration > Servers.
- To export the initial configuration, perform the following steps:
- Navigate to Configuration > Servers.

- From the GUI screen, select the SDS server and click
Export to generate the initial configuration
data for that server. Navigate to the Info tab to verify if the file has
been created.

- Navigate to Configuration > Servers.
- To copy server configuration file to
/var/tmpdirectory, perform the following steps:- Obtain a terminal window to the SDS NOAM-A server, logging in as the admusr user.
- Copy the configuration file created in the previous step from the
/var/TKLC/db/filemgmtdirectory on the SDS NOAM-A to the/var/tmpdirectory. The configuration file has a filename likeTKLCConfigData.<hostname>.sh.For example:$ cp /var/TKLC/db/filemgmt/TKLCConfigData.<NOAM-A_hostname>.sh /var/tmp/TKLCConfigData.shNote:
The server polls the/var/tmpdirectory for the configuration file and automatically executes it.For the NOAM-B server, the command is:$ scp \ /var/TKLC/db/filemgmt/TKLCConfigData.<NOAM-B_hostname>.sh \ <NOAM-B_ipaddr>:/var/tmp/TKLCConfigData.sh
Note:
The IPADDR is the IP address of NOAM-B associated with the XMI network.Wait for configuration to complete.
The automatic configuration daemon looks for the file named
TKLCConfigData.shin the/var/tmpdirectory, implements the configuration in the file, and prompts the user to reboot the server.A broadcast message is sent to the terminal. This can take anywhere from 3-20 minutes to complete.Note:
If you are on the console, wait to be prompted to reboot the server. Do not reboot the server, it is rebooted later in this procedure.Verify the script completed successfully by checking the following file.$ sudo cat /var/TKLC/appw/logs/Process/install.logNote:
Ignore the warning about removing the USB key since no USB key is present. No response occurs until the reboot prompt is issued. - To set the time zone, which is optional, and reboot the server, perform the
following steps:
- To change the system time zone, from the command line prompt, run
set_ini_tz.pl. The following command example uses the America/New_York time zone.$ sudo /usr/TKLC/appworks/bin/set_ini_tz.pl "America/New_York" >/dev/null 2>&1 $ sudo init 6 - Replace, as appropriate, with the time zone you have selected for this
installation. For a full list of valid time zones, see Appendix B List
of Frequently Used Time Zones.
Wait for server to reboot.
- To change the system time zone, from the command line prompt, run
- To verify server health, perform the following steps:
- Log into the NOAM1 as the admusr user.
- Run the following command on the 1st NOAM server and ensure no errors
are
returned:
$ sudo syscheck Running modules in class hardware... OK Running modules in class disk... OK Running modules in class net... OK Running modules in class system... OK Running modules in class proc... OK LOG LOCATION: /var/TKLC/log/syscheck/fail_log - Exit from the command line to return to the server
console.
$ exit
sds-mrsvnc-a login:
- To configure DR SDS NOAM-B, repeat the above Step 5 to Step 10 of this procedure in SDS NOAM-B.