- Subscriber Data Server Cloud Installation Guide
- Configuration Procedures
- OAM Pairing (1st SDS NOAM Site Only)
3.2 OAM Pairing (1st SDS NOAM Site Only)
Configuring the SDS Server Group:
- Launch an approved web browser and connect to the SDS NOAM-A using an
https:// address.
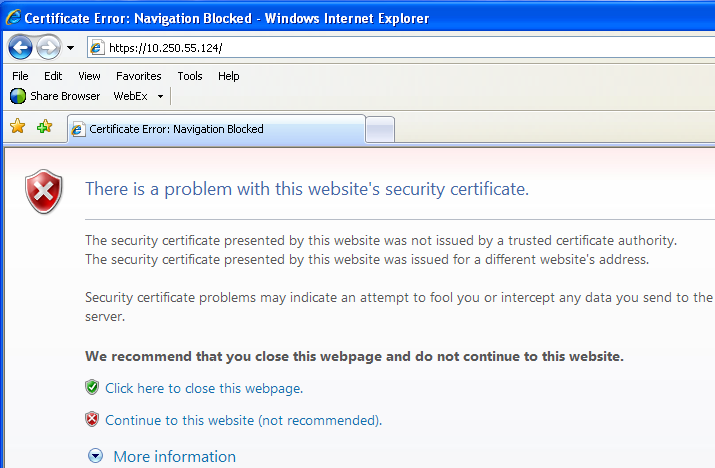
If the Security Certificate Warning screen displays, click Continue to this website (not recommended).
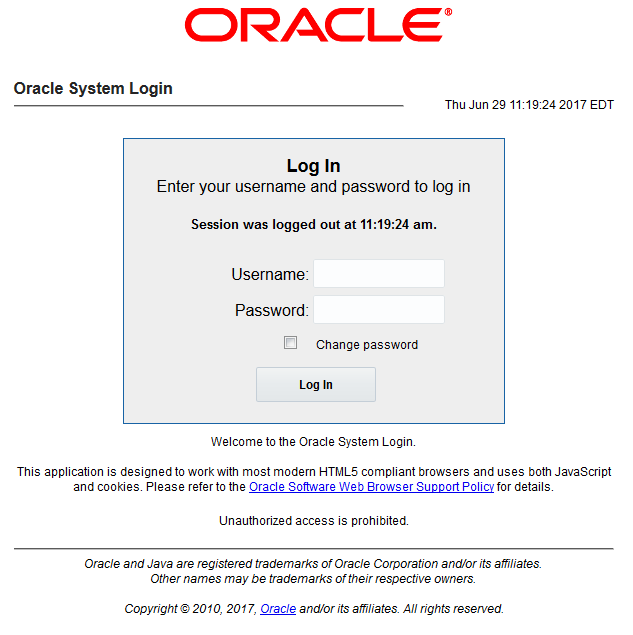
- To login to SDS NOAM-A, establish a GUI session as the guiadmin user on the
NOAM-A server.
- To enter group data in SDS NOAM-A, perform the following steps:
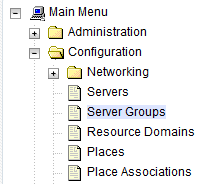
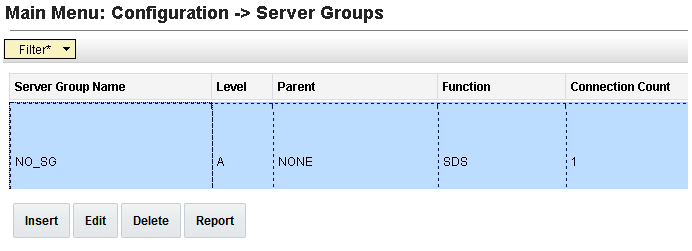
- Navigate to Configuration > Server Groups.
- Click Insert.
Fill in the following fields:
- Server Group Name: [Type Server Group Name]
- Level: A
- Parent: None
- Function: SDS
- WAN Replication Connection Count: Use Default Value
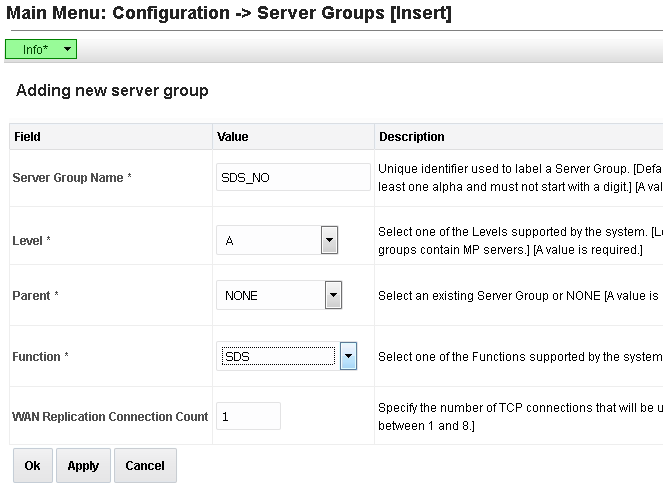
- Click OK when all fields are configured.
- Navigate to Configuration > Server Groups.
- To add server to OAM Server Group, in SDS NOAM-A perform the following
steps:
- Select the new server group and click
Edit.
- In the portion of the screen that lists the servers for the server group, find the SDS-NOAM servers being configured.
- Select Include in SG checkbox.
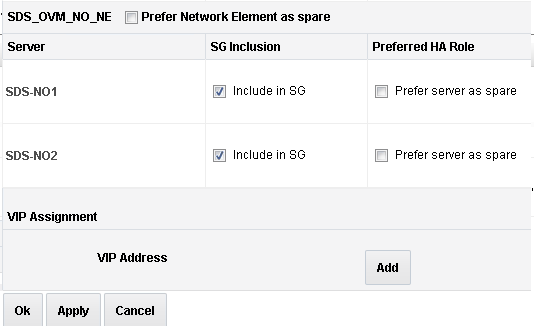
- Click Apply.
- Select the new server group and click
Edit.
- To add VIP address, in SDS NOAM-A perform the following steps:
- Click Add.

- Enter the IP address in the textbox under VIP
Address and click Apply.
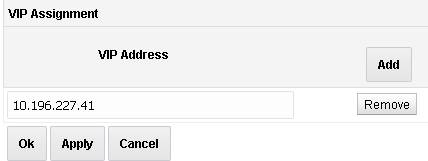
This process takes a minimum of 5 minutes, depending on the underlying infrastructure. The server pairs within the server group and establishes a master/slave relationship for High Availability (HA).
- Click Add.
- Launch an approved web browser and connect to the XMI virtual IP address
assigned in Step 5 to the SDS server group using https://.If the Security Certificate Warning screen displays, click Continue to this website (not recommended).

- To login to SDS VIP, establish a GUI session as the
guiadmin user on the NOAM-A server by using the XMI IP address.

- To verify and restart the servers, in SDS VIP perform
the following steps:
- Navigate to Status & Manage > Server.
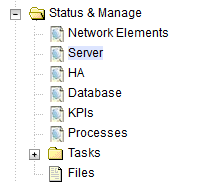
- Verify if the DB status is Norm and the Proc status
is Man.

- Select the SDS NOAM-A server and click Restart.
- Click OK on the confirmation
screen.
A confirmation banner displays.

- Verify if the Appl state is Enabled and the DB and
Reporting Status is Norm.

Note:
To refresh the server status screen before the 15-30 second default, navigate to the Status & Manage > Server screen again.
- Navigate to Status & Manage > Server.
- To configure SDS NOAM-B, repeat the above 8 steps in SDS
NOAM-B.
This process takes a minimum of 5 minutes, depending on the underlying infrastructure. The server pairs within the server group and establishes a master/slave relationship for High Availability (HA).
3.2 Verifying SDS Server Alarm Status
- To establish GUI session on the NOAM VIP, use the NOAM VIP address and
login as the guiadmin user.

Wait for remote database alarm to clear. - Navigate to Alarms & Events > View Active.
- Verify if event ID 14101, which has no remote connections, is the
only alarm present on the system at the time.

3.2 Configuring SNMP for Traps from Individual Servers
- To establish GUI session on the NOAM VIP, use the NOAM VIP address and login as the guiadmin user.
- In SDS VIP, navigate to SNMP Trapping screen and perform the following
steps:
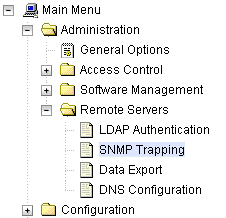
- Navigate to Administration > Remote Servers > SNMP
Trapping.
- Click Insert.
- Change the Enabled Versions to SNMPv2c.

- Mark the Traps from Individual Servers checkbox as
Enabled.

- Click OK.
- Navigate to Administration > Remote Servers > SNMP
Trapping.