 |
Knowledge Base/Oracle Social Engagement and Monitoring/Oracle Social Engagement and Monitoring Documentation
Quick Start Guide! Setup Steps
Congratulations you've been invited to the Involver Platform's Conversation Suite! For a quick orientation of the platform, watch this 5 minute orientation video to get acquainted with the platform.
Now that you have an idea of what the Conversation Suite can do for you, you can get started!
Check your email inbox for an email from notifications@involver.com where you will find a link to your Account and a temporary password. Copy and the password (careful to copy only the password and not any spaces on either ends) and then click on the link or copy it into your preferred browser where you will be prompted to log in. Follow the steps below to get your account set up and start!
**The below steps reflect the current available options in the Conversation Suite as of the date at the top of this page. When more features are added, the documentation will be updated to reflect those changes.
Set Up
To get started follow the steps below to change your password and name, configure permission settings, and set up your users and channels and you'll be able to start managing your channels' content.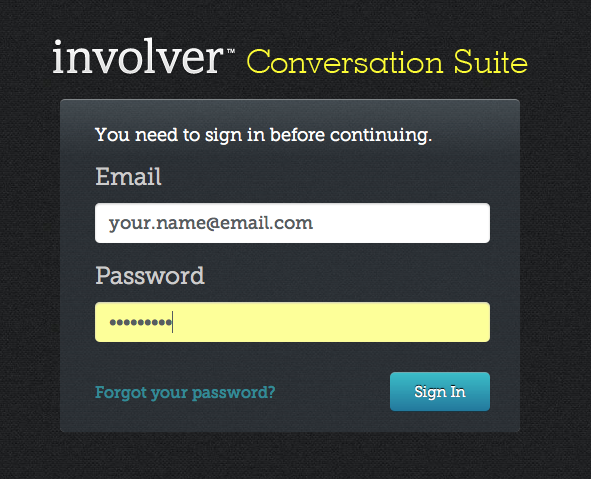
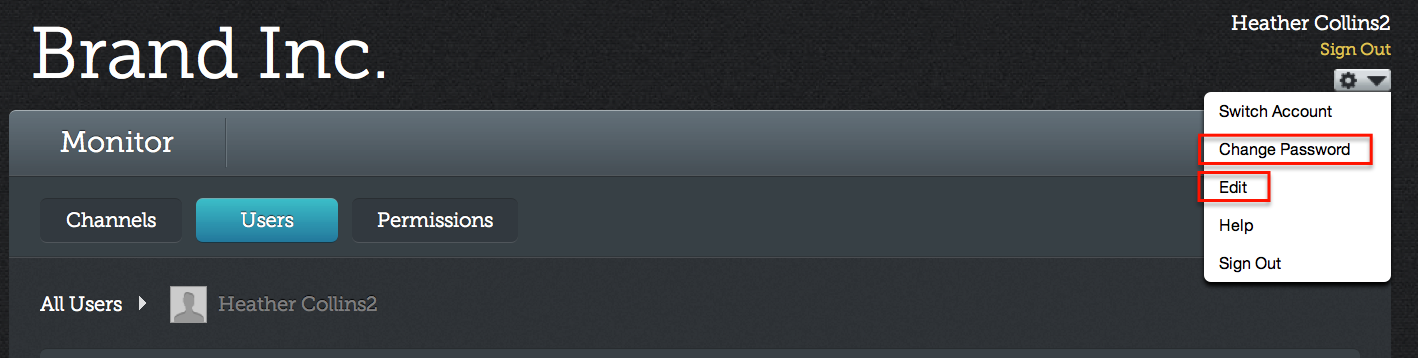
Step 1: Log in using your temporary password - VIDEO!
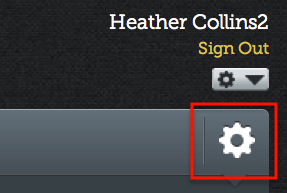
- Go to the drop down in the top right
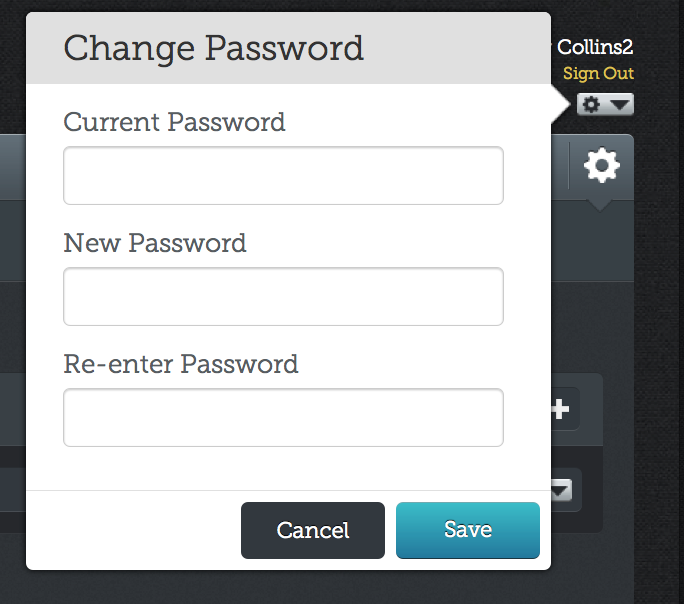
- Select Change Password
- Paste in your temporary one and set your own
- Select Edit (optional)
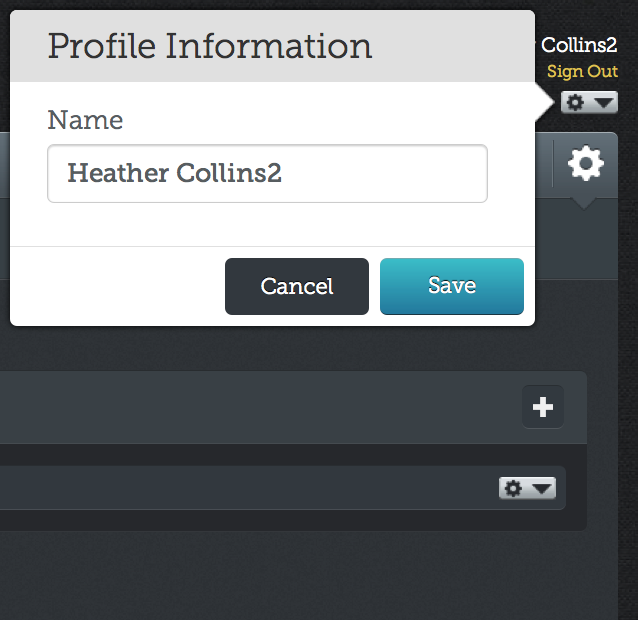
- Update your Name if needed. (This is what will be displayed to other members of the account.)
- Note also the remaining selections in this drop down:
- Switch Account - If you have been added to a separate account you can click here to transfer from one to the next without logging in separately.
- Help - Should you need any assistance, select Help to be directed to our Support page and find the answers you'll need.
- Manage Apps -If you have been using our legacy community management tool, the Audience Management Platform, and are still managing your social applications there, this will link you directly to your account there so you can easily manage your Facebook applications.
- Sign Out - Click here to log out of the account and return to the sign in state.
Step 2: Create/Setup Permissions - VIDEO!
- Click on the Settings button
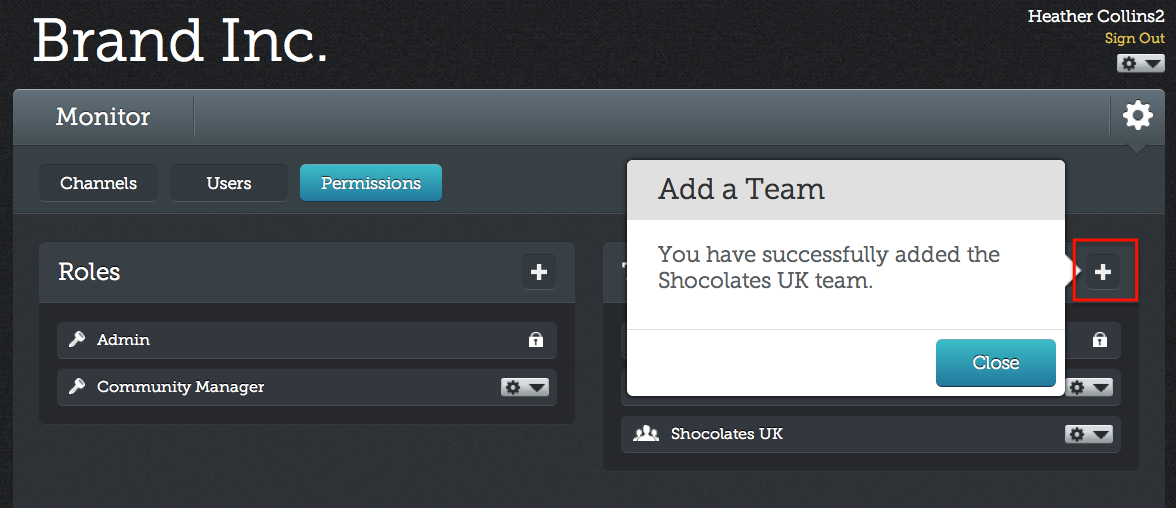
- Select Permissions from the buttons along the top
- Click on the + button in the Roles section to create Roles: A set of capabilities for different team members, can be applied to multiple members
- Default Roles:
- Admin: Can do everything
- Non Default roles can be created using the following capabilities:

- Non public facing actions
- View
- Assign
- Label
- Archive
- Mark as Unread
- Write post - (In the Publish tab, users can compose and schedule posts, however the message cannot be published until it has been approved by a user with publishing ability - See the Publishing and Scheduling section for more details)
- Public facing actions
- Publish Post
- Reply
- Hide
- Delete
- Like Comments
- Click on the + button in the Teams section to create Teams: Groups of channels
- Default Team:
- Global - Includes all channels added to the entire account
- Create your own team by giving it a name. (Once you add your channels you can add those channels to the teams of your choice immediately, can also be done the other way around. See Add Channels for more information.)
- Name your teams
- Add
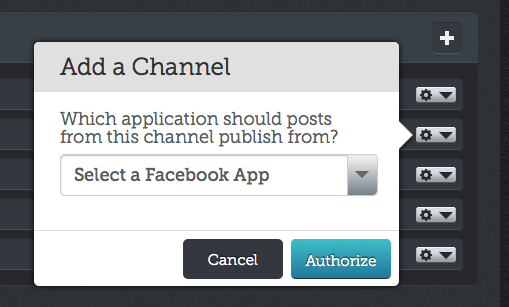
Step 3: Add Channels - VIDEO!

- Select Channels from the buttons along the top
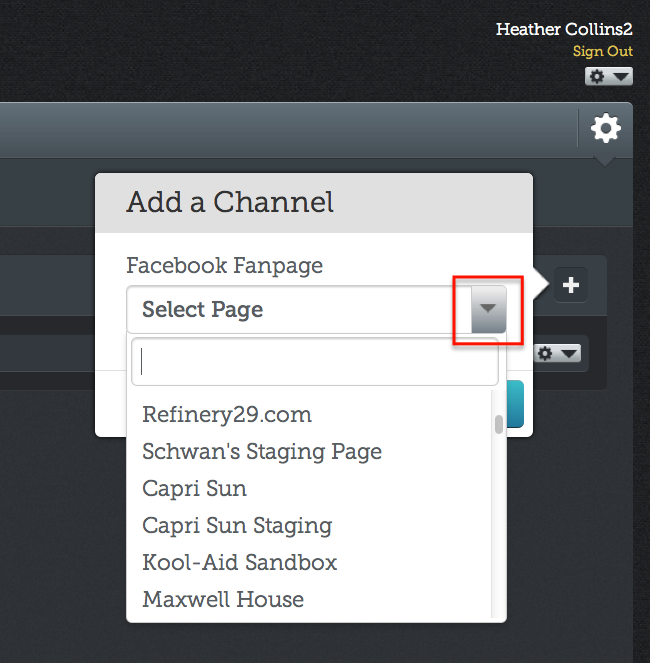
- Click on the + button
- Select Facebook or Twitter
- Admin - authorize Involver to access your page
- Conditional step: If you have requested multiple custom publishing signatures from your Contact at Involver, you will be prompted to choose which one you would like to have applied to the channel you are about to add.
- Select the page from the drop-down
- Non-Admin - enter page name or URL of any public FB page
- Admin - authorize involver to access your twitter account
- Search - enter a search term (Go to Twitter/Search and click on Operators to see a full list of supported search terms)
- Click on Add
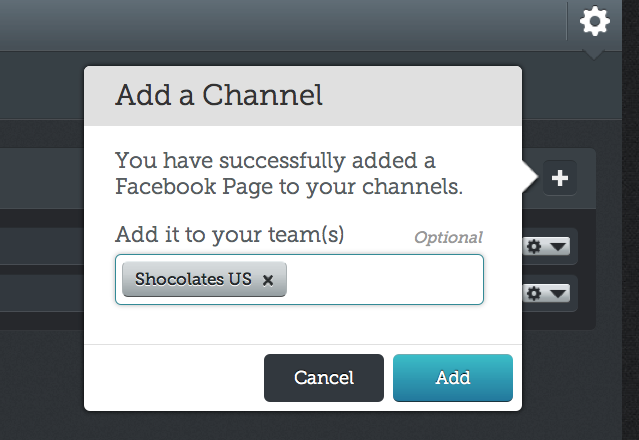
- Your Channel has been successfully Added.
- Optional: Select a Team to which you want to add this channel and Click Add
- Optional: Change channel Display Name
- Select Edit from channel drop-down
- Enter desired new name (Example: Change channel Display Name from Jack Daniels Dominican Republic to JD Dominican Rep.)
- Optional: Change Publishing Signature App (Authorized Facebook Channel Only and must have two or more Publishing Signature Apps applied to the account)
- Select Reauthorize form the the channel drop-down
- Select the App from the drop down that you would like applied to this channel.
- To remove a channel, click on the drop-down to the right of the channel you wish to remove and select Delete.
Step 4: Add Users - VIDEO!
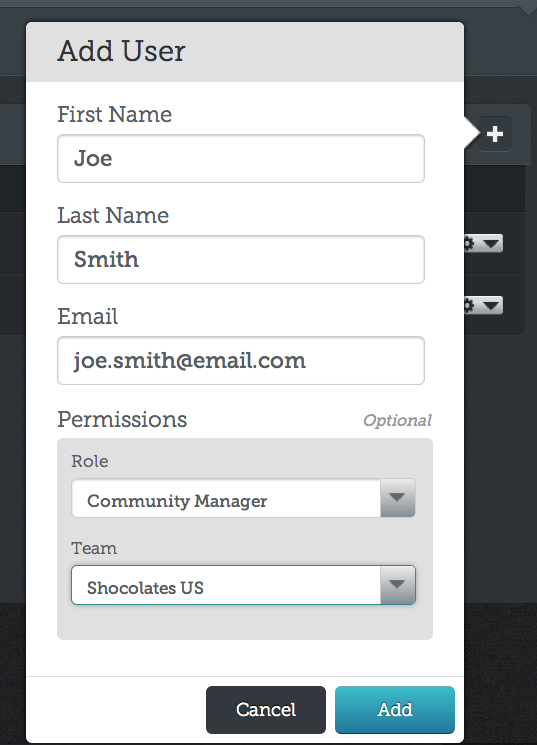
- Select Users from the buttons along the top
- Click on the + button
- Enter First and Last name and email
- Optional:
- Permissions: Role and Team (Can edit a user's permissions later by following the next steps)
- Manage users and their permissions
- Select Manage from drop down next to user's name

- Edit current permissions
- Select Edit from drop down the right
- Select new role and/or team
- Add a new permission to a User without removing current permission settings
- Click on the + button
- Select new role and team
- Note: Only the users themselves will be able to change their own display names.
Step 5: Automation (optional)
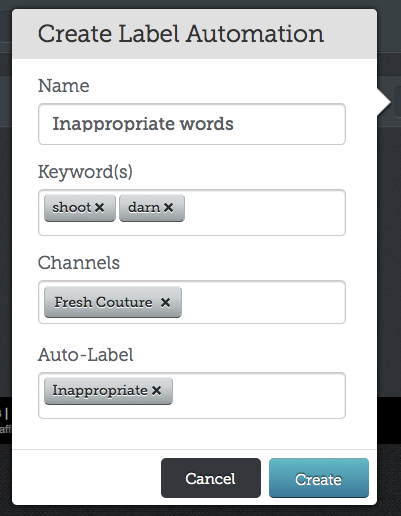
- Auto-label - setup an rule so that anytime specific keywords are mentioned on channels you are monitoring, they get automatically labeled.
- Click on the + button
- Choose a name for your auto-label rule
- Enter keyword(s) - these are the keywords you want to search for across the channels you select in step 4. Ex: shoot, darn
- Select the channel(s) - the keywords entered in step 3 will be searched for all the channels you select here. Ex: all channels you own
- Select a label - every time the keyword(s) you entered in step 3 are found on the channels you entered in step 4, they will be auto-labeled in the streams section based on what you input here. Ex: Inappropriate
- Click "Create"
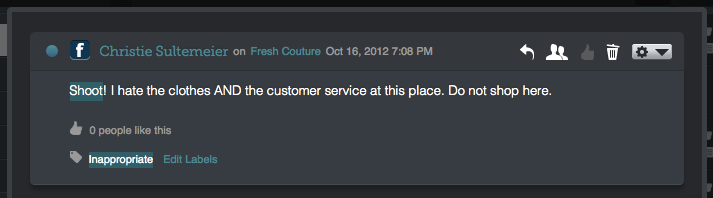
- Later, when you navigate to the streams section you will see messages auto-labeled based on the rule(s) you just setup.
Step 6: Plugins (optional)
- Custom Bit.ly Integration - When using the Shorten Links button for URLs entered into the message box, your custom bit.ly will be used.
- Enter the Bit.ly Username and Bit.ly API Key where prompted, and Save. To find your Bit.ly API key, log into your Bit.ly account and click here.
- RightNow Integration - If you are also a user of Oracle's RightNow product, you can use our RightNow integration to send messages found in the Streams section into your RightNow account as a service request.
- Enter your RightNow Username, Password, and URL identifier where prompted, and Save. If you are unaware of your URL identifier, please reach out to your RightNow contact.
You are ready to begin publishing and monitoring and your channels' messages! Skip to the next section to see an overview of how to manage your content streams!
Click here to return to the main menu of Conversation Suite Documentation.