Executing PCF Test Cases using ATS
To execute PCF Test Cases, you need to ensure that following prerequisites are fulfilled.
Prerequisites
- PCF 1.5.0 is deployed with
TLS disabled. In the PCF's custom values file, check if the following
parameters are configured with the respective values:
ingress-gateway:
enableIncomingHttps: false
egress-gateway:
enableOutgoingHttps: false
- ATS is deployed using helm charts in the same namespace where PCF is deployed.
- STUB
is deployed using helm charts in the
ocatsnamespace. - Prometheus server is installed with Loadbalancer as the pod type.
- To get all configmaps in
your namespace, execute the following command:
In the application-config configmap, configure the following parameters with the respective values:kubectl get configmaps -n <pcf_namespace>nrfApiRoot=http://nrf1svc.ocats.svc:8080nrfClientSubscribeTypes=UDR,CHFIn appProfiles, you need to set the value of nfInstanceId attribute to 'fe7d992b-0541-4c7d-ab84-c6d70b1b0123'
- Database cluster should be in a running state with all the required tables. You need to ensure that there are no previous entries in database before executing test cases.
Logging into ATS
Figure 4-10 Sample Screen: Verifying ATS Deployment

There are two ways to login to ATS Jenkins GUI.
- When an external load
balancer is available and an external IP is provided to the ATS service, user
can login to ATS GUI using
<External-IP>:8080. - When an external IP is not
provided to the ATS service, user can open the browser and provide the external
IP of the worker node and nodeport of the ATS service to login to ATS GUI.
<Worker-Node-IP>:<Node-Port-of-ATS>Note:
In the Verifying ATS Deployment screen, the nodeport, '32732' is highlighted in red. For more information on ATS deployment in PCF, refer to PCF ATS Installation Procedure .
- Enter the
username as
"Oracle" and
password as
"Welcome@123". Click
Sign in. A
sample screen is shown below:
Figure 4-11 Sample Screen: Logging into ATS GUI

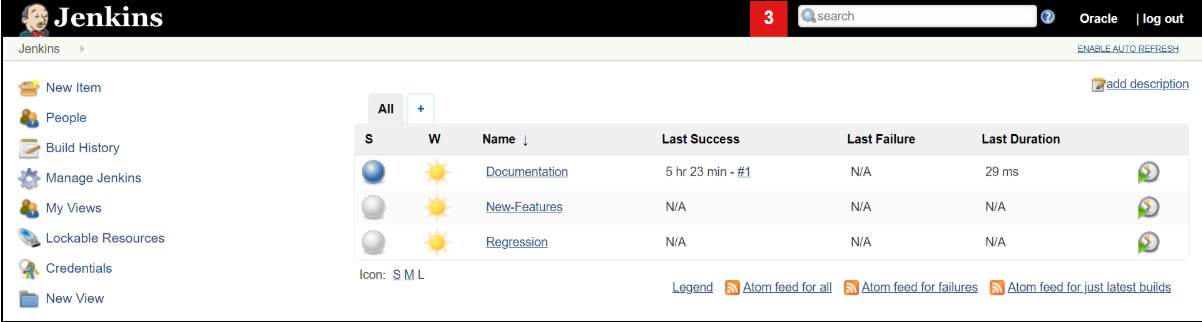
- Following screen shows
three different pre-configured pipelines.
- Documentation
- New-Features
- Regression
Figure 4-12 Jenkins Logged-in First Screen
Jenkins ATS Pre-configured Pipelines
There are three pre-configured pipelines available to you when you login successfully to Jenkins ATS. They are explained below:
This pre-configured pipeline has the HTML report of all the feature files that are getting tested as part of PCF ATS.
- Click
Documentation
to select the pipeline and get its content as below:
Figure 4-13 Documentation Pipeline

- Click
HTML Report.
The following screen appears.
Figure 4-14 HTML Report

- To view details of any
specific feature file, click the link of that feature file.
For example:
The following screen shows the description of
Test case
Multiple_SM_Create_UDR.
Figure 4-15 Feature File Detail

This is a pre-configured pipeline where all the PCF test cases are executed.
The steps to execute PCF test cases are as follows:- Click the icon present in
extreme right column corresponding to
New-Features
row as shown below:
Figure 4-16 New-Features Pipeline Icon

- The following screen
appears.
Figure 4-17 Pipeline New-Features

- Select PCF from the NF list.
- Enter the
PCF Namespace
and
Prometheus SVC
values.
Note:
All the parameters are mandatory - From the
Re_Run list,
select an appropriate value. This value indicates the number of times user
wants Jenkins to re-execute the failed cases when any test case fails in 1st
attempt.
Note:
The Re_Run field helps to remove any possibility of network glitch before marking any test as failed. - Click Build to begin the test execution process.
Regression
This pre-configured pipeline is created as per customer requirement. It is a future enhancement.


