Entering a Basic Expense Report Using the Mobile Expense Entry Smartphone Application
When creating an expense report, you must first create the expense report header, and then add an expense to the report. Once you have created an expense report header and you have added an expense, the application then saves the report. Though there are many different kinds of expenses that you can add to a report, this task provides instructions for creating an expense report header, adding a basic expense item, and saving the report. For instructions on adding credit card expenses, split receipt expenses, and summary expenses, refer to the additional tasks in this section.
Additionally, if you need information or instructions about what to enter in a specific field when creating an expense report, see Entering Expense Reports in the JD Edwards EnterpriseOne Applications Expense Management Implementation Guide.
To create a basic expense report:
Open the application by tapping the Enter Expense icon on your device, and then log in.
The Expense Entry screen displays all of your reports that are currently pending completion. Tap the Add button at the top right of the screen to create a new report.
On the Add Report screen, enter a report description and then select a report type from the drop-down menu.
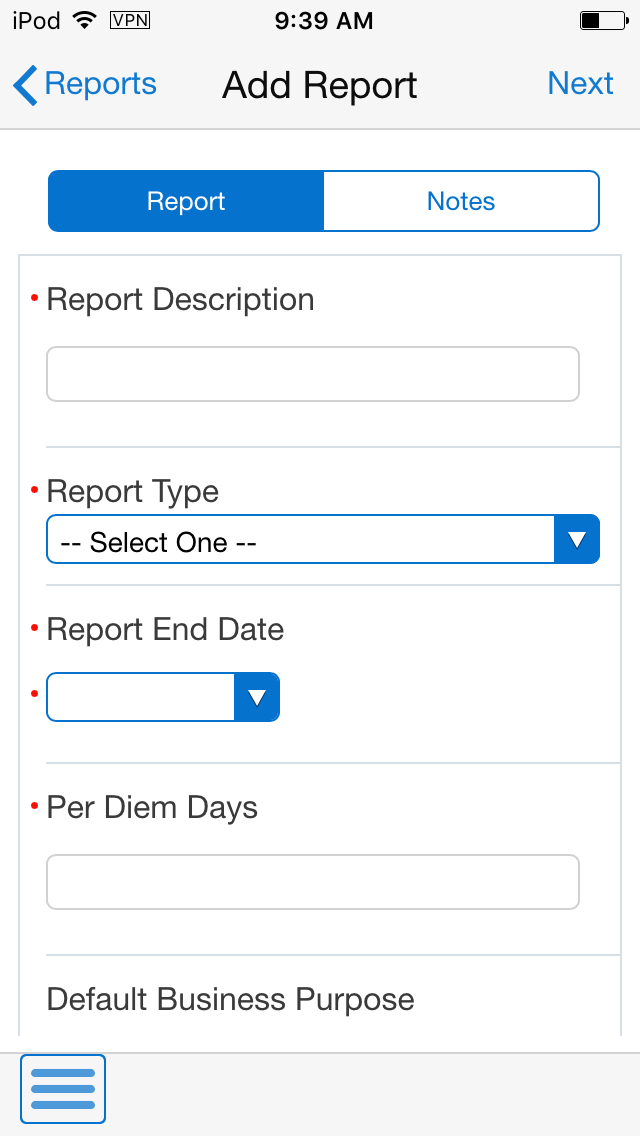
If applicable to your report, complete the Per Diem Days and Manager Override fields. Additionally, enter a date in the Report End Date field.
Note: The display of the Per Diem Days and Manager Override fields are controlled by processing options from the selected version of the P09E2011.
Specify whether the report contains expenses in a single currency or multiple currencies.
To add a report-level note to the report, tap the Notes tab, enter your note. Each time you enter a note, you append to the previous notes entered for the report. You cannot edit a note once you save it.
Tap the Next button. If there are credit card expenses, then the system displays the credit card expenses automatically in the Transactions screen. If there are no credit card expenses, then the system returns you to the Add Expense screen, where you can add the first expense item to the report.
Note that you must add an expense to the report before the report is saved. If you exit the report before creating and saving an expense, the system does not save the report.
This task describes adding a basic expense item to the report. If you want to add summary expenses, split expenses, or credit card expenses to the report, see the additional tasks in this chapter for instructions.
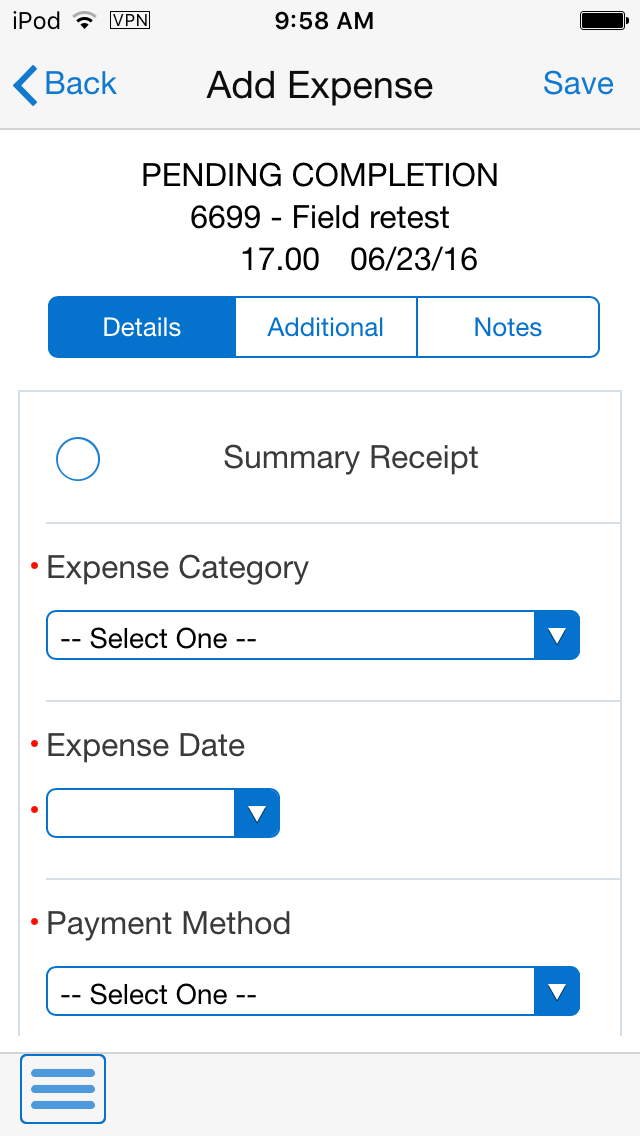
On the Details tab, select a value from the Expense Category drop-down menu. The remaining fields on the screen are displayed and enabled based on the type of expense category you select.
Complete all remaining required fields on the screen.
Note that if you created a multi-currency report, a field is enabled next to the Expense Amount field. This field is for the currency code. If you leave this field blank, the system uses the default currency code, based on your expense system setup. Additionally, when you save the item, the system also calculates and displays the value in the Exchange Rate field. This value is also based on the setup of your expense system.
If you are entering an expense that is based on a rate, such as mileage, the system retrieves the rate as it is defined in the P09E108 program. The rate setup from the P09E108 also determines whether the you can edit the rate.
Select a value from the Charge To drop-down menu to specify where the expense should be charged. The value that you select in this field determines which additional fields display at the bottom of the screen. For example, if you select Business Unit, the system displays the Business Unit field to enable you to specify the business unit to which the system will charge the expense.
Note: You can choose to charge the expense to multiple jobs, business units, or work orders. These are called split receipt expenses. For instructions on entering these expenses, see Entering a Split Receipt Expense Using the Mobile Expense Entry Smartphone ApplicationTap the Additional tab and complete any required fields, or necessary optional fields, for your expense detail item. The fields that display on this tab are user-defined fields that your organization has set up. Different fields display based on the selected expense category. If your organization does not have any user-defined fields for the selected expense type, the system displays a message notifying you that no additional fields have been set up.
Additionally, if this tab contains required fields, you must complete them before saving your expense. If you attempt to save your expense item, and receive an error that more data is required, verify that you have completed all of the required fields on this tab.
To add a note to the expense item, tap the Notes tab and enter a text note.
When you have completed the expense item, tap the Save button at the top right of the screen. The system clears all of the fields on the Add Expense screen so you can easily add another expense detail item to the report.
Note that you must save an expense detail record before you can attach a photo to that expense item. See Reviewing, Editing and Submitting Expense Reports Using the Mobile Expense Entry Smartphone Application
To enter additional basic expenses, complete steps 8 through 14. To enter other types of expense items to the report, see the additional tasks in this chapter.
When you have entered all of your expenses, tap the Done button at the top left, and then tap the Back button at the top left of the screen to return to the main Expense Entry screen.
To log out of the application, tap the Menu button at the bottom left of the screen, and then tap Logout.