Balance Sheet Case Study Task: Change the Width of Columns
Note: You can access an existing layout
that was created for the One View Financial Statements feature only by using the
Manage Layout option on the Work with Statement Definition form. If you exited the
Layout Editor after you completed the last set of steps and need to re-access an
existing layout, see Balance Sheet Case Study Task: Accessing an Existing
Layout.
To change the width of columns in the layout, complete the following steps:
Select the column or columns for which you want to change the width.
In this case study, select all of the columns except the hidden Lod Sequence column.
In the Appearance section of the Properties tab, enter 120 in the Width field.
Click the Save icon to save your layout.
Caution: If you need to exit
the BI Publisher Layout Editor, do not click the Sign Out icon or you will log out
of the server. Instead, click the Close icon (the X in the upper right corner
of the window) to exit the window.
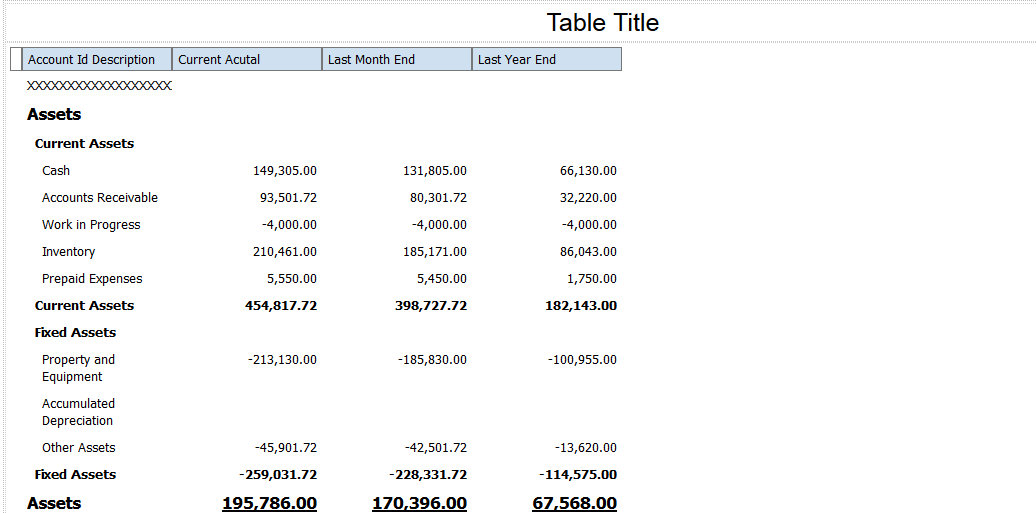
After you complete the steps in this task, your statement layout should look like the following image: