Creating a New Profile for WebSphere Application Server 8.5.x/9.0
The section describes how to create a new profile. This profile will be used later in the installation process to create a web server and configure the plugin.
Note: This document describes how to create a "standalone" application server. For information on how to create a cell and managed node, refer to IBM's Infocenter:
http://www-01.ibm.com/software/webservers/appserv/was/library/
You can choose to create your first profile now or after the remaining software packages have been installed. If you create your profile now, you will need to manually define the web server before configuring the plug-in later in this chapter. As an alternative, you can use the advanced profile creation option to automatically create a web server, but this must be done after all of the other software components described in this guide are installed and updated to the correct level.
This procedure assumes you are creating a new profile at this time so that you can verify your installation.
http://www-01.ibm.com/support/docview.wss?uid=swg1PM56382If you followed the last step in the preceding chapter entitled: Installing an IBM WebSphere Application Server 8.5.x/9.0, the Profile Management Tool was launched.
Alternately, you can use this navigation:
IBM WebSphere > IBM WebSphere Application Server > Tools > Profile Management Tool
On WebSphere Customization Toobox, Profile Management Tool, with the Profiles tab selected, click the Create button.
On Profile Management Tools, Environment Selection, highlight the Application server environment type.
Click the Next button.
On Profile Creation Options, select the Typical profile creation radio button.
Note: Choosing Typical profile creation uses the default configuration settings. It assigns unique names to the profile, node, and host. The tool also assigns unique port values.Alternatively, you can choose Advanced profile creation to specify your own values for settings such as the location of the profile and names of the profile, node, and host.Click the Next button.
On Administrative Security, clear the Enable administrative security checkbox.
Click the Next button.
On Profile Creation Summary, review the information for accuracy and click the Create button.

The progress screen is displayed. Wait for the progress to complete 100%, which may take several minutes.
Optionally, on Profile Creation Complete, you can select the check box for Launch the First steps console.
Click the Finish button.
If you chose to run First Steps, on WebSphere Application Server, First steps, select the first option, which is entitled: Installation verification.
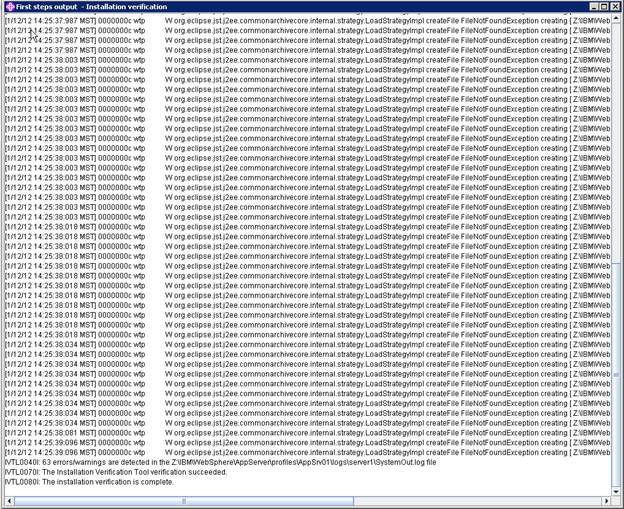
Verify that the installation verification completed successfully. You should get the message entitled: The installation verification is complete.
Close the screen for the First steps output.
Verify that you can sign on to the Administration Console. For example:
http://host:9060/ibm/console