Installing the IBM HTTP Server 8.5.x/9.0
The IBM HTTP Server 8.5.x/9.0 must be installed through the IBM Installation Manager.
In order to install the IBM HTTP server, you must have the Supplemental images in the repository, as shown in the second line item in the following screen sample.

To install an IBM HTTP Server 8.5.x/9.0:
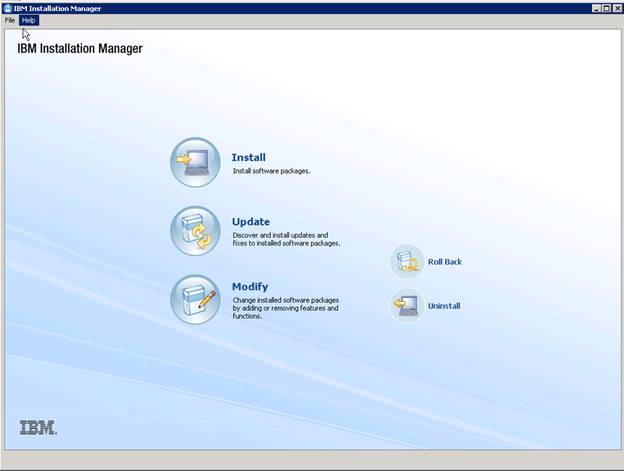
Start the IBM Installation Manager, which you must have previously installed as described in the preceding chapter of this guide entitled: Installing the IBM Installation Manager.
Click the Install option.

On Install Packages, select packages, click the checkboxes for the HTTP Server for WebSphere Application Server and the HTTP Server Version (8.5.x/9.0).
Click the Next button.
Review the International Program License Agreement and click the radio button to accept the terms if you want to continue with the installation.
Click the Next button.
On Install Packages, package group, click the radio button entitled: Create a new package group. In the Installation Directory field, enter an appropriate location to install the IBM HTTP Server 8.5.x/9.0 software. It does not have to be the same location as the shared location.
For example:
z:\IBM\HTTPServer/u01/WebSphere855/HTTPServerThis document refers to a local IBM HTTP server installed on the same machine as the IBM WebSphere Application Server. For instructions on how to install a remote HTTP server, refer to the IBM info center:
http://www-01.ibm.com/software/webservers/appserv/was/library/Also note that the shared location that you defined when you installed the IBM WebSphere Application Server in the previous section cannot be changed.
Click the Next button.
On Install Packages, select the features to install, verify the package you chose is selected.
Click the Next button.
On Install Packages, configuration, complete these fields:
HTTP Port
Specify a port for IBM HTTP Server to communicate. The default port is 80. If the default port is already in use, then change to another port that is available. Running IBM HTTP Server without root or Administrative privilege might restrict use of ports below 1024.
Run IBM HTTP Server as a Windows Service
Ensure this check box is checked.
Log on as a local system account
Normally this check box should be selected. However your network configuration may require you to specify a user with specific authority across domains or network segments. Contact your System Administrator for more information.
Startup type
Use the pull down to choose a startup type for the Windows service. The default value is Automatic.
Click the Next button.
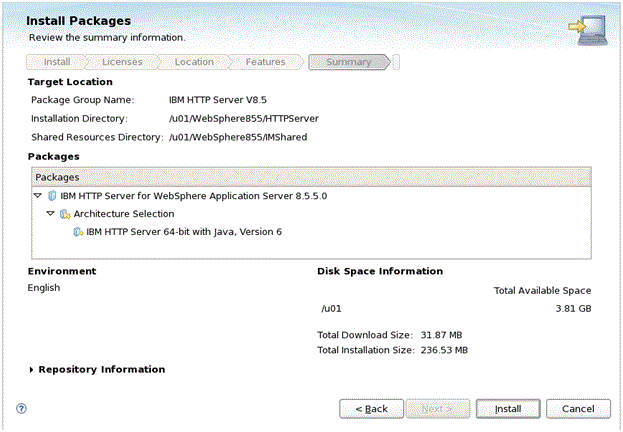
On Install Packages, review summary information, verify the accuracy of the selections.
Click the Install button to begin the installation of the IBM HTTP Server.
On Install Packages, verify the installation completed successfully. You may want to click the link: View Log File.
Click the Finish button.
You are returned to the IBM Installation Manager home screen.
To install the plug-ins, continue to the next section entitled: Installing Web Server Plug-ins for IBM WebSphere Application Server.