Installing Web Server Plug-ins for IBM WebSphere Application Server
As with the previous software packages described in this guide, the plug-ins for IBM WebSphere Application Server 8.5.x/9.0 must be installed using the IBM Installation Manager.
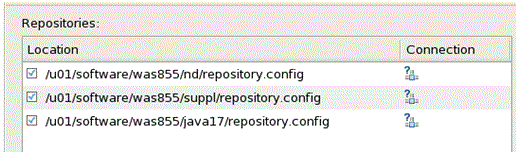
In order to install the IBM HTTP server, you must have the Supplemental images in the repository, as shown in the second line item in the following screen sample.

To install Web Server Plug-ins for IBM WebSphere Applications Server:
Start the IBM Installation Manager, which you must have previously installed as described in the preceding chapter of this guide entitled: Installing the IBM Installation Manager.
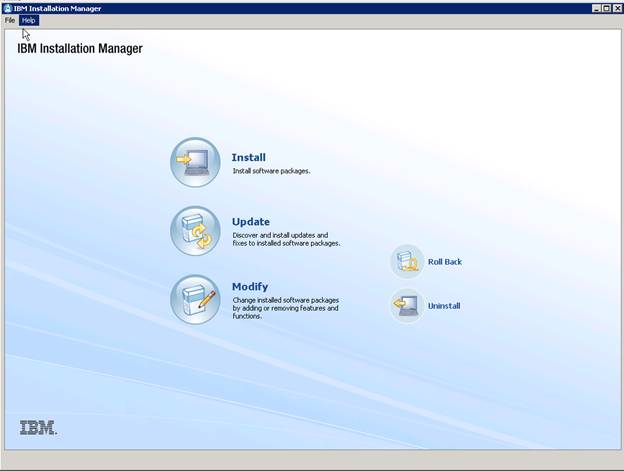
On IBM Installation Manager, click the Install option.
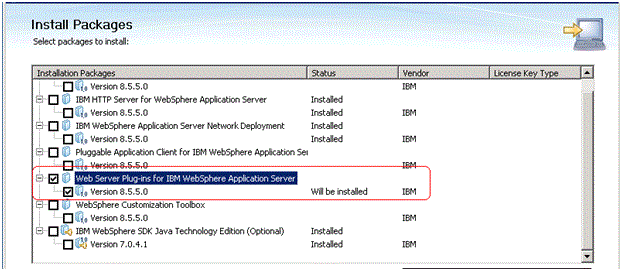
On Install Packages, select packages, click the checkboxes for the Web Server Plug-ins for WebSphere Application Server and the HTTP Server Version (8.5.x/9.0).
Click the Next button.
On Install Packages, review the International Program License Agreement and click the radio button to accept the terms if you want to continue with the installation.
Click the Next button.
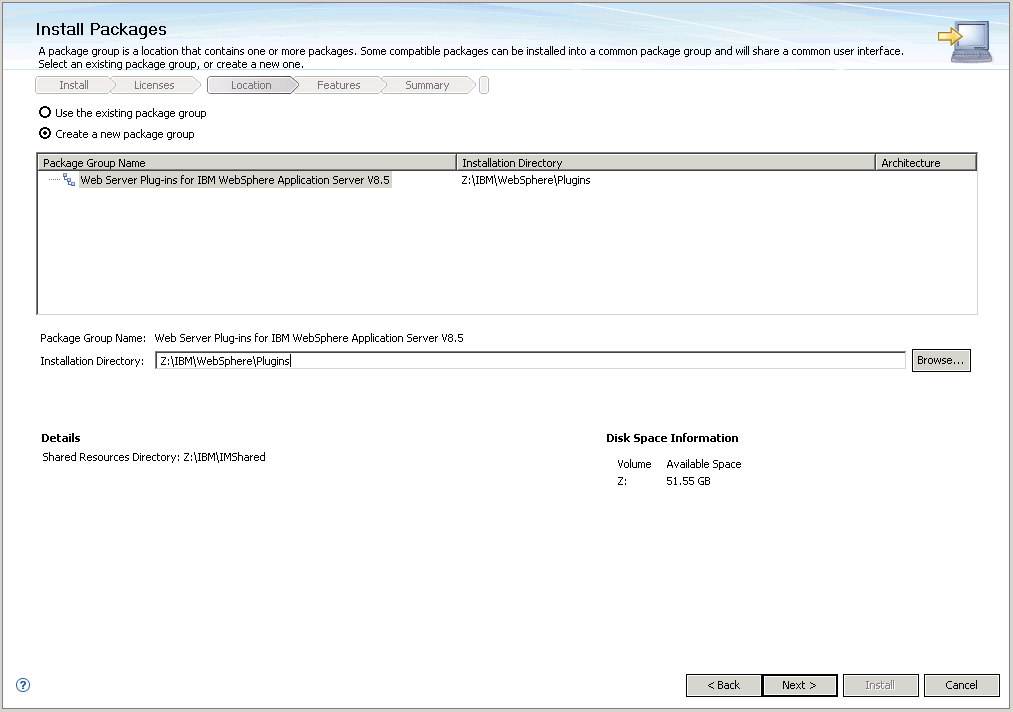
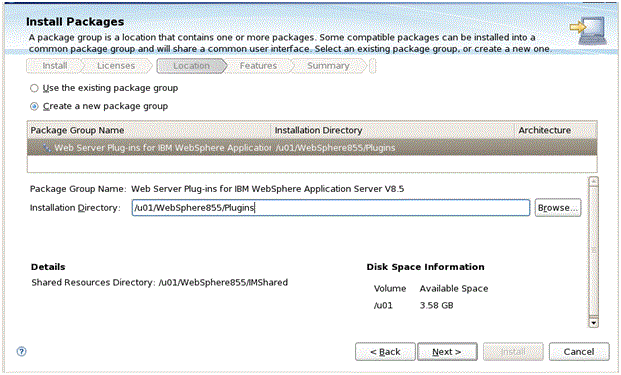
On Install Packages, package group, click the radio button entitled: Create a new package group.
In the Installation Directory field, enter an appropriate location to install the Web Server Plugins for IBM WebSphere Application Server 8.5.x/9.0.
For example:
z:\IBM\WebSphere\Plugins/u01/WebSphere85/PluginsNote: New functionality for IBM WebSphere 8.5.5 for the plug-in installs provides this default location:\IBM\WebSphere\Plugins. The remainder of this guide assumes you chose to accept the default location.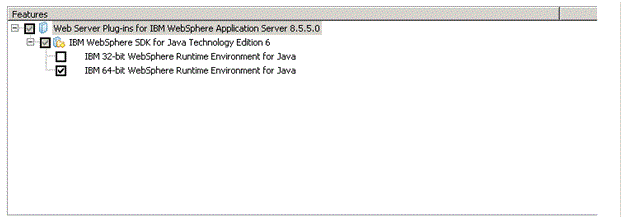
Select this checkbox from the Features screen:
IBM 64-bit WebSphere Runtime Environment for Java
Click the Next button.
Verify the SDK level. At this point in the process in this guide, SDK 1.6 is still the default installation for WebSphere Application Server 8.5.x and SDK 1.8 is the default installation for Websphere Application Server 9.0.
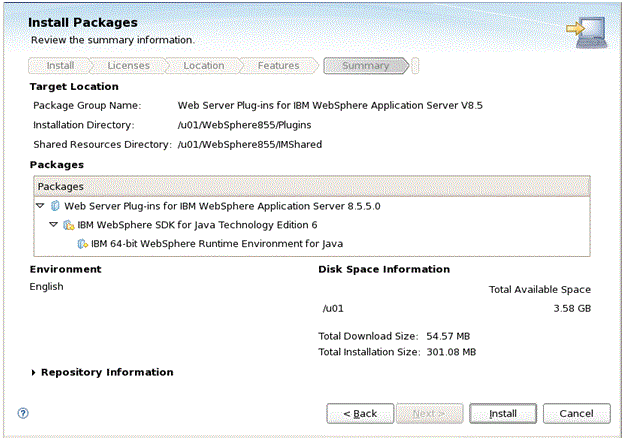
On Install Packages, review summary information, verify the accuracy of the selections.
Click the Install button to begin the installation of the JDK.
The progress screen is displayed. Wait for the progress to complete 100%, which may take several minutes.
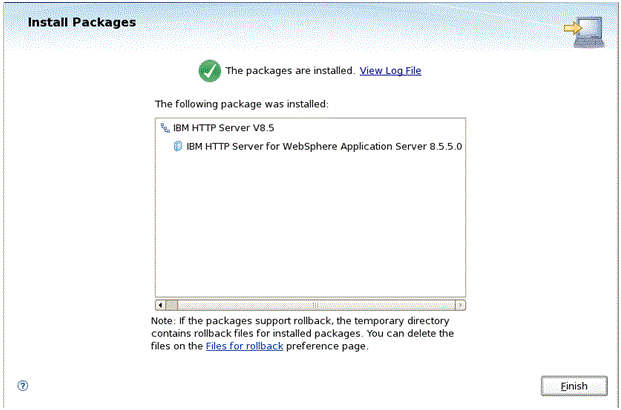
On Install Packages, verify the installation completed successfully. You may want to click the link: View Log File.
Click the Finish button.
You are returned to the IBM Installation Manager home screen.
To install the plug-ins, continue to the next section entitled: Installing the WebSphere Customization Toolbox.