Personalizing the NavBar
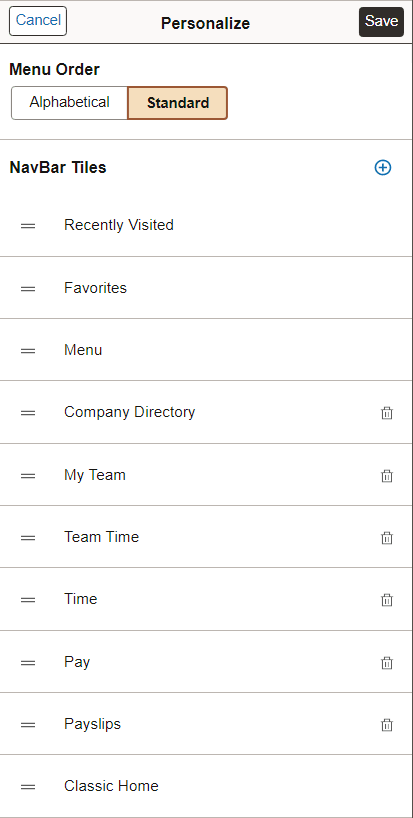
This example illustrates the options available for personalizing the NavBar. Descriptions of the options appear after the example.
| Field or Control | Description |
|---|---|
|
Cancel |
Cancel the current selections and close the page. |
|
Save |
Save your personalization selections and close the page. |
|
Alphabetical |
When using the Menu tile, display the menu folders and items in alphabetical order. Note: Not all supported languages support alphabetical ordering of the menu. Your system administrator can configure additional languages disable menu sorting. See Portal Technology: Managing General Portal Settings for more information. |
|
Standard |
When using the Menu tile, display the menu folders and items in the order that was standard prior to PeopleTools 8.59. |
|
|
Add a tile to the left pane of the NavBar. For more details on selecting tiles, see Managing Tiles on Fluid Homepages and Dashboards. |
|
|
Delete a tile from the NavBar. |


You can change the sequence in which the tiles appear in the NavBar using drag and drop. Click to select the tile, drag it to the desired position over another NavBar tile, then drop it. The dotted line indicates the tile you are dragging, and the solid line indicates the location where you are dropping the tile.
Note:
Alternatively, you can use the keyboard to reposition NavBar tiles. Use the Tab key to highlight the tile you wish to reposition, press Ctrl + M to select it, use Tab or Shift + Tab to highlight the drop location, and then press Ctrl + Shift + M to drop it.
Using the Add To NavBar Feature
You can also add tiles to the NavBar on an ad hoc basis using the Add To NavBar link in the Actions menu.
Note:
No actual tile definition will be created for these tiles if one does not exist already. The information is stored in the system as personalization data only.
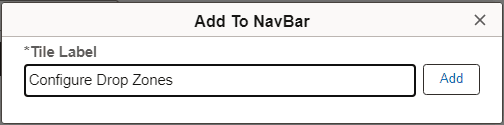
When you use the Add To NavBar feature to add a tile to the NavBar, you can edit and personalize the label for the item. For example: