Understanding Tile Wizard
Tile Wizard provides a user-friendly, browser-based graphical user interface that leads you through the steps involved in creating and publishing a tile. Portal administrators and nontechnical users can use Tile Wizard to integrate and transform data from a variety of data sources.
During the tile creation process, Tile Wizard presents a series of numbered steps. Each step appears in a numbered path at the top of the page to indicate where you are in the tile creation process as shown in the following example:
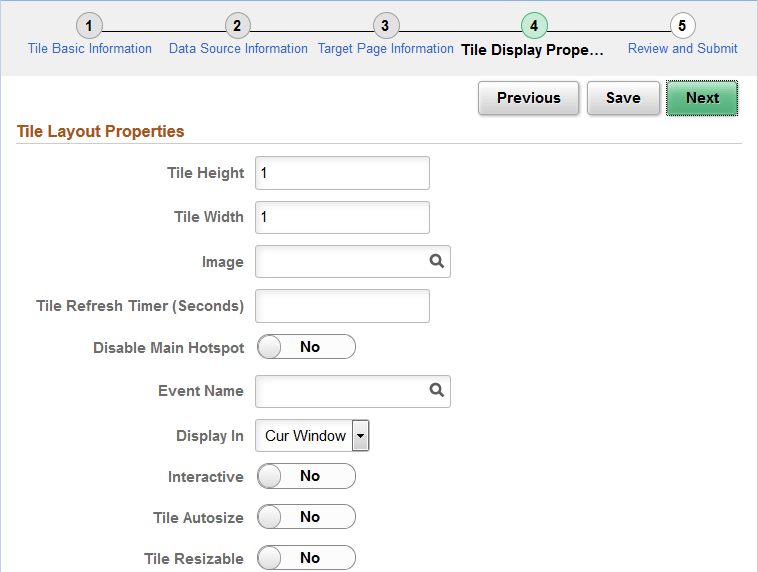
This labeled path assists you in navigating forward and back through the steps in the wizard, which enables you to review or edit tile definition values. Once you’ve completed a step, Tile Wizard automatically takes you to the next appropriate step.
Tile Wizard leads you through the following steps that are typically used to create a tile:
-
Specify tile information.
-
Select the data source (and specify data source parameters when applicable).
-
Select the target page and tile repository location.
-
Specify display properties.
-
Review and publish the tile definition.