Specify Whether a Dataset Table Is Cached or Live
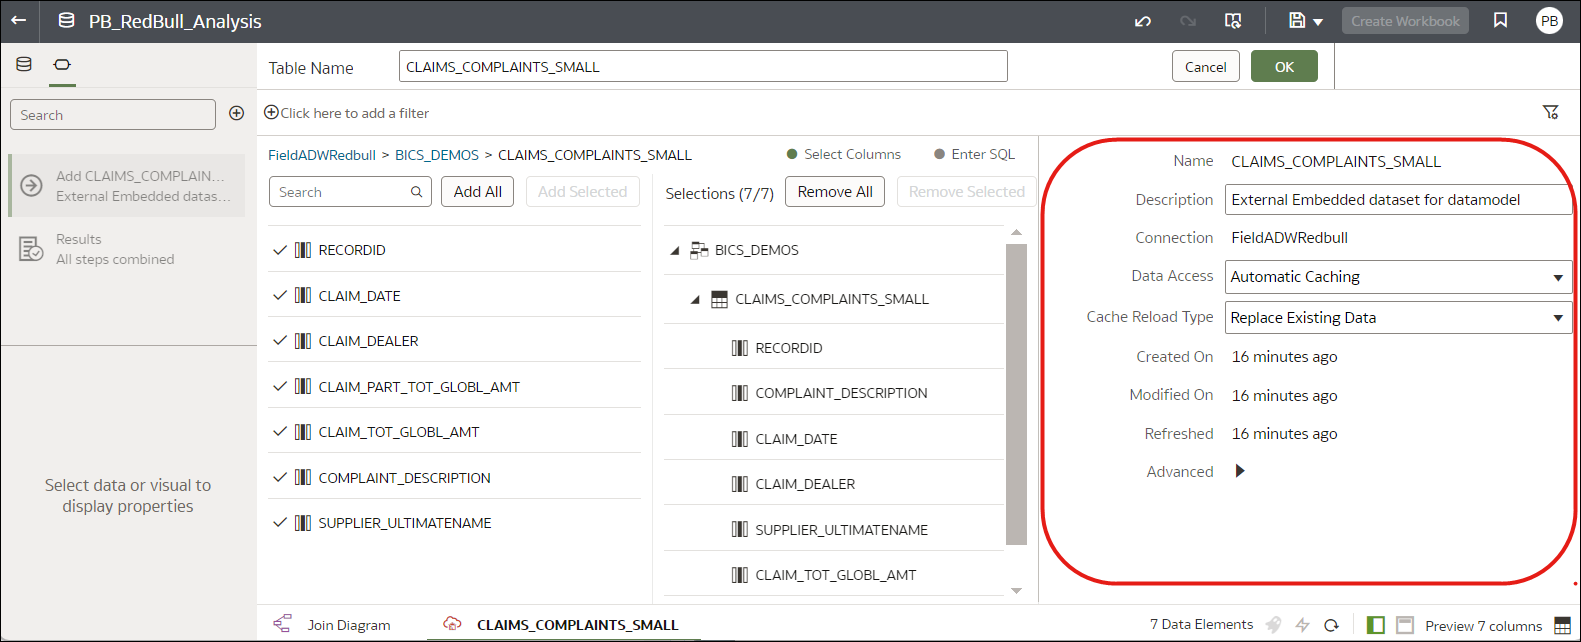
Configure a dataset table's Data Access setting to determine whether data is cached or loaded directly from the data source.
Choosing a Data Access Type for Dataset Tables
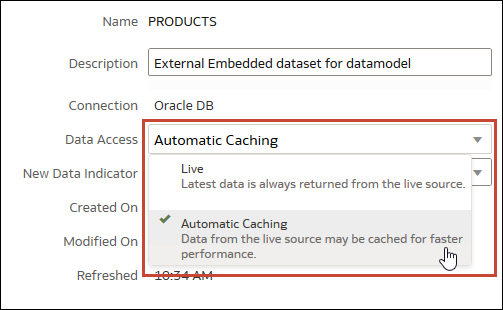
You specify the use of cached data or data loaded directly from a data source using Oracle Analytics data access settings.
Tip: For best performance, if you have a dataset with multiple tables, set all tables to access data in the same way. Although you can can configure some tables to use caching and some to use live data, this can affect performance. For example, if the reloading of one table fails, then any tables set to use automatic caching are switched to use live data.
Data Access settings:
| Option | When to use | What it does | Other information |
|---|---|---|---|
| Live | You're using a high-performance database such as Oracle Autonomous AI Lakehouse, and you always want to use the latest and freshest data. | A table loads its data directly from the data source. | The source system manages the table's data source queries. |
| Automatic Caching | You want faster performance when you refresh a table's data from the transform editor or from a workbook. If a dataset load fails, you understand that the data access type switches to Live mode. | A table loads its data from the cache where possible. If a dataset load fails or columns are added, data access temporarily switches to Live mode until a new reload is successful. | Selecting this option causes the Reload menu option to display at the table and dataset level.
This option is limited to 2GB of data after compression. If the data is larger than 2 GB or if the data takes too long to load, the data is accessed using a live query (if the connection type supports it). If you want to use automatic caching and the data is larger than 2 GB, then add column filters to the table, for example limit a date range to reduce the size of the data. |
| Extracted | You want to ensure that in-memory caching of datasets is completed before allowing queries, which provides resilience and consistent performance for workbooks. If a dataset load fails, you understand that workbooks use the last data loaded. | A table always loads its data from the cache (most recent load or previous successful load). | Extracted mode forces the Reload Data operation (on the Inspect dialog) to complete before letting other users use the dataset, which ensures that it's fully cached. In addition, a dataset author can make modifications such as adding a column, and the changes are only visible to users when all of the data is available in the cache. If a dataset reload fails or new columns are added, workbooks use the last data loaded. |


