Activate and Test the Integration
Activate the Integration
After you complete the integration with desired source and target connections and mappings, you can activate the "Create Order" integration.
Perform the following steps to activate the integration:
- In the navigation pane, click Design, then Integrations.
- On the Integrations page, hover your cursor over the Create Order integration, then click Activate
 .
.
-
The Activate integration panel appears. Select the level of tracing appropriate to your integration. Click Activate.
Notice that a status message is displayed in the banner at the top of the Integrations page.
Test the Integration
Hover your cursor over the Create Order integration, then click Actions ![]() and then select Run.
and then select Run.
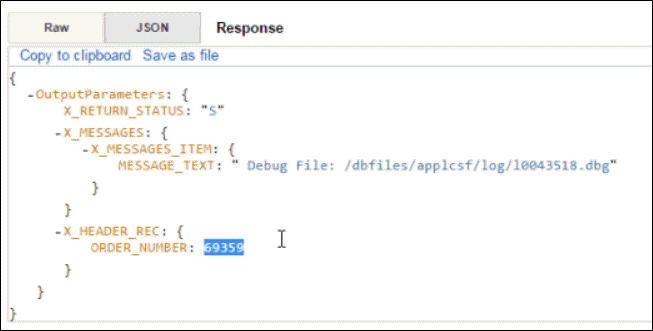
You can copy the Endpoint URL (https://<Oracle Integration Host>:<Port>/ic/api/integration/v1/flows/ebusiness/CREATE_ORDER/1.0/process_order) and open it in any REST client to invoke the REST service for order creation.
For example, an order number 69359 is created successfully after the service invocation and is shown in the Response tab.

Verify Order Creation in Oracle E-Business Suite
Log in to Oracle E-Business Suite as a user who has the Order Management Super User, Vision Operations (USA) responsibility.
Select Order Returns and then Sales Order from the navigation menu to open the Sales Orders form.
Search for an order by pressing the F11 key. In the Customer PO field, enter the order ID retrieved from the service invocation. For example, enter 69359 and press the CTRL+F11 keys to execute the query. You should be able to find the order created in Oracle E-Business Suite.