Configure Start and End Events
The start and end events of a workflow define how a workflow starts and ends.
A Start event defines the start of the workflow. It allows you to specify input arguments in JSON that triggers the workflow so that the workflow starts executing its defined activities.
An End event marks the completion of a workflow. It can be configured to return a JSON response when the workflow completes.
About Start and End Events
- You must configure payloads for the start and end events. Otherwise, the workflow validation fails.
- You must configure mappings for all end events. Otherwise, the workflow validation fails.
- For workflows with multiple end events, configure the payload for any one end event. The payload is automatically copied to the remaining end events.
Configure a Start Event
- Select the Start event in your workflow.
- Open the Edit start pane using one of the following options:
- Select the start event and click
 on the side of the canvas.
- Select the start event, click Actions
 and then select Configure.
- Select the start event and click
- Enter the name of the start event in the Name field.
- Provide additional information in the Description field.
- In the Define input payload section, select the input payload source.
- If you selected JSON Editor, paste the JSON payload inline in the Payload section.
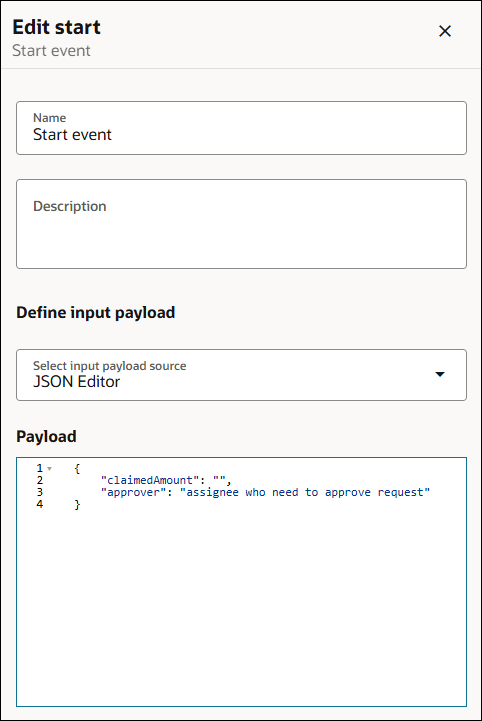
- If you selected JSON File, drag and drop a JSON file in the Payload section.
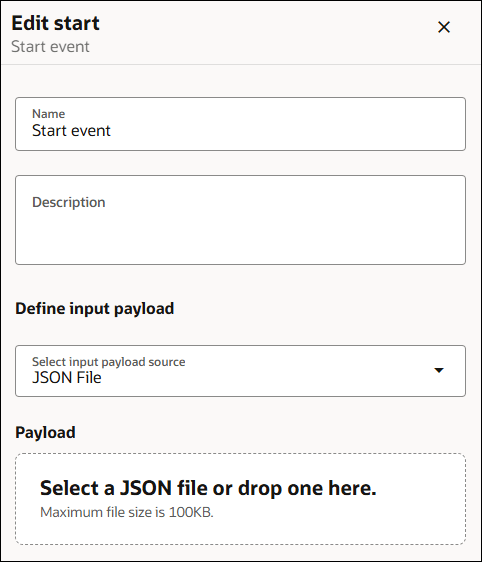
- If you selected JSON Editor, paste the JSON payload inline in the Payload section.
- Close the Edit start pane to save the changes.
Configure an End Event
- Open the Edit end pane using one of the following options:
- Select the end event and click on the side of the canvas.
- Select the end event, click Actions and then select Configure.
- Select the end event and click
Complete configurations for the end event by mapping data. You can reuse mappings by copying them from one end event to another within the same workflow. See the following: