Manage Oracle Cloud Infrastructure Buckets and Objects from an Integration
You can manage Oracle Cloud Infrastructure Object Storage buckets and objects directly from the integration canvas through use of the OCI Object storage action. This section provides high-level use cases on how to create a bucket and upload objects directly from an integration.
Understand the concepts and satisfy all prerequisites before using this feature. See Invoke Oracle Cloud Infrastructure Object Storage from an Integration with an OCI Object Storage Action.
Create an Object Storage Bucket
- Add a REST Adapter trigger connection to the integration.
- On the Basic Info page, enter a name, and click Next.
- On the Resource Configuration page, enter the following
information.
Field Description What is the endpoint's relative resource URI Enter the following: /triggerWhat action do you want to perform on the endpoint Select POST. Select any options that you want to configure Scroll to the bottom of the page and select the following options: - Add and review parameters for this endpoint
- Configure a request payload for this endpoint
- On the Request Parameters page, create the following query
parameters.
Name Data Type bucketNamestring objectNamestring - On the Request page, create the following query
parameters.
Field Description Select the request payload format Binary What is the media-type of Request Body? application/octet-stream - On the Summary page, click Finish.
- Add an OCI Object storage action to the integration.
- Enter a name.
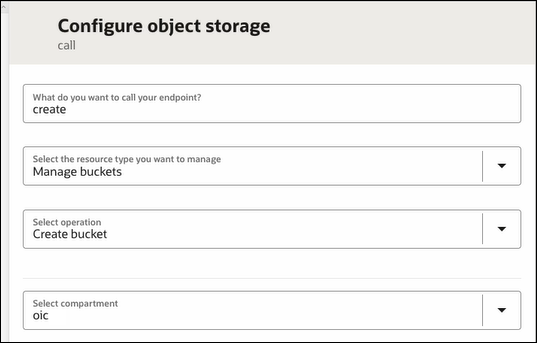
- Select Manage buckets.
- From the Select operation list, select Create bucket.
- Select the compartment in which to create the bucket.
For this example, an object storage bucket is selected for creation in the oic compartment in Oracle Cloud Infrastructure.
- Click Continue.
- Review your selections on the Summary page. The provided name,
selected compartment, and the OCID for that compartment are displayed.
The integration looks as follows.
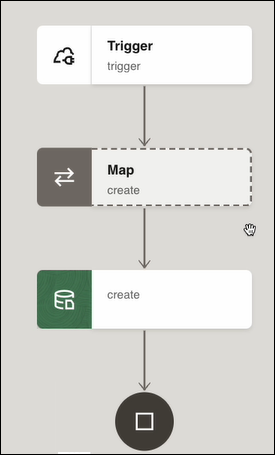
- Double-click the mapper.
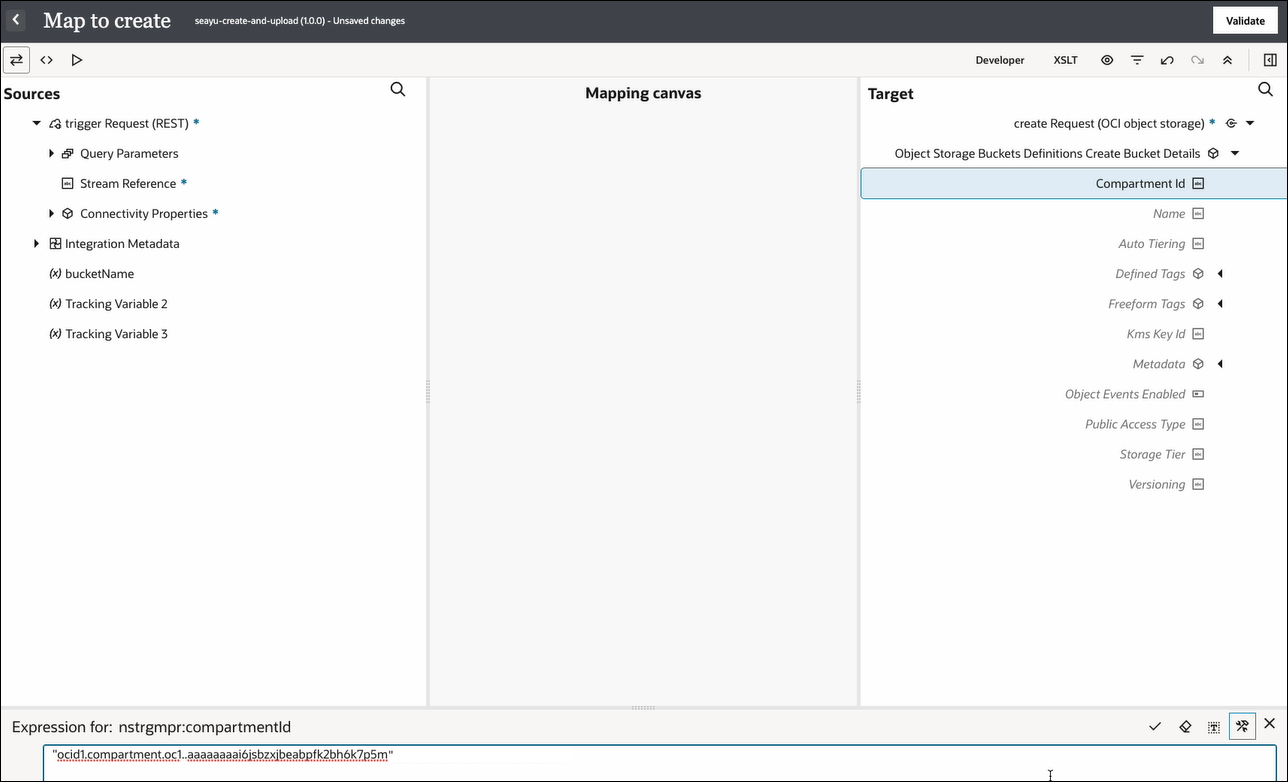
- In the Target section, right-click the Compartment ID element and select Create target node.
- In the Expression Builder, specify an OCID value. The value you map
to the Compartment ID takes precedence over the
design-time selection, even if it's a different OCID or a blank value (empty
string).
- In the Target section, right-click the Name element and select Create target node.
- In the Expression Builder, enter the name to use for the new bucket
(for this example,
l2_demo_bucketis entered).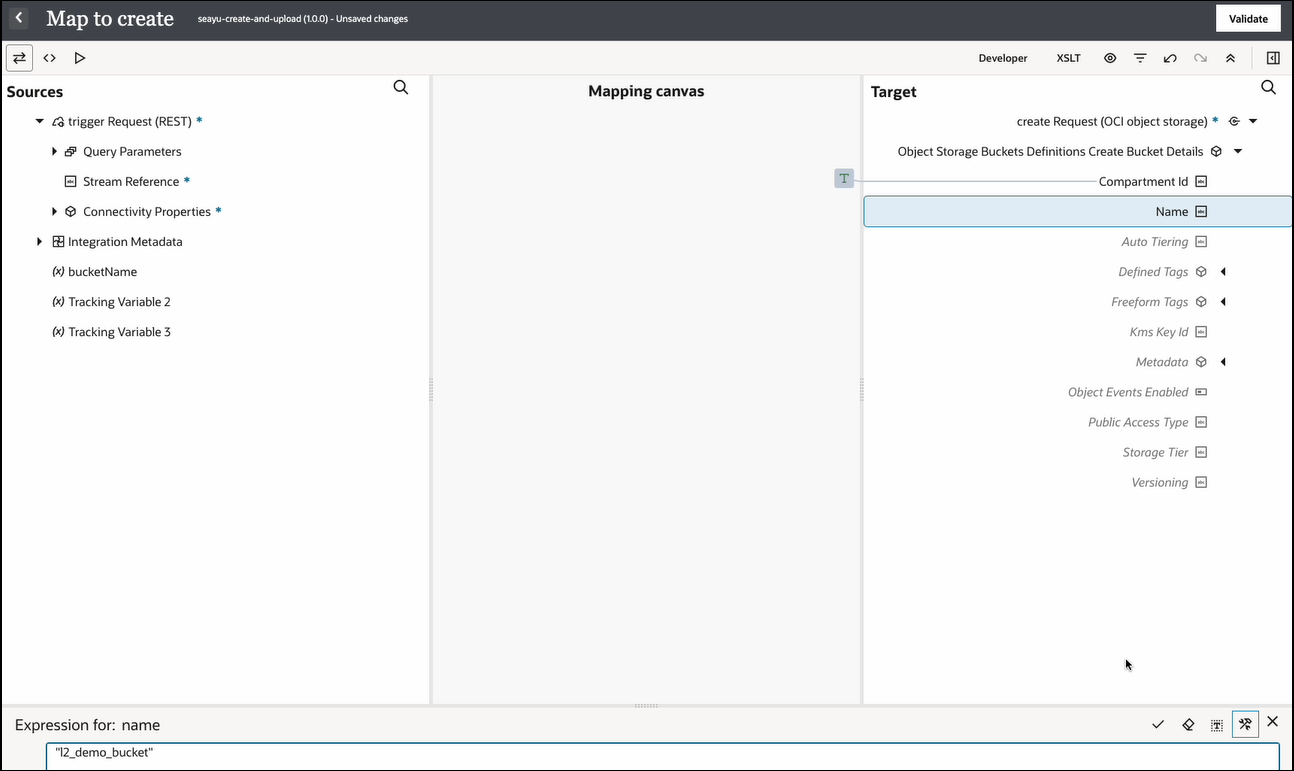
Configuration of the mapper is now complete.

- Save your changes, and exit the integration.
- Hover your cursor over the integration, and select
Actions
 , then Run.
- On the Configure and run page, click Run.
- Review the activity stream.
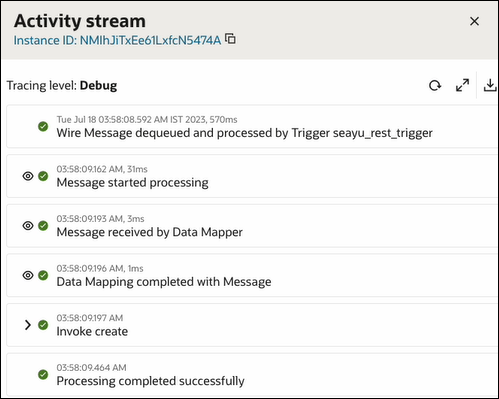
- Go to the Oracle Cloud Console.
- In the navigation pane, select Storage, then
Buckets.
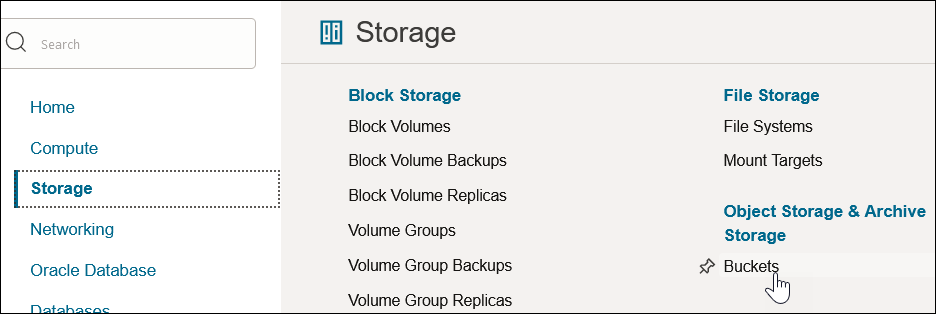
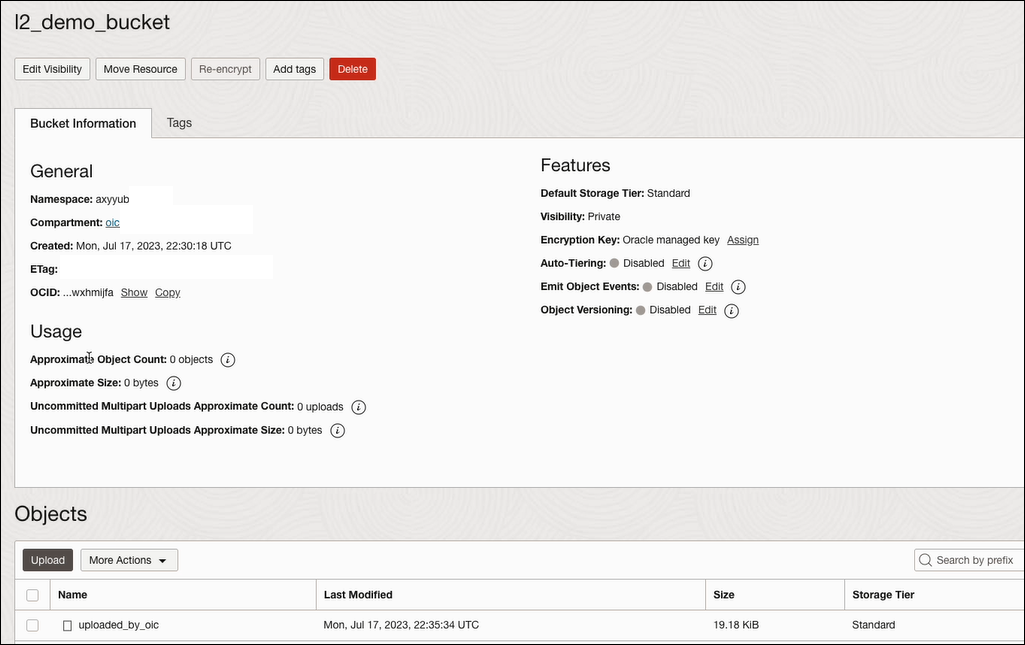
The new bucket (for this example, l2_demo_bucket) is visible in the table.

Upload an Object
- Add a REST Adapter trigger connection to an integration.
- On the Basic Info page, enter a name, and click Next.
- On the Resource Configuration page, enter the following
information.
Field Description What is the endpoint's relative resource URI Enter the following: /triggerWhat action do you want to perform on the endpoint Select POST. Select any options that you want to configure Scroll to the bottom of the page and select the following options: - Add and review parameters for this endpoint
- Configure a request payload for this endpoint
- On the Request Parameters page, create the following query
parameters.
Name Data Type bucketNamestring objectNamestring - On the Request page, create the following query parameters.
Field Description Select the request payload format Binary What is the media-type of Request Body? application/octet-stream - On the Summary page, click Finish.
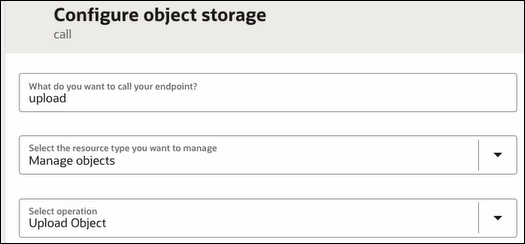
- Add an OCI Object storage action to an
integration.
- Enter a name.
- Select Manage objects.
- From the Select operation list,
select Upload Object, then click
Continue.
- Review your selections on the Summary page, then click Finish.
- Click the mapper.
- Perform the following source-to-target mappings.
- Map the source Bucket Name to the target Bucket Name.
- Map the source Object Name to the target Object Name.
- Map the source Stream Reference to the target Stream Reference.

- Save the integration.
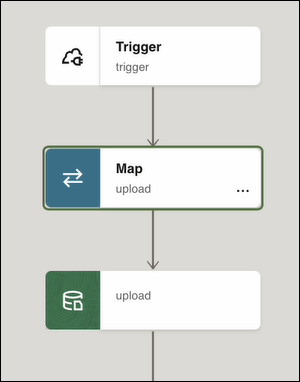
The integration looks as follows.
- Exit the integration canvas.
- Hover your cursor over the integration, and select
Actions
 , then Run.
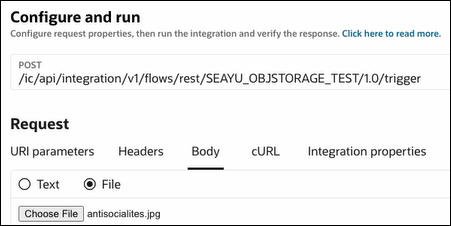
- In the Request section, click
File and upload the object to add to Oracle Cloud
Infrastructure (for this
example, a jpg file), then click Run.
- Go to the Oracle Cloud Console.
- In the navigation pane, select Storage, then Buckets.
- Click the bucket in which you uploaded the object (for this example,
l2_demo_bucket).
The object is displayed in the Objects section. Note that the object is renamed from what you uploaded on the Configure and run page.
