Add a Stop
Most of the time, you don't need to tell a robot to stop running because it stops when it runs out of actions. However, when you need to add an explicit stop to a robot, add the stop logic, which ends a robot's work.
Use Case
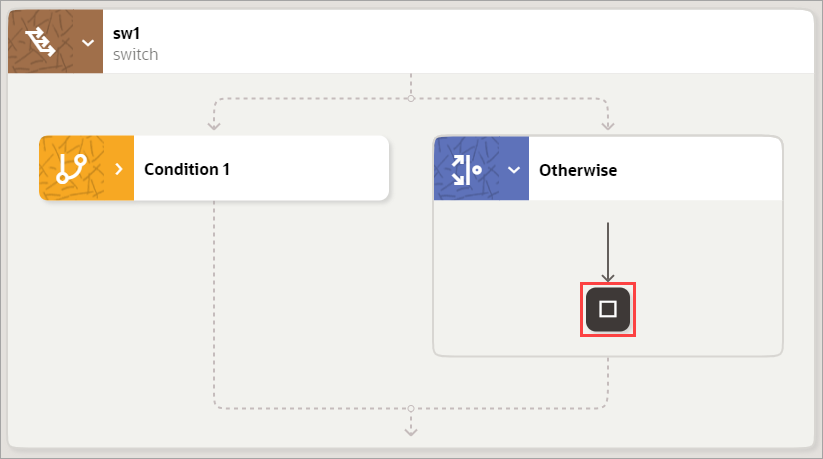
You typically add a stop within the Otherwise condition of a switch condition. For example, consider a robot that evaluates a condition. If the condition is true, the robot completes the actions in the condition and then completes the remaining actions in the robot. If the condition is false, the robot stops running. Use the stop logic to tell the robot to stop running.
Add a Stop
Note:
You must use the low-code capabilities to add this logic to a robot. Keep reading for step-by-step instructions.
