Pre-General Availability: 2024-09-02

Add a Switch Condition

When the presence or absence of circumstances determines a robot's next step, add a switch condition to a robot. A switch condition evaluates one or more conditions and then takes the appropriate action.

Sample Use Case

A robot must complete the following tasks:

  • Compare the supplier name that is passed into the robot with the supplier name that appears on an invoice.
  • Compare the invoice total that is passed into the robot with the total that appears on an invoice.
  • Take the appropriate action:
    • If the supplier names and invoice totals match, update the invoice.
    • If the supplier names and invoice totals don't match, do nothing.

Use a switch condition to achieve these goals. A condition in the switch condition uses an expression to determine whether all values match. Include the action to take in the condition. An otherwise condition contains the alternative action--in this case, doing nothing.

For more details about this use case, see Use Case: Update a Set of Invoices.

Add a Switch Condition

Note:

You must use the low-code capabilities to add this logic to a robot. Keep reading for step-by-step instructions.
  1. Open the robot to edit.
    1. In the navigation pane, select Projects.
    2. Select the project name.
    3. In the left toolbar, select Robot Robot.
    4. In the Robots box, select the robot to open.

      The canvas appears.

  2. Add the logic to the robot.
    1. On the canvas, point to an action, and click +.

      A menu of available actions appears.

    2. Select the Flow control tab.
    3. In the list, select switch.

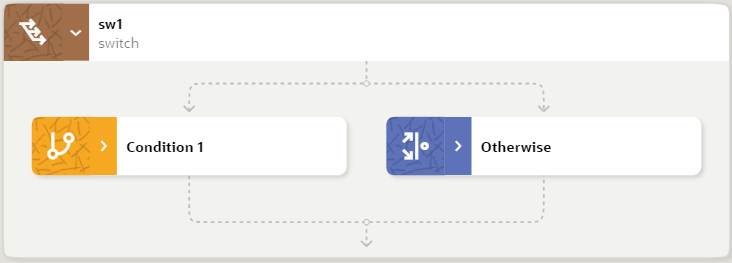
      A switch condition appears on the canvas, and the Switch condition panel appears.

      A switch condition appears on the canvas. Within the switch condition are two conditions: Condition1 and Otherwise

  3. Name the switch condition.
    1. In the panel, enter a Name and Description for the action.
    2. Select OK.
  4. Define the first condition in the switch condition.

    For example, the condition might include an expression to determine whether an invoice meets specific criteria.

    1. Within the switch box on the canvas, point to Condition1, select Show node menu Actions icon, and then select Edit Edit icon
      The switch condition panel appears.
    2. Fill in the following fields:
      • Name: Enter a name for the condition. The name appears in the box for the condition on the canvas.

      • Description: Enter a description for the condition.

      • Condition: Enter the expression that the condition must evaluate. If the expression returns true, the switch performs the actions that you define in the condition box.

        The expression can include variables, inputs, page states, robot connections, and expression language. For help formatting an expression, see the following resources Guidelines for Expressions.

  5. Add one or more actions to the first condition.
    1. Point to the condition, and select the > button to expand it.

      Expand condition

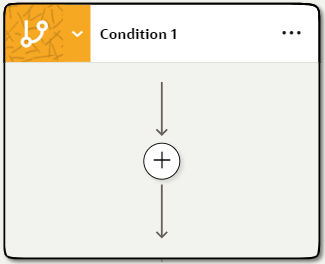
      The condition expands, and a plus sign appears in it.

      A condition is expanded on the canvas

    2. Define actions or logic that the robot takes if the condition returns true.
  6. If needed, add more conditions to the switch.

    For example, if the robot should take Path A if one condition is true, Path B if another condition is true, and Path C if both conditions are false, add another condition to define Path B.

    1. Point to the switch condition on the canvas, and select Insert switch condition Insert switch condition
    2. Use the previous steps to define the condition and its actions and logic.
  7. Define the otherwise condition, and add one or more actions to the condition.

    If all the other conditions return false, the robot completes the actions in the otherwise box.

    1. Within the switch box on the canvas, point to Otherwise, select Show node menu Actions icon, and then select Edit Edit icon

      The default panel appears.

    2. Fill in the following fields:
      • Name: Enter a name for the otherwise condition. The name appears in the box for the condition on the canvas.

      • Description: Enter a description for the otherwise condition.

    3. Point to the otherwise condition, and select the > button to expand it.

      Expand otherwise condition

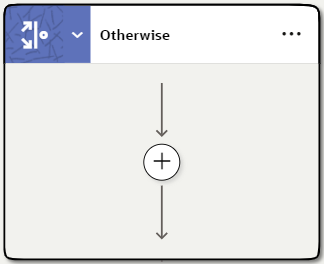
      The condition expands, and a plus sign appears in it.

      An otherwise condition is expanded on the canvas

    4. Add actions or logic to the Otherwise box.
  8. Click OK.
  9. Above the canvas, select Save.