Test a Robot Locally from the Canvas
Follow these steps to test often as you build to ensure that the robot works as expected.
Complete the steps described in Prerequisites for Testing a Robot Locally from the Canvas.
- Open a robot.
- In the left toolbar, select Robot
 .
. - In the Robots box, select the
robot to open.
The canvas appears.
- In the left toolbar, select Robot
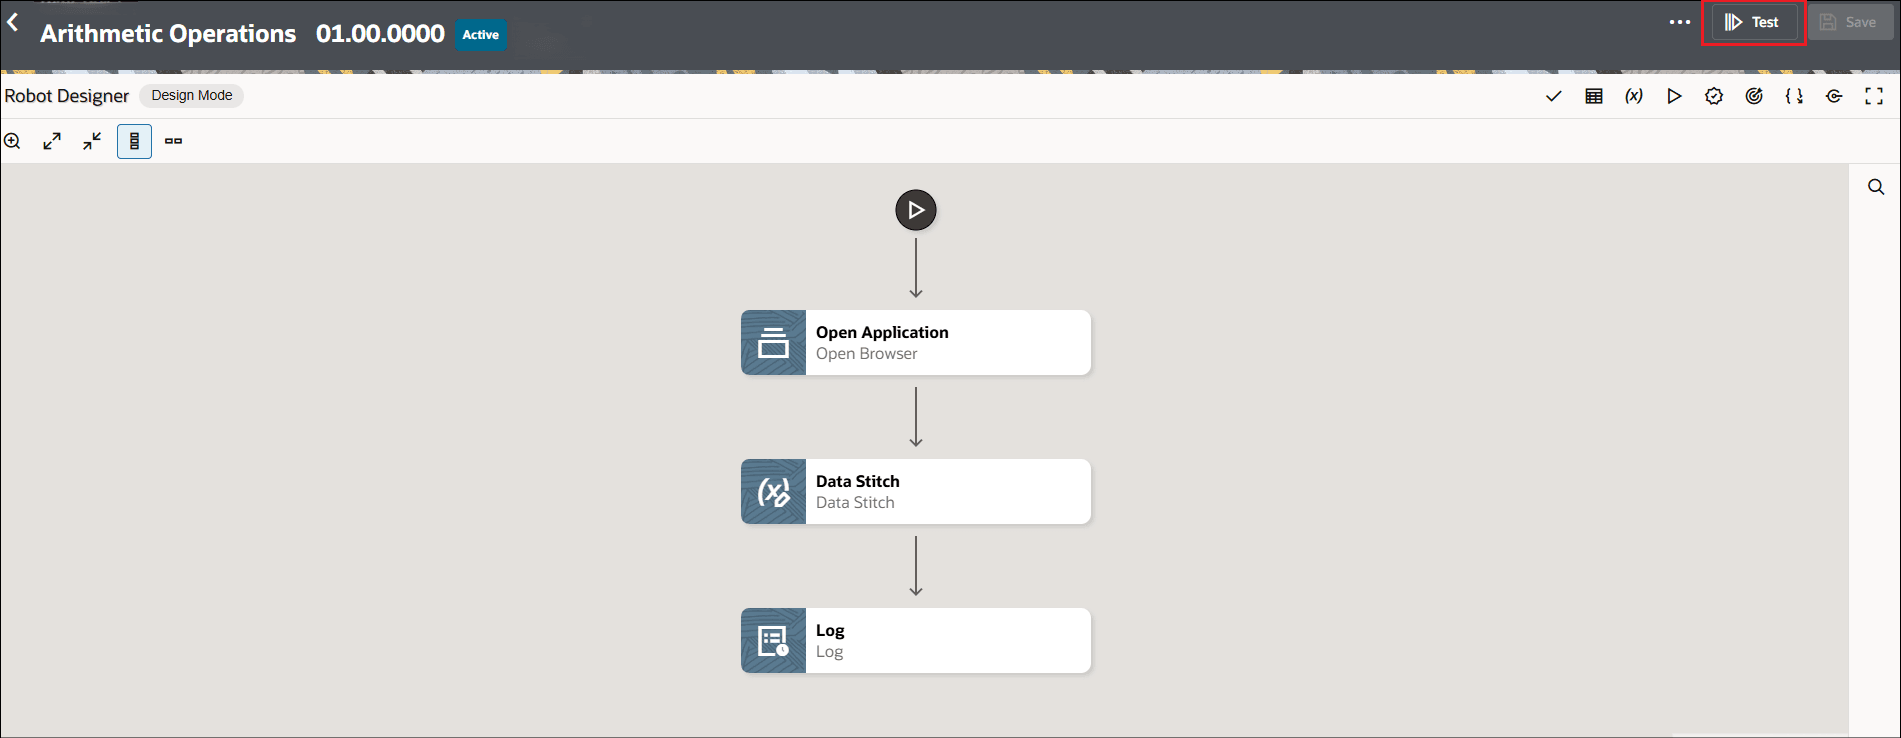
- Click Test to start the local testing for the robot. The Test Run pane appears on the right.
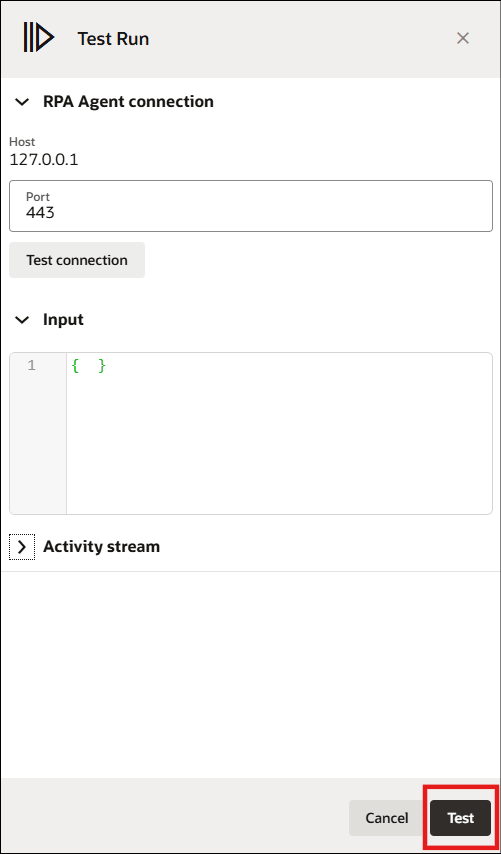
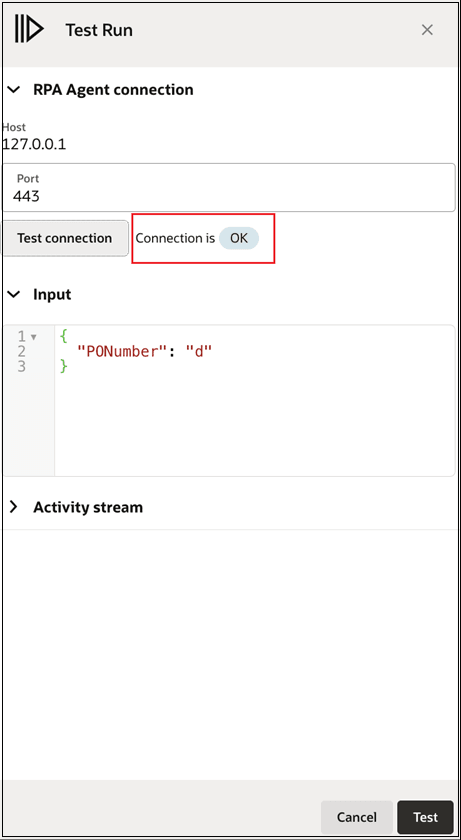
- Click Test connection to ensure the connection is successful.
Note:
- If the "Your connection is not private" page displays, click Advanced, and then click Proceed to <IP address>.
- If your setup is correct, it will display a Connection is OK message in the Test Run pane.
- Click Test connection to ensure the connection is successful.
- Click Test.The Activity Stream section will display the Robot execution status.
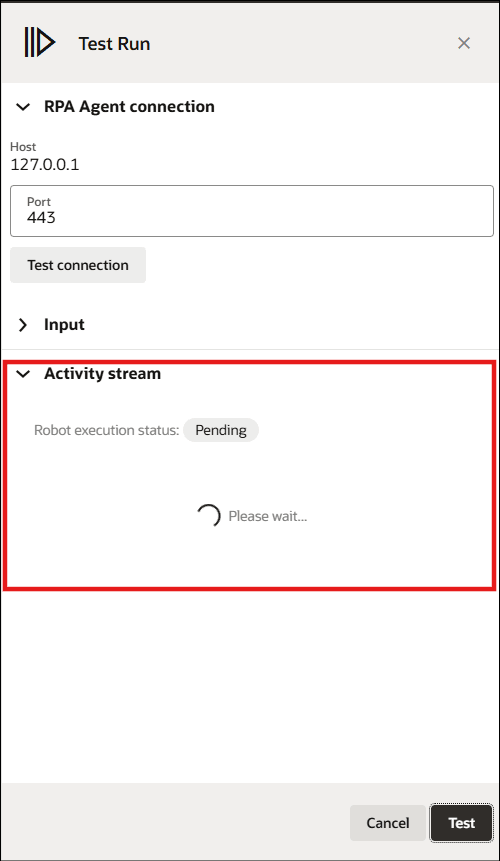
- Review the activity stream on the canvas and robot agent execution details from the command prompt to see if there are any errors. See Fix a Robot's Errors.
- If the robot does not work as expected, you can make the required changes in the canvas and test again.