Translation Job Editor
A Translation Job Editor is a UI component that lets you edit translation jobs, manage and monitor the status of your translation job assets. The editor is where you communicate your translation job requirements to the translation connector.
Note:
The editor is an optional component of a translation connector. On the Connector Settings’ page, the option to add the Translation Job Editor is shown to you if you configured custom translation UI. Without the editor, the status of the job within the connector is available to you after the connector successfully completes the job creation process.Oracle Content Management (OCM) comes with an out-of-box Translation Job
Editor in the OCM web UI. The underlying code implementation is in
window.translationEditorSDK, which can be downloaded through the
command-line interface (CLI) utilities in Content Toolkit. You can modify the JavaScript
code to customize the Translation Job Editor.
Note:
Customizing the editor in the provided code through the Content Toolkit will be available in the spring of 2023.The following section covers the steps on how to create a Translation Job Editor in the OCM web UI. The high-level workflow is as follows:
- Create the UI component called Translation Job Editor
- Configure the Component for the Custom Connector
- Create a Translation Job and Render the Editor
- Customize the Translation Job Editor
Create the UI component called Translation Job Editor
-
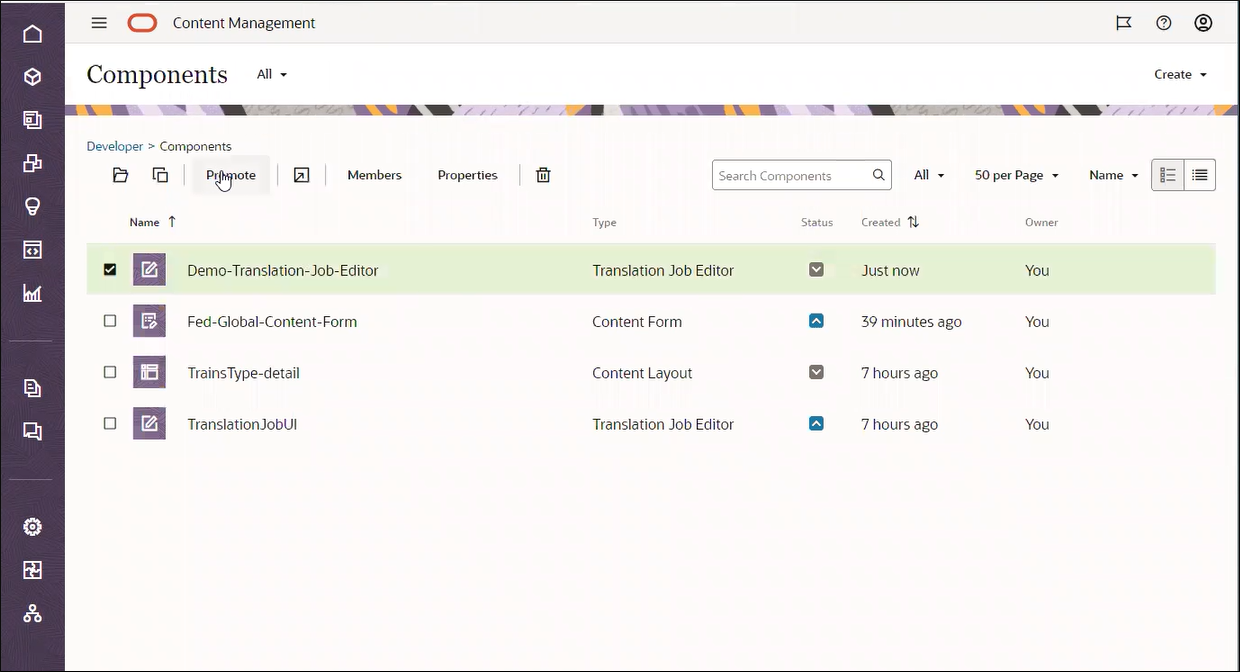
In the OCM web UI, access the Developer tab > Components > Create > Translation Job Editor. Give it a name, for example: Demo-Translation-Job-Editor.
-
Promote the Translation Job Editor on the Components page. It’s now available to be configured for a custom translation connector.

Configure the Component for the Custom Connector
-
- Download the Translation Connector SDK, available in OCM Toolkit
Create a translation connector. See below for the toolkit command.
cec create-translation-connector
                                    <name>
Creates translation connector <name>. [alias: ctc] -
-
Modify the sampleConnectorResponses.js
After creating the translation connector, locate the connector source code. Find the source code of the connector in
src/connectors/<name>Within that directory, look for the sampleConnectorResponses.js file and modify it according to the documentation.
With the “CustomTranslationUI_name” and “CustomTranslationUI_id” fields defined in the custom connector implementation, the Connector Settings page will display the Translation Job Editor field.
-
Start the translation connector. See below for the toolkit command. Then use the OCM web UI to configure the custom translation connector.
 cec start-translation-connector
                                <name>
Starts translation connector <name>. [alias: stc] src/connectors/<name> Note:
The translation connector must be started before you can configure the custom translation connector in the OCM web UI. -
-
To configure a custom translation connector, access the Integration page and select Translation Connectors in the top dropdown menu. Select Create > Custom Connector to configure the connector. Enter the required fields: name, and connector service URL.
Go to the next page to fill in the required fields, plus the Translation Job Editor field that is now available. Select the Translation Job Editor component you’ve created and promoted. Save your data.
-
Access the Content page, select a repository and add the translation connector you’ve created.
Create a Translation Job and Render the Editor
-
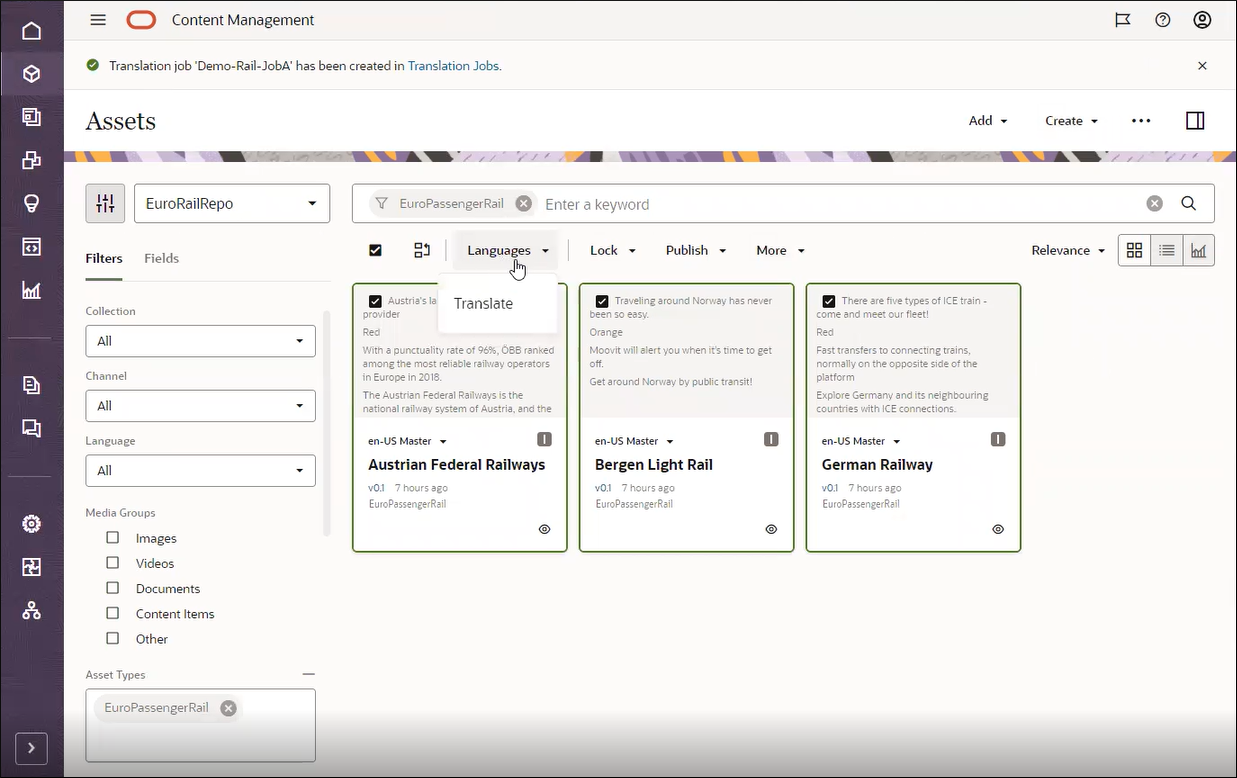
On the Assets page, select an Asset Type. Under Languages > Translate, create a translation job. Enter a Name. Select a Target Language and Translation Project. Finish with Create.

-
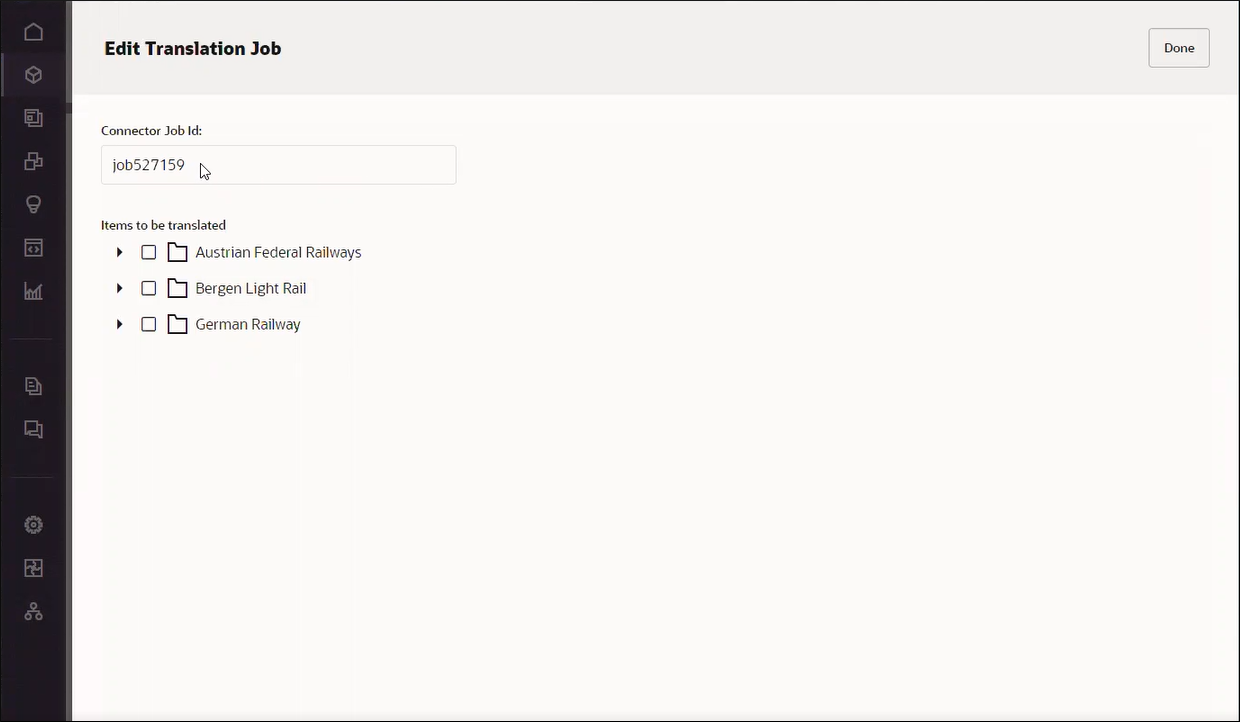
The out-of-box Translation Job Editor user interface shows the basic information about your translation job. You can customize the editor in the JavaScript code.

Customize the Translation Job Editor
You can add more functionalities to the Translation Job Editor, customize it
by using the Custom Translation UI SDK. Select your Translation Job Editor and find the
out-of-the-box code in the assets/js folder. The provided default
main.js is where window.translationEditorSDK is
called. The file util.js is where a few helper functions are
located.