Set Up IDEs and Git Clients
You can use IDEs such as Eclipse IDE, NetBeans IDE, and Oracle JDeveloper to access projects, as well as your project's Git repositories, issues, and builds. Before using an IDE, you must install and configure the required plugins.
You can also use any Git client, such as the Git command-line interface (CLI), to access Git repositories from your computer. You can’t access projects, issues, and builds from a Git client.
Eclipse IDE
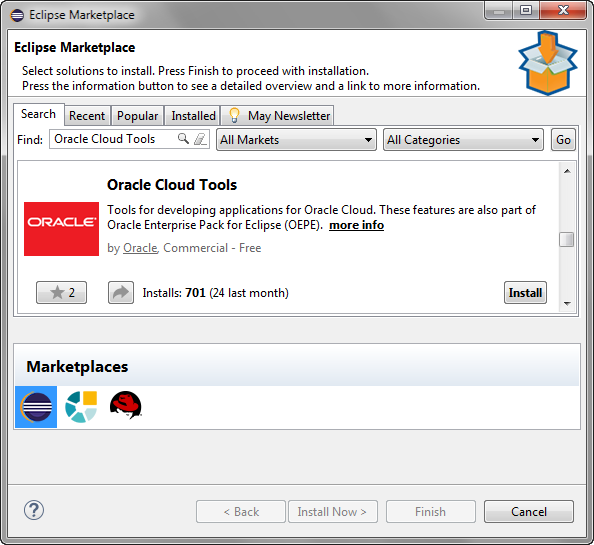
To access DevCS projects and Git repositories from the Eclipse IDE, install the plugins required by Oracle Cloud and the Git from the Eclipse marketplace. After you install the plugins, you can use the Eclipse IDE to develop applications for Oracle Cloud.
If you’re using the Oracle Enterprise Pack for Eclipse (OEPE) IDE, the Oracle Cloud and the Git plugins are installed by default.
Eclipse IDE uses EGit to access and manage Git repositories. For more information about EGit and the Git actions you can perform, seehttp://eclipse.org/egit/ and the EGit documentation at http://wiki.eclipse.org/EGit/User_Guide.
After installing the Git plugin, you should set the username and email properties. DevCS pages display your username and email address as the committer's name and email ID.
-
From the Window menu of the Eclipse IDE, select Preferences.
-
In the Preferences dialog box, search for
Git. -
In the Team > Git > Configuration page, set the properties.
NetBeans IDE
To access your projects and Git repositories from the NetBeans IDE, install the plugins required by DevCS and Git.
-
From the Team menu, select Git > Open Global Configuration.
-
In the
.gitconfigfile, set the properties, and save the file.
JDeveloper
Oracle JDeveloper comes pre-installed with the plugins required by DevCS and Git. No additional configuration is required.
Git Command-Line Interface
If you can’t use an IDE to access and update files of a Git repository, you can install and configure a Git client on your computer. The Git command line-interface (CLI) is the most popular Git client.
Here are the steps to download, install, and configure the Git CLI.
-
Download and install the Git CLI.
On Windows, use the Git Bash CLI to access project Git repositories. You can download Git Bash (version 1.8.x or later) from
http://git-scm.com/downloads.On Linux and Unix, install Git using the preferred package manager. You can download Git for Linux and Unix from
http://git-scm.com/download/linux. -
Configure variables to set up your name and email address. DevCS pages display your username and email address as the committer's name and email ID.
-
To configure your user name, set the
user.namevariable.Example: On the Git CLI command prompt, enter
git config --global user.name "John Doe" -
To configure your email address, set the
user.emailvariable.Example:
git config --global user.email "johndoe@example.com" -
To configure the proxy server or disable SSL, set
http.sslVerifyandhttp.proxyvariables.Examples:
git config --global http.sslVerify falsegit config --global http.proxy http://www.testproxyserver.com:80/
-
Tip:
To find out the value of a variable, use the git config <variable> command.
Example:
git config user.name
