Create an Integration
Based on the business scenario described earlier, you need to create an integration called "Order to Invoice" with the Orchestration pattern. This pattern allows you to orchestrate trigger, invoke, and switch activities if required into a process diagram in an integration. You can also add mappings on switch branches later if needed.
This section describes how to create an integration with the Orchestration pattern. Information on adding each activity in the diagram is explained later in this chapter.
Perform the following steps to create an integration:
-
In the left navigation pane, click Home > Integrations > Integrations.
-
On the Integrations page, click Create.
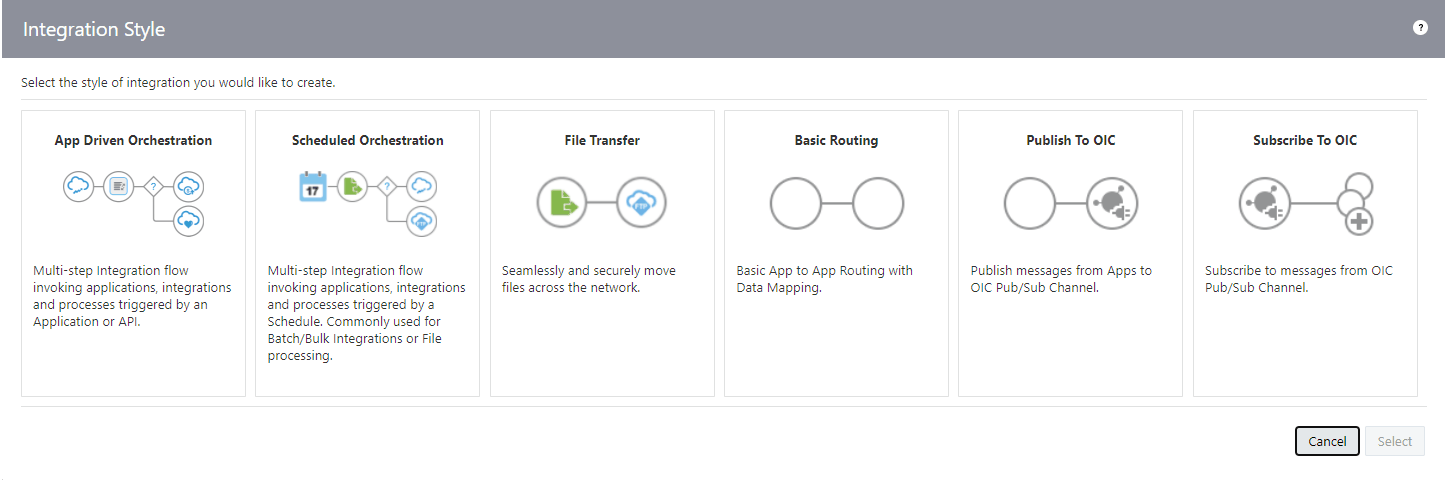
The Select Integration Style dialog is displayed.
-
Choose the "App Driven Orchestration" integration style for use in this example and click Select.

Note:
Depending on your integration requirements, when adding the Oracle E-Business Suite Adapter as a trigger (source) connection, you can use it with "App Driven Orchestration" or "Publish To OIC".
-
The Create New Integration dialog appears. Enter the following information:
-
What do you want to call your integration? Enter a meaningful name for your integration, such as "Order to Invoice".
-
Identifier: Accept the default identifier value "ORDER_TO_INVOICE".
-
Version: Accept the default version number.
- Documentation URL: Leave this blank.
-
What does this integration do? Enter "Create an integration for order to invoice" as the description for this integration.
-
Which package does this integration belong to? Leave this blank.
- Which keyword defines this integration: Leave this blank.
-
-
Click Create and Save.
To complete the integration, you need to add the following tasks that are described in the next few sections:
-
Add the desired connections to the integration you just created.
See: Add the Oracle E-Business Suite Adapter (Trigger) and the REST Adapter (Invoke) to the Integration.
-
Add mappings in the integration.
See: Create Mappings.
-
Assign business identifiers for tracking.