2 Getting to Know MAX
How Do I Build a Mobile App Using MAX?
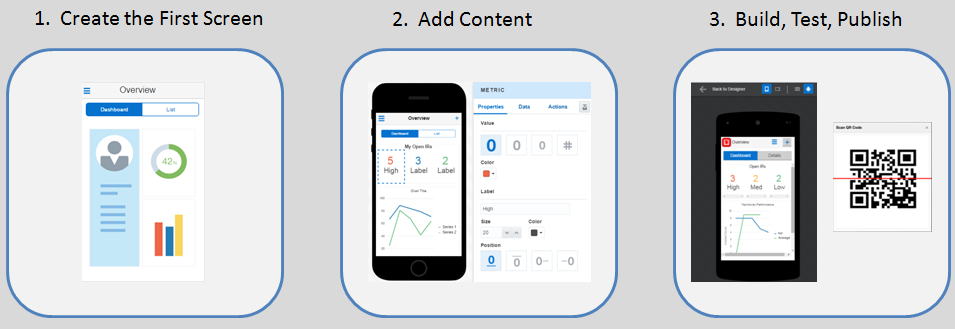
It’s a three-step process to get your app to its users.
-
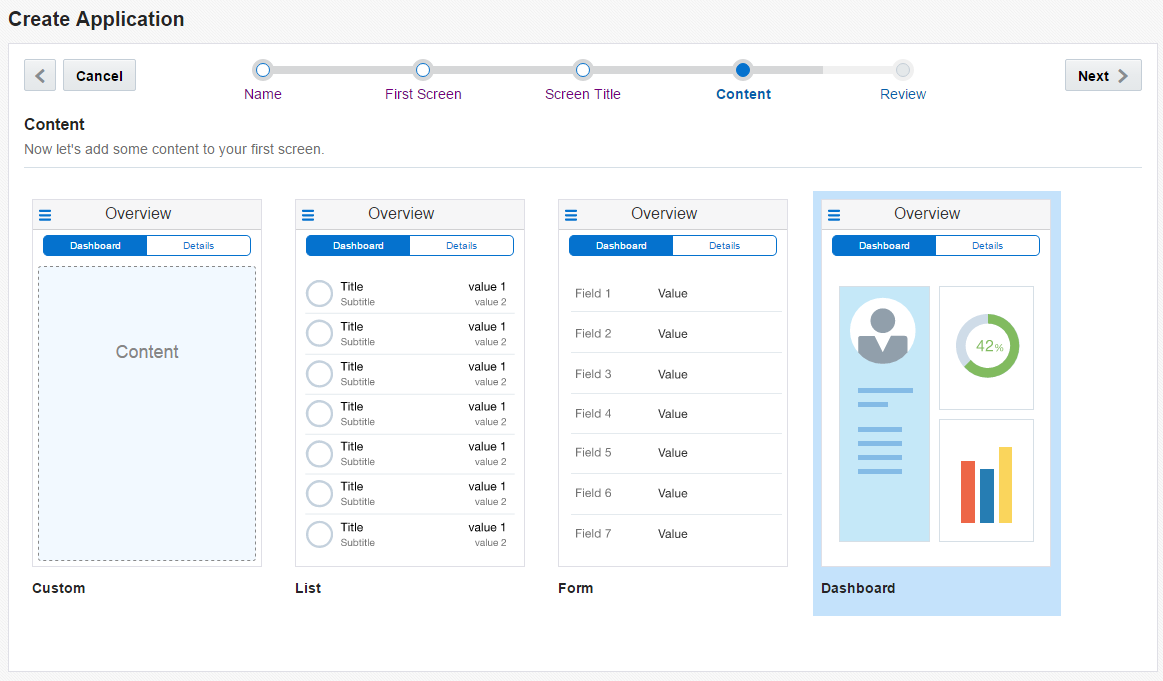
Create the foundation of your app by choosing its first screen. You can decide how you want to arrange the content by selecting a template for a commonly used screen type, like a dashboard or a list. If none of these templates reflect your use case, you can choose a blank page and then populate it with UI components later on.
-
Add content to your app. You can drag and drop UI components to quickly build your app’s screens. You enable these screens to display data using a service published by your development team. To help you integrate the right data from the service into your UI, your development team defines a set of business objects, which use concrete terms to describe the data and how to use it.
-
Build, test, and publish your app. You can test your app in a hosted simulator to see how the actual data renders in your UI. You can see how your app interacts with live data on an actual device by viewing it through the MAX App, which you can download from the App Store or Google Play. After you’ve built your app, MAX generates a QR code that enables you to share the app with users. This QR code remains the same even when you’ve updated the app.
How Do I Get Started?
Before you build a mobile app, you should define a use case, how the user experience can be expressed by the screen flow of your app, and how your app (and its users) will interact with the data.
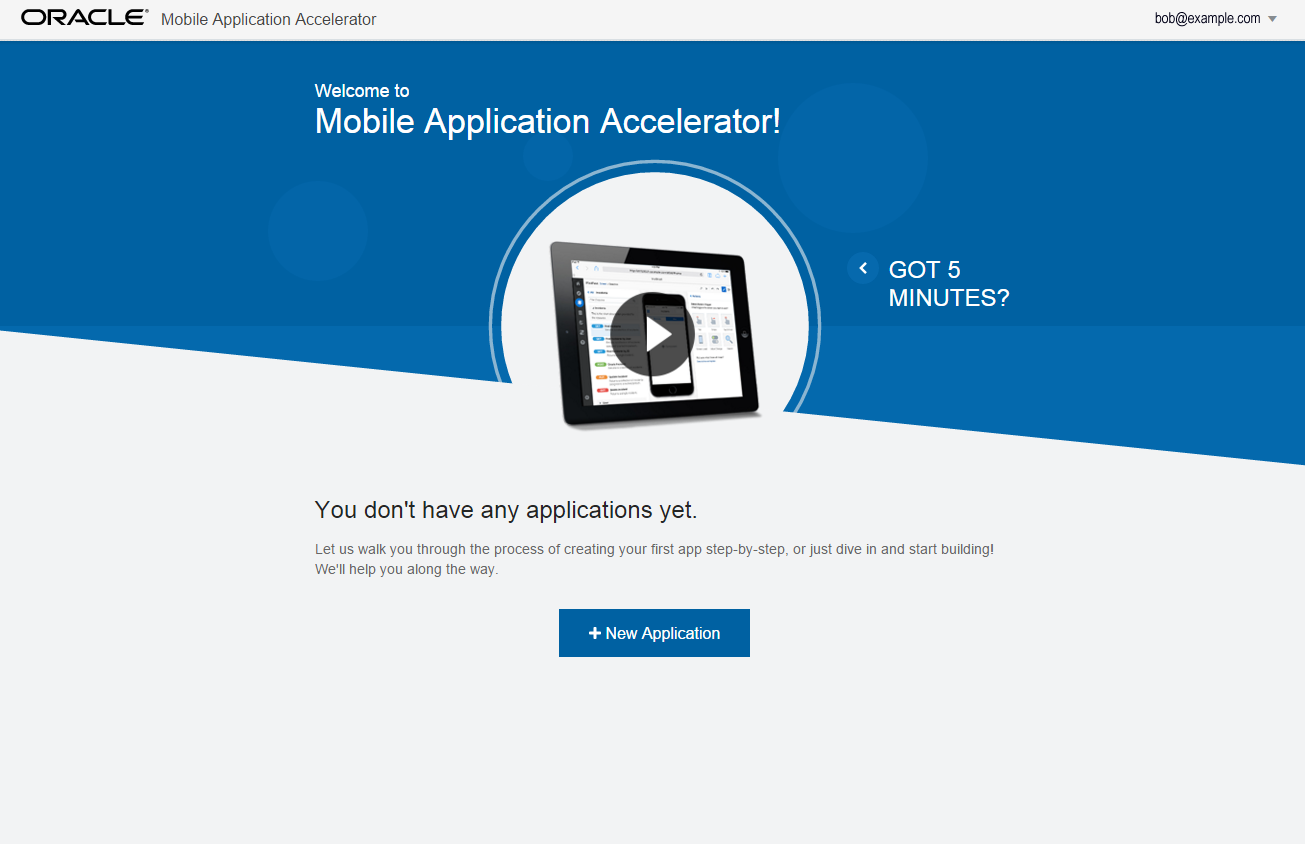
Even as you gather requirements and construct your use case scenarios, you can login to and get oriented by watching the videos. From there, you can peruse MAX to see which of its page and UI components fit your needs. The central piece of your mobile app will be the data that it accesses. While MAX enables you to give your mobile app access to backend data, you need to work with your dev team to learn about the available resources before you actually start building your app.
What Do I Need to Access MAX?
To access MAX and run your mobile apps, you need accounts for MAX itself, as well as a test user account, and mobile user account.
| Account Type | Description |
|---|---|
|
A MAX account |
This is the user name and password that enables you to login to MAX. If your account has been set up properly, then you can build and publish mobile apps. You might have problems if your account configuration is incorrect or incomplete, so keep the following in mind:
|
|
A test user account |
You need a test user account to preview your app using live data. Ask your administrator to create this account, which you also need to generate the QR code for testing your app on a device. You can also use the test user account to test an app on a device. |
|
A mobile user account |
Anyone (including you) who runs mobile apps needs a mobile user account. If you’re already using mobile apps created by your company, then you have this account. Otherwise, make sure that you have it so that you can run your apps on a device. |
Creating the First Screen of Your App
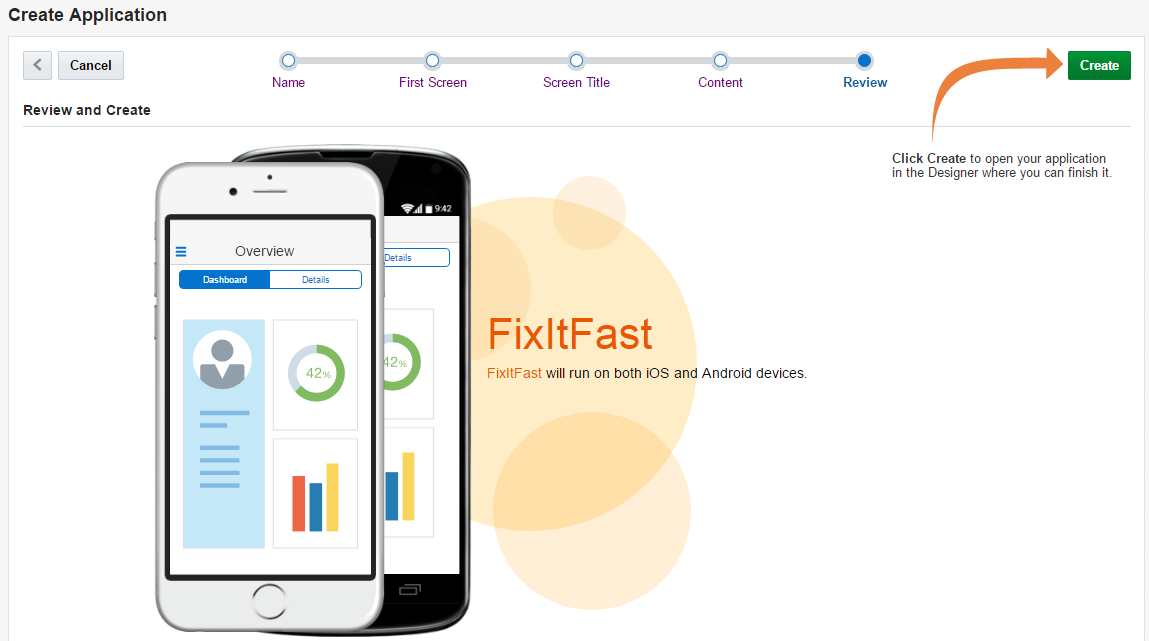
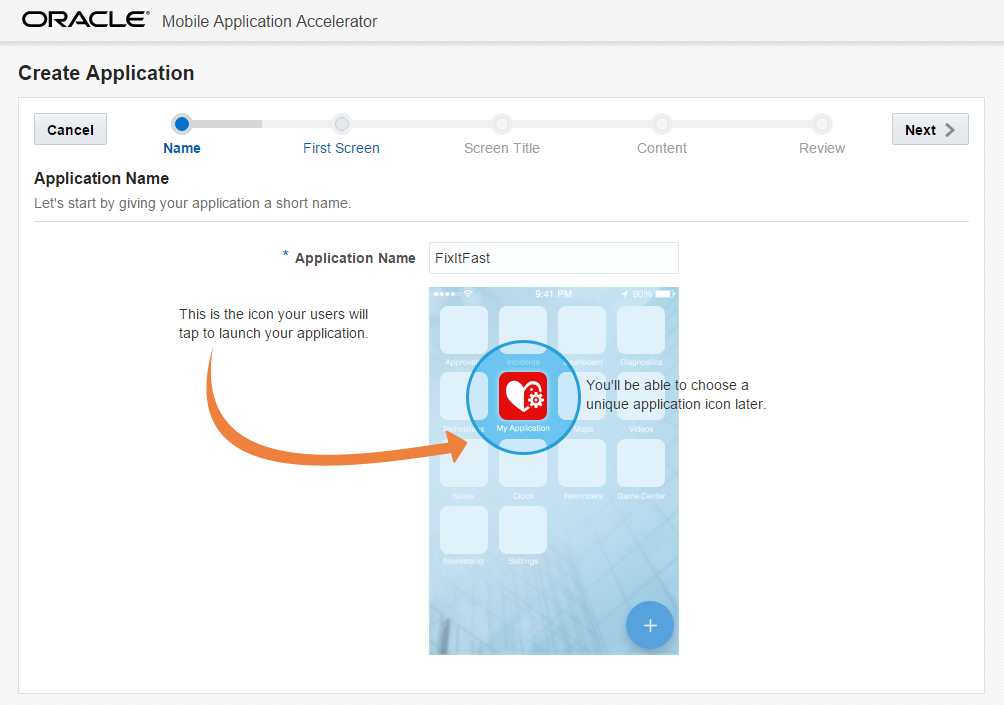
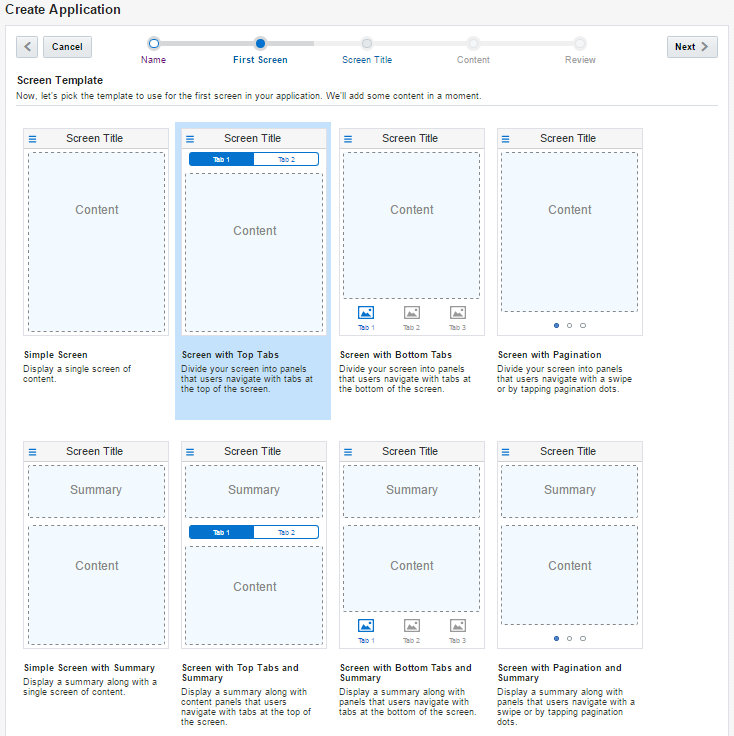
You can create the foundation of your app in just few clicks. Just give it a name and pick out a style for its first screen.
What’s Next?
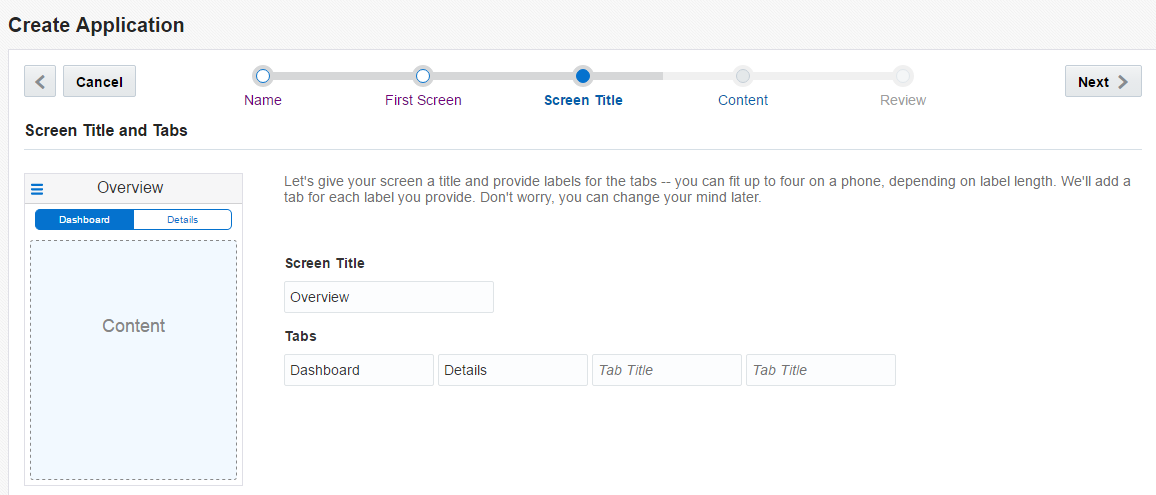
 ). You can also traverse through your app using tab or pagination functions.
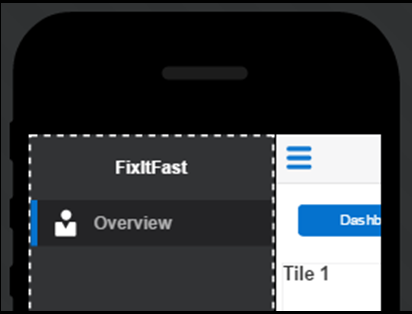
With the basic structure of your first screen now complete, you can use the Designer to dress it up with UI components, add other screens to it, and sequence them into the flow that supports your scenario. The Designer lets you integrate your UI with the service that provides your app with its data. It also lets you build, test, and publish your app. To find out more, see Getting to Know the Designer. If you want to jump in, check out the
  tutorial.
 ) or by clicking on the progress trail at the top of the page.