Stash Your Changes

Sometimes as you make changes in your workspace's repository, you might need to work on another task even when you're midway through some other change. If what you're working on isn't quite ready to be committed, you can temporarily save—or stash—your changes, switch context to do something else, then come back and pick up where you left off.

Create a Stash

You can create a stash when you want to save uncommitted changes in your application. This way, you keep the progress you've made so far without having to commit unfinished, potentially broken, changes.

Stashing saves all the changes you've made in your working branch but not yet committed and reverts the branch's contents to HEAD (the last commit made to the branch). With your changes safely stashed away, you can switch context and freely make other changes. Then when you're ready to resume your work, you can apply the stash and continue where you left off.

To stash uncommitted changes in your working branch:

  1. Click the Git menu in the header.
  2. Select Stash.
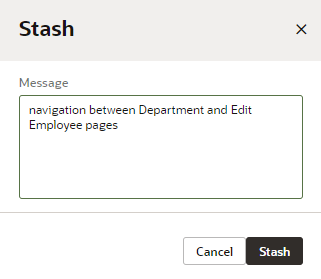
  3. In the Stash dialog box, enter a message. If you don't, the stash will be marked by default as a work in progress on top of the branch and commit that you're creating the stash from, something like WIP on branch: revisionID last-commit-message. This default might not be relevant to your particular changes, so providing a good description can help you clearly identify the changes you're saving.
  4. Click Stash.

    When successful, close the confirmation message that appears. The Git Panel also refreshes to show that there are no more uncommitted changes for the current branch.

You can now switch context to perform any Git operation relating to your new task.

To view your stash, click Unstash in the header's Git menu. Stashes are visible across branches, so you can save a stash in one branch, then switch to another branch and apply your stash there.

Apply a Stash

When you are ready to work on something you previously stashed, you can apply that stash to bring back your saved changes and pick up where you left off. You can either apply a stash or pop it to your working branch.

  • Applying a stash restores its changes and keeps the stash in the stash list. Do this if you want to apply the same stash to multiple branches.
  • Popping a stash restores its changes and removes the stash from the stash list.

To restore changes saved in a stash to your working branch:
  1. Click the Git menu in the header.
  2. Select Unstash.

    You'll see a list of stashes, both from your current branch and from other branches.

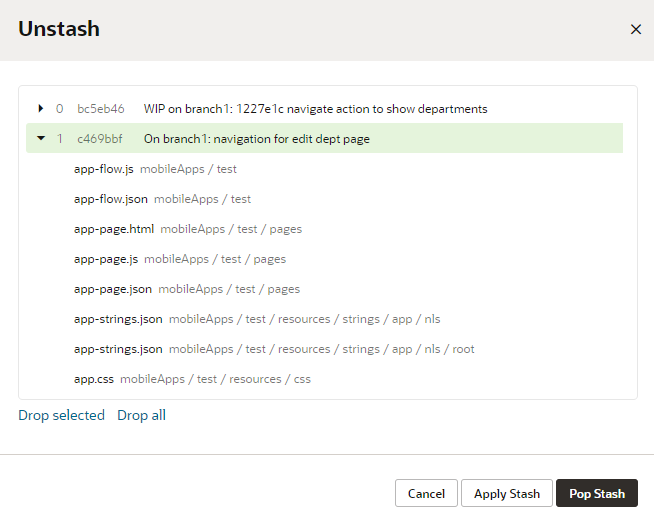
  3. Locate your stash in the Unstash dialog box. You can expand the item to view its list of changed files and check if they include the changes you want to restore.
  4. Apply your stash:
    • To restore a stash to your current branch and keep it in the stash list, click Apply Stash.
    • To restore a stash to your current branch and delete it from the stash list, click Pop Stash.

    When successful, close the confirmation message that appears. You can then continue from where you left off.

    If you've made local changes that will be overwritten by other changes in the stashed files, the stash won't be applied and the operation will be aborted. You'll then need to commit those changes or stash them before you can re-apply the stash you wanted to apply first. If applying your stash causes conflicts, you need to resolve the conflict before you can resume your work.

Delete a Stash

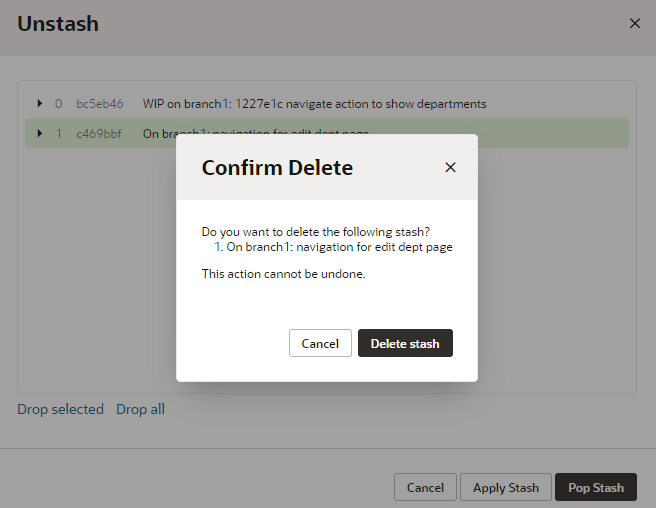
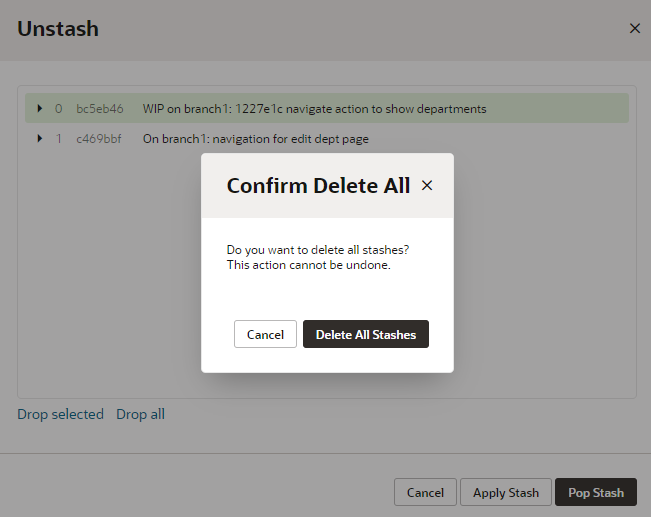
When you no longer need a stash, delete it as a best practice. You can also delete all your stashes to keep your stash list clean. Remember though you can't recover a stash after you've deleted it.

To delete a particular stash or to delete all stashes:
  1. Click the Git menu in the header.
  2. Select Unstash.

    You'll see a list of stashes, both from your current branch and from other branches.

  3. Delete your stash: