Use the Context Menu to Resolve Conflicts
When a file contains conflicts, you can use its context menu in the Git panel to quickly resolve conflicts. You do this when the file has just a few simple conflicts that you can easily resolve by keeping your branch's changes or the other branch's changes.
Tip:
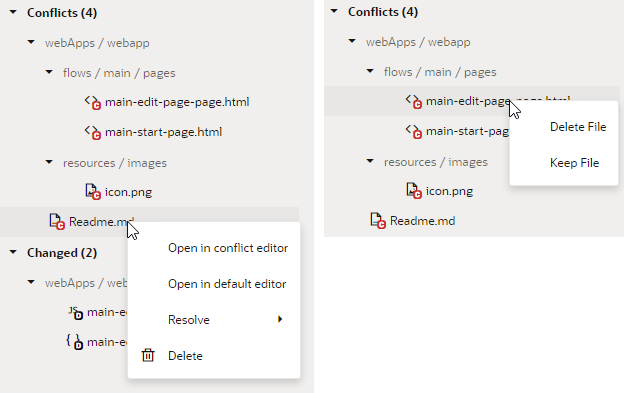
If you want to keep changes from both branches (or a combination of them), or if the file has a large number of conflicts, it's better to open the file in the conflict editor and resolve each conflict separately.The options available to you in the context menu depend on the type of conflict in the file. For example, what you see when a file is deleted in one branch and modified in another (as shown here on the right) is not the same as what you see for a file modified by different people on different branches (shown on the left):
Description of the illustration conflict-types.png
For demo purposes, we'll use the example of a file that's been modified by you and someone else.
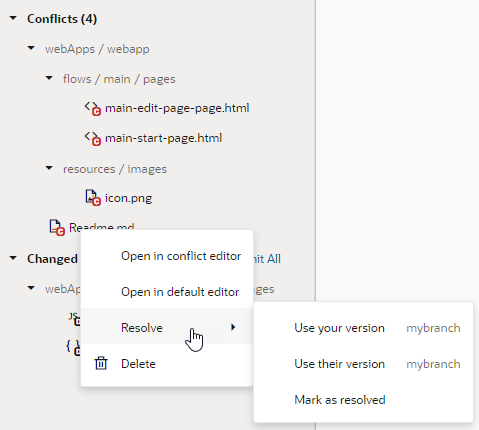
- Right-click the file with conflicts in the Git panel and select Resolve.
- Select the option you want to use:
- Select Use your version to keep your changes in the local branch.
- Select Use their version to keep changes in the remote branch.
- Select Mark as resolved to mark the file as resolved by staging it in Git.
Note:
When you select a file version (Use your version or Use your version), the file is automatically marked as resolved. Select Mark as resolved only if you manually made changes to a file either in the default editor or the conflict editor and did not mark the file as resolved (using Resolve and Close) in the editor.
