Configure a Dynamic Container

The easiest way to learn how to configure a dynamic container is to examine a real use case. Suppose the App UI developer of one of your dependencies has added a dynamic container and already defined some sections and cases. At runtime, the container will display the case the developer has configured as the default case. Now let’s say that you want to display a header and form in the container, and include one of the sections from the dependency, but only when the current user is a manager.

To achieve this, you would:

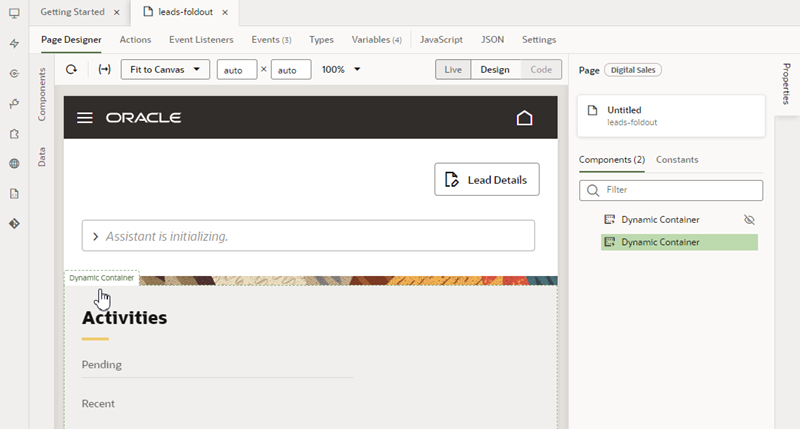
  1. Open the page containing the dynamic container and select the container on the canvas or in the Properties pane.

    You can also open a container by clicking it in the list of dynamic components in the page's Properties pane.


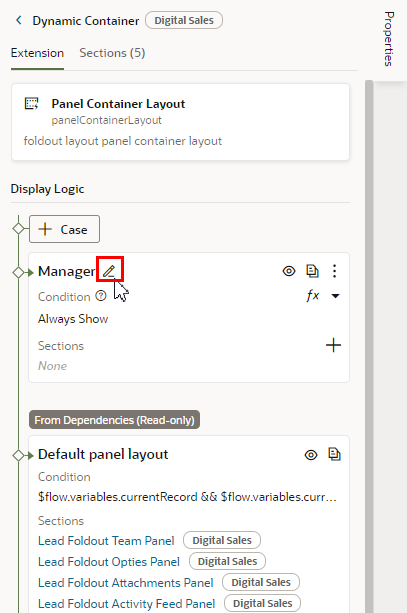
  2. In the Properties pane, click Case button to create a brand new empty case, and give it a unique name—perhaps Manager.

    To edit the case name, click Editnext to the case name:


    If there is a case that contains some sections you know you'll want to re-use, you could click Duplicate icon to duplicate it, and then remove and add sections to the new case as needed.

    Note:

    You can also duplicate sections defined in dependencies, but only if the section only contains a fragment (or fragments).
  3. Add sections to your new case:
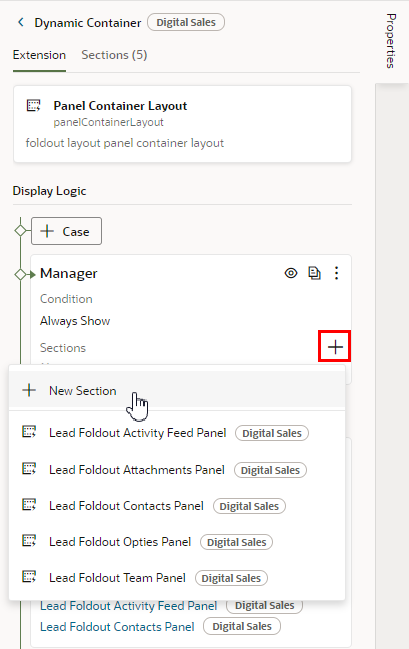
    1. Click Add next to Sections, then select New Section in the menu to create a section:


      In addition to creating new sections, you can also add sections that have already been defined in the dependency.

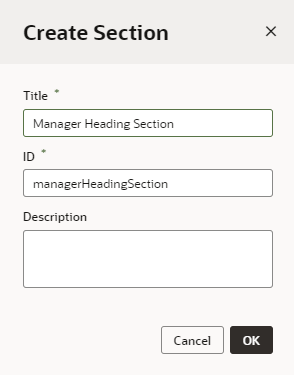
    2. In the Create Section dialog box, type a title for the section. Click OK.

      The ID is added for you based on the title you provided.


    In this example, create two sections in the case: Manager Heading Section and Form Section. Once created, these sections can be re-used in other cases.

  4. Create a conditon for the case:
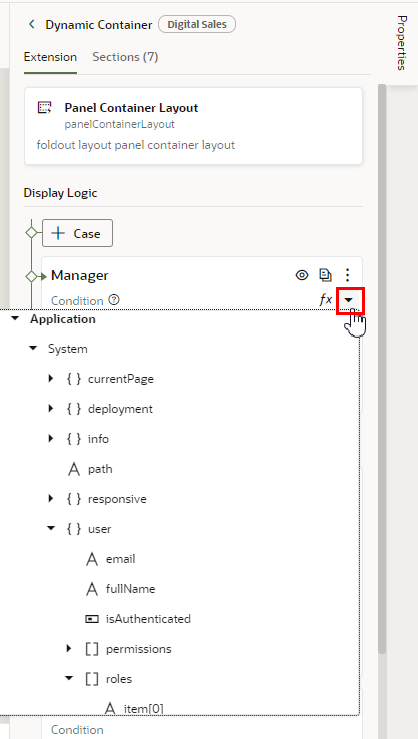
    1. In the case's Condition field, clickVariables picker iconto display the variables you can use in the condition:
    2. Expand the variables tree and click roles (located under Application->System->user).

      When defining an expression, you can use any of the variables and constants available to the extension. Some of these might have been defined in a dependency. (For descriptions of the Built-in Variables, see Built-in Variables in Oracle Visual Builder Page Model Reference.)

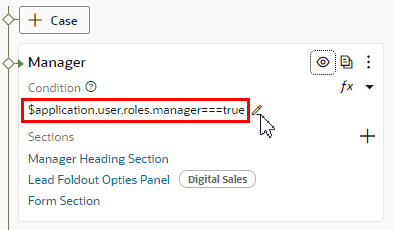
    3. In the Condition field, click Edit, then type in the rest of the expression as shown:


      You set the case's conditions by typing an expression that can be evaluated as true. This expression evaluates as true if "manager" is a role assigned to the user viewing the page.

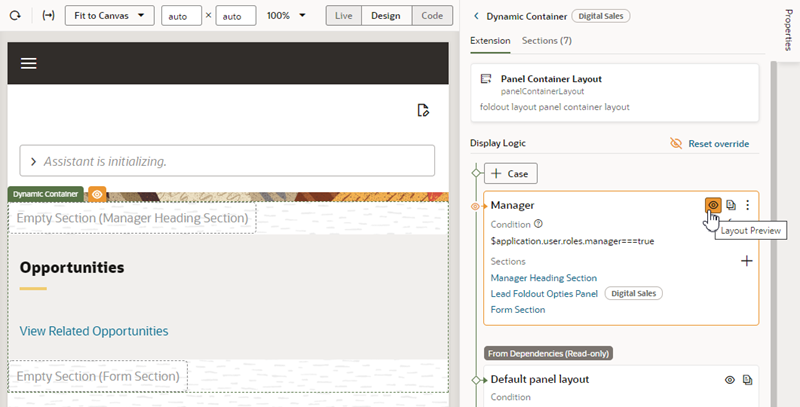
  5. Click Layout Preview in the case.

    Activating a case's Layout Preview forces the Page Designer to display that case in the container, so you can see the components in the case's sections:


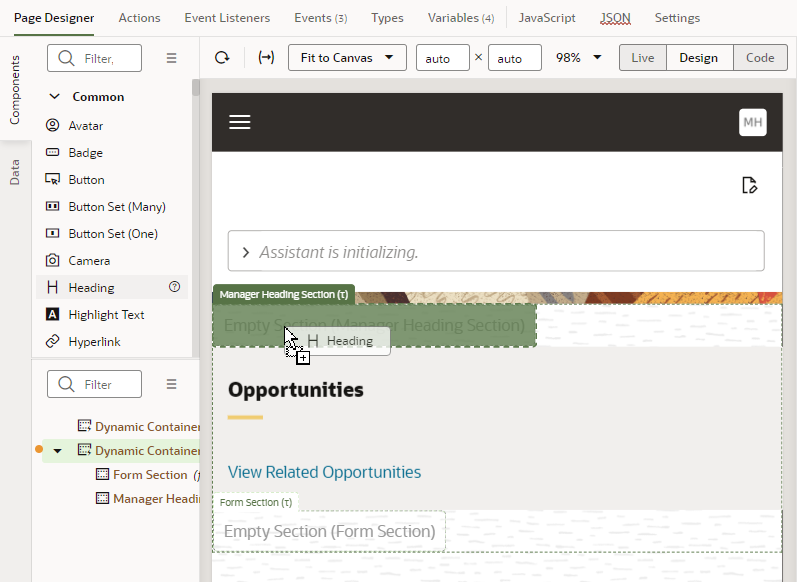
    When a section is visible in the Page Designer, you can drag components directly into it from the Components palette and see how they will be rendered in the page.

  6. In the Page Designer, drag components from the Components palette into the sections.

    You can drag components directly into the section on the canvas or in the Structure view.


    Tip:

    If data sources are available in your extension, you could also drag an endpoint from the Data palette into the section to add forms or tables. See Add Content From a Custom Object to Your Page.

  7. Select the component in the section, and then configure it in the Properties pane.
  8. Click Reset override in the Properties pane to go back to using the container's display logic.

At runtime, if the first case, Manager, is true—that is, if the current user is indeed a manager—then the sections will be displayed in the container in the order they are listed in the case. If the user is not a manager, then the conditions for the next case will be evaluated.