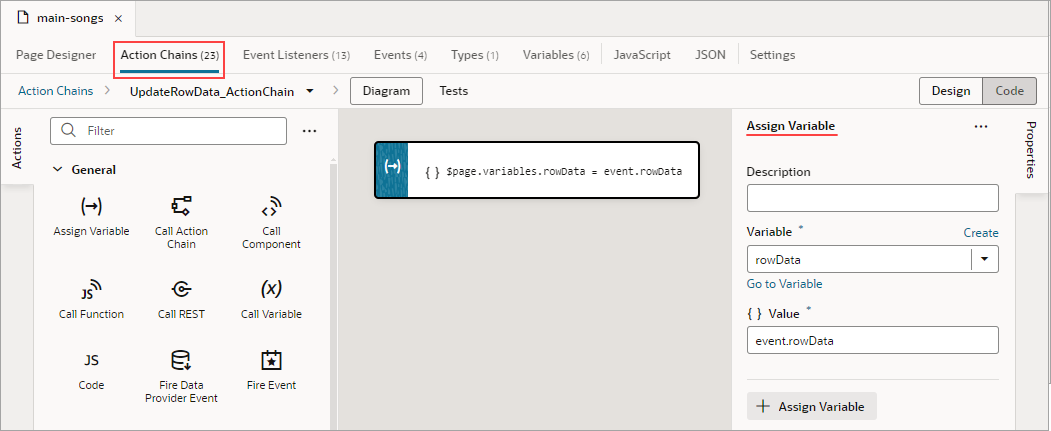
Start an Action Chain
You set up an action chain to be triggered when an event occurs in an artifact. The type of event available depends on the artifact. For example, you can trigger an action chain to start when a lifecycle event such as vbEnter is fired to load a page. Or, use the onValueChanged variable event when a variable's value changes. You can also use custom events to start an action chain from another action chain.
Start an Action Chain From a Component
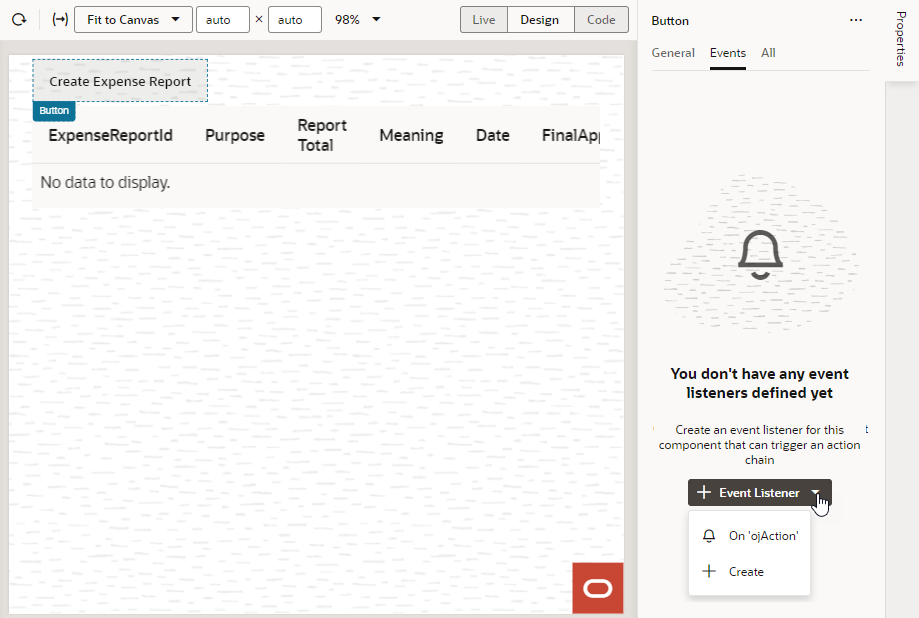
When you add a component to a page, layout, or fragment, you'll need to create a component event, with a component event listener, if you want it to trigger some behavior (for example, to open a URL).
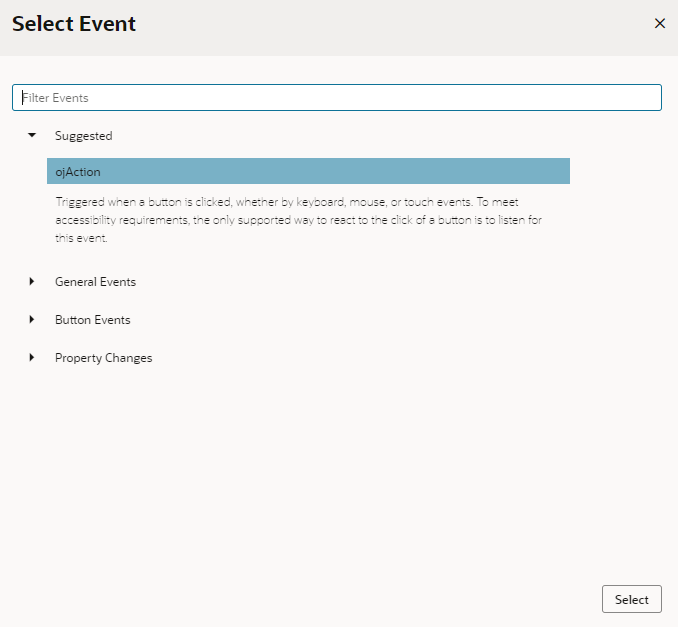
You can apply several predefined events to a component, but the available events are usually determined by the component. For example, the ojAction event is triggered when a button is clicked, so you would typically apply it to a button component (you couldn't apply it to a text field component). Each button will have a unique event and an event listener listening for the button's ojAction event, and the listener would start an action chain (or multiple action chains) when the event occurs. Each component event will usually have a corresponding component event listener.
Note:
You can add an event to a component only from the component's Properties pane. You can't create one in the Events tab of pages.To start an action with a component:
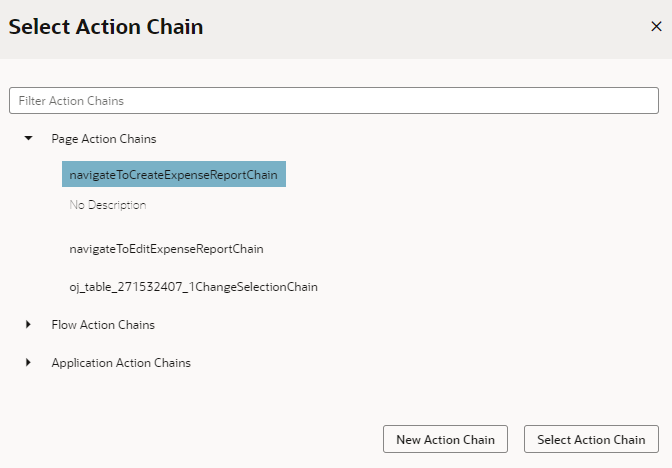
The Events tab in the Properties pane shows events on the component that VB Studio responds to by triggering action chains. You can edit the properties, for example, to add input parameters that you want to use in the action chain. Input parameters can provide values from the component and its page to the action chain, which the action chain can then use to determine its behavior. For example, a table selection event could supply details of which row was selected to its action chain.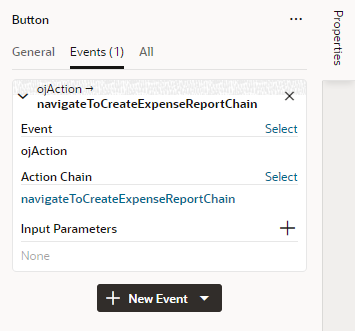
Description of the illustration event-listener-component-edit.png
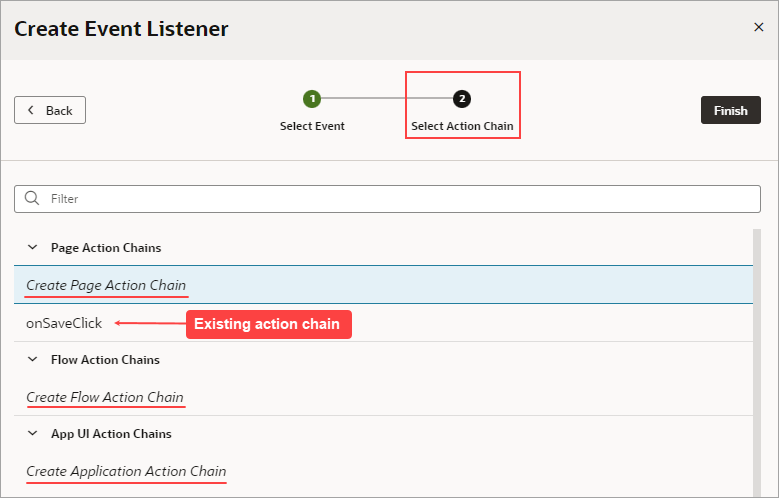
If you used the quick start option to add an event, a component event listener is created for the new event, and the listener is mapped to the action chain it created for you. If you open the Event Listeners tab, you'll see it listed under Component Event Listeners, along with the action chain that it will trigger. 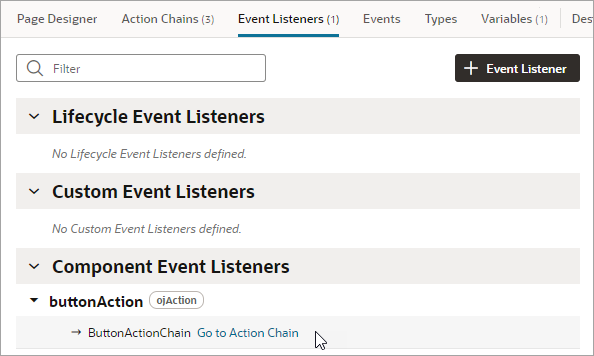
Description of the illustration event-listener-component-qs.png
Start an Action Chain When a Variable Changes
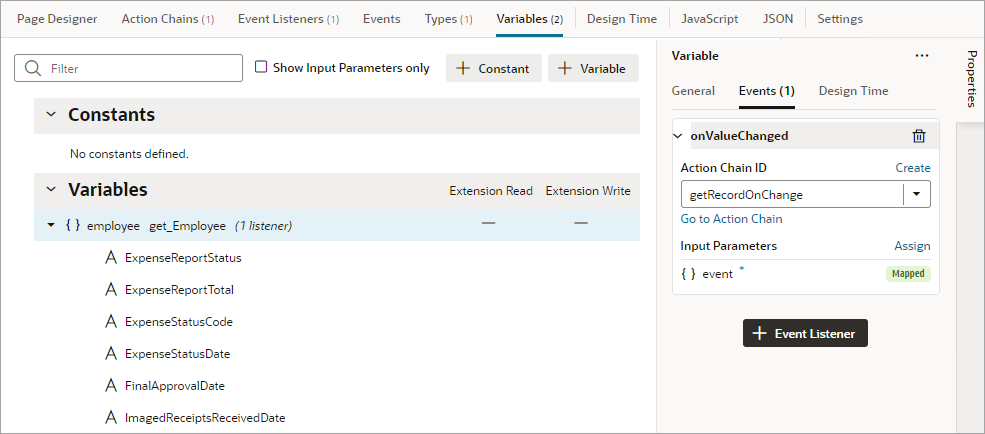
You can start an action chain when the value stored in a variable changes by adding an onValueChanged event to the variable.
When you use an onValueChanged event to trigger an action chain, the trigger has the payload of the variable's old and new values. For example, let's say you changed an employee's Name property and reset the Employee; the framework sends an event that the Employee has changed, and as part of the payload, indicates that the name has changed.
To start an action chain when the value of a variable changes:
Start an Action Chain From a Lifecycle Event
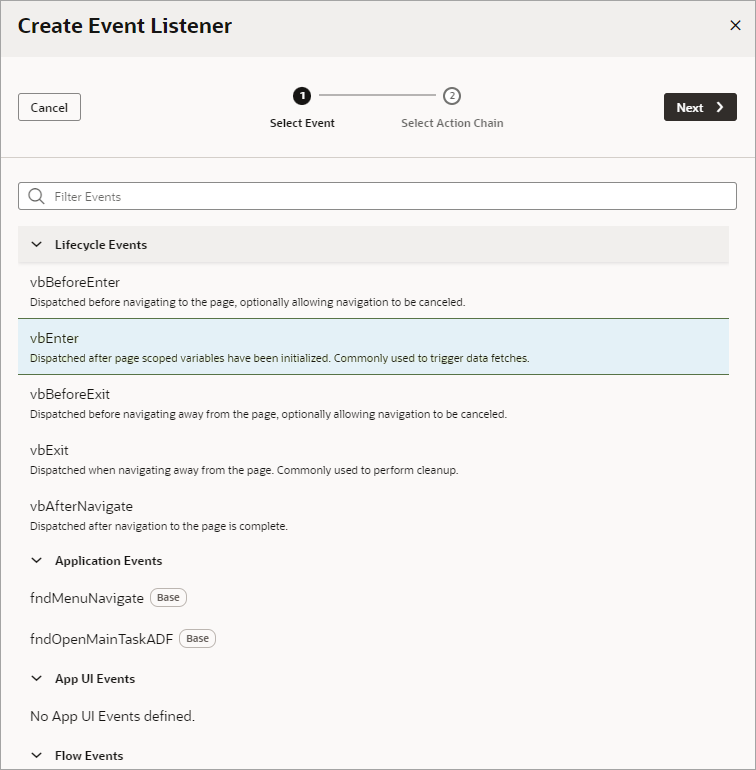
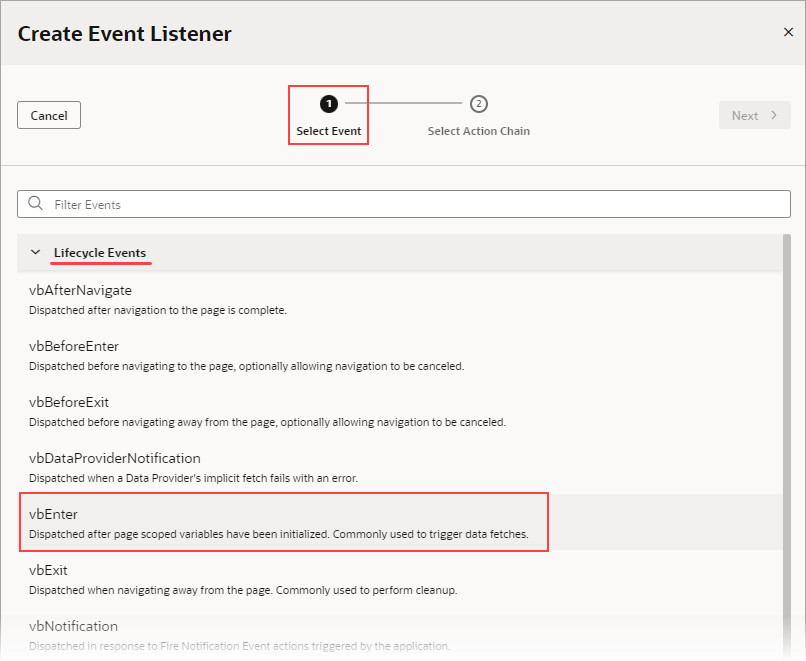
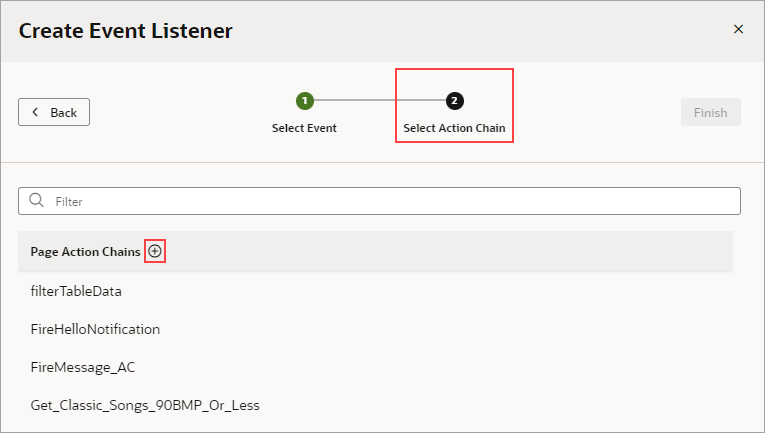
Lifecycle events are predefined occurrences that take place during a page's lifecycle. You can start action chains when these events occur by creating event listeners for them. For example, if you want to initialize some component variables when the page opens, you can create an event listener in your artifact that listens for the vbEnter event. You could then set the event listener to trigger an action chain that assigns values to the component's variables.
Before you create an event listener to trigger an action chain, it's important to understand a page's lifecycle, so you know where to plug in custom code to augment the page's lifecycle. Each page in your App UI has a defined lifecycle, which is simply a series of processing steps. These might involve initializing the page, initializing variables and types, rendering components, and so on.
Each stage of the lifecycle has events associated with it. You can "listen" for these events and start action chains whenever they occur to perform something based on your requirements. For example, to load data before a page loads, you can use the vbEnter event and start an action chain that calls a GET REST endpoint.
Keep in mind that one or more pages make a flow and each flow has its own lifecycle.
This table describes the lifecycle events you can use to start action chains in a page:
| Lifecycle Event | Description |
|---|---|
vbBeforeEnter |
Triggered before navigating to a page. Commonly used when a user does not have permission to access a page and to redirect the user to another page (for example, a login screen).
Because this event is dispatched to a page before navigating to it, you can cancel navigation by returning an object with the property For this event, you can use these variable scopes to get data:
|
vbEnter |
Triggered after container-scoped variables have been added and initialized with their default values, values from URL parameters, or persisted values, and is dispatched to all flows and pages in the current container hierarchy and the App UI. Commonly used to fetch data.
For this event, you can use these variable scopes to get data:
|
vbBeforeExit |
Triggered on all pages in the hierarchy before navigating away from a page. Commonly used to warn if a page has to be saved before the user leaves it, or to cancel navigation to a page (say, because a user doesn't have permissions to view that page) by returning an object with the property { cancelled: true }.
|
vbExit |
Triggered when navigating away from the page and is dispatched to all flows and pages in the current container hierarchy being exited from. Commonly used to perform cleanup before leaving a page, for example, to delete details of a user's session after logout. |
vbAfterNavigate |
Triggered after navigation to the page is complete and is dispatched to all pages and flows in the hierarchy and the App UI.
The event's payload (
$event) is an object with the following properties:
|
vbNotification |
Triggered when a Fire Notification action is fired by the application. |
vbResourceChanged |
Triggered when an application has been updated. Commonly used to notify the user that they need to refresh to view the updated application. |
vbDataProviderNotification |
Triggered when a Data Provider's implicit fetch fails with an error. |
Note:
Lifecycle events are also supported in fragments and work similar to those used by a page; however, not all events are available when you're working with a fragment. See Define Actions and Events in Fragments for the lifecycle events supported within a fragment.To start an action from a lifecycle event:
Start an Action Chain By Firing a Custom Event
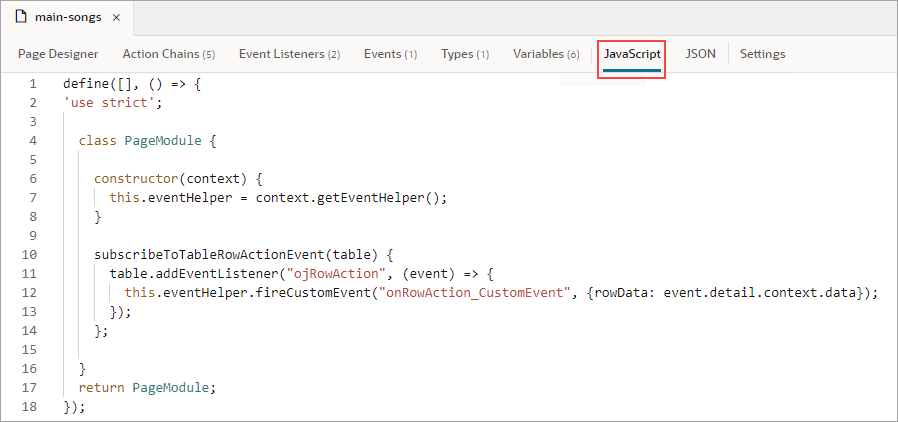
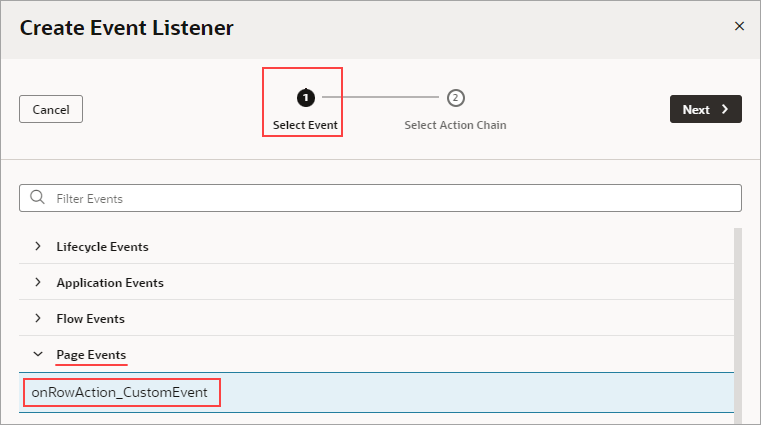
You can use the Fire Event action in an action chain to trigger a custom event, which in turn starts another action chain to display a notification, transform data, and so on. You can also trigger a custom event by using an event helper's fireCustomEvent() method in a JavaScript module function.
See Add a Fire Event Action to learn how you can use the Fire Event action to trigger a custom event.
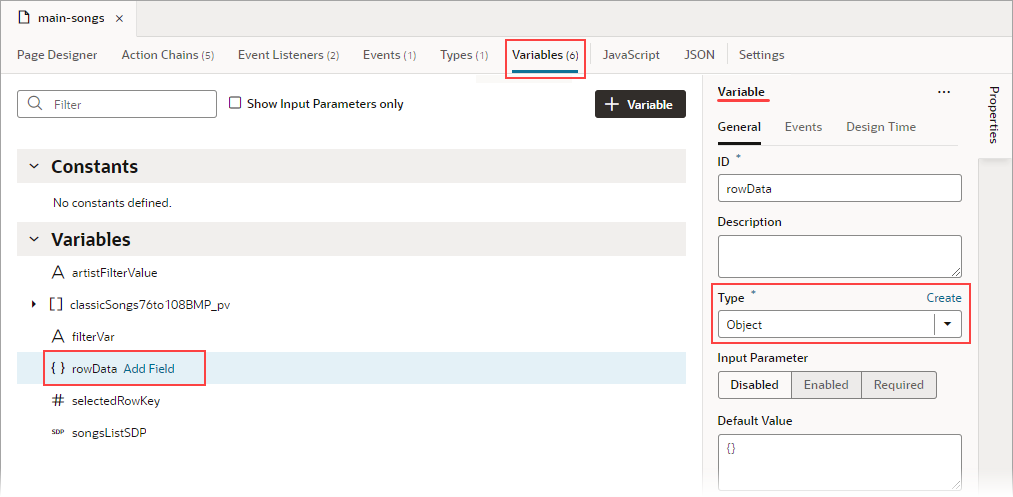
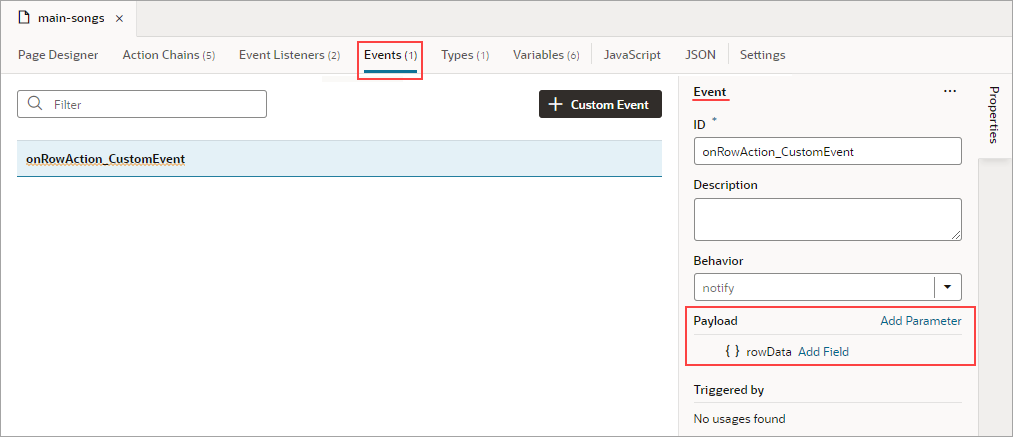
In this example, we'll use a module function to subscribe to a table's ojRowAction event to trigger a custom event that starts an action chain. The action chain then saves the selected row's data to a page variable.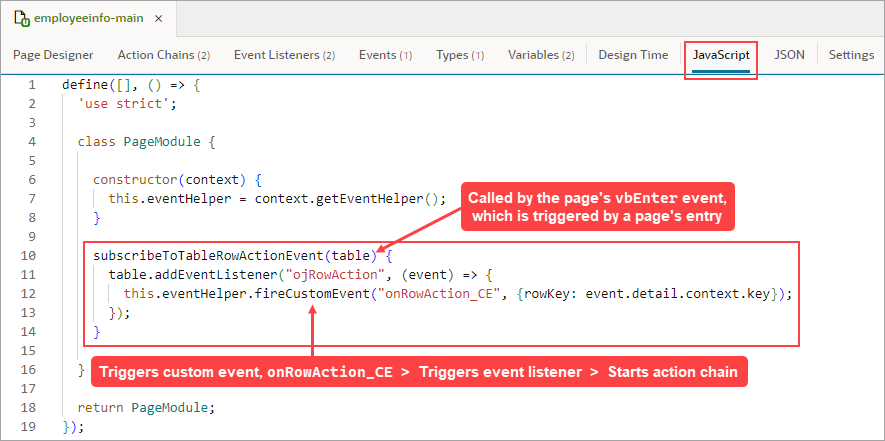
Description of the illustration jsac-add-listener-component-appui.png
(For more information about the module function event helper, see Module Function Event Helper.)
