Configure a Job to Manage a Deployed Extension
VB Studio provides you with build steps that you can add to a job to perform lifecycle operations on extensions and App UIs. VB Studio provides these build options as Application Extension build steps that you can configure in a packaging job or in separate build jobs that you can add to a CI/CD pipeline.
- Auditing and testing extensions before deploying them
The Audit, Test, and Package build steps can be in separate jobs or, for simplicity, you can add the Test and Audit (in whatever order you want) steps before the Package step in the packaging job, as we show next.
- Deleting extensions when they're no longer needed
Using a Delete build step in a job actually deletes an extension version. On the other hand, deleting an extension from the Manage Lifecycle Extension page deletes all versions of an extension, and is considered the recommended best practice.
Tip:
If you create a separate job for each task, after you create and configure the lifecycle management build steps, you may want to add the jobs, in some combination, to the pipeline you created for the packaging and deployment steps for that testing or production instance. By integrating these build steps in your deployment process, you'll ensure a more robust and error-free process when upgrades are done through deployment.- In the left navigator, click
Builds
 .
.
- In the Jobs tab, select the package job and click Configure.
An extension created through the Edit Page in Visual Builder Studio workflow in an Oracle Cloud Application includes a default
Application-Extension-Packagebuild job that packages the application extension's sources—but whether the job is enabled or disabled depends on your extension's CI/CD Pipeline setting. - On the Job Configuration page, click Steps.
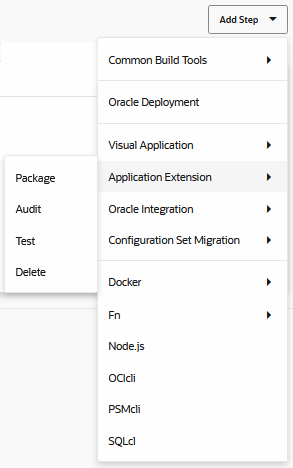
- Click Add Step, select Application Extension and select the option you want to add to the job:

These options automate CI/CD tasks for you. Each option has its own set of parameters. Some operations should follow a particular order. For example, the Audit and Test steps should be performed before the Package step, and all three steps must precede the Deploy step.
See the following for more information about each option:- See Configure a Job to Audit and Test Your Extension for information about Audit and Test.
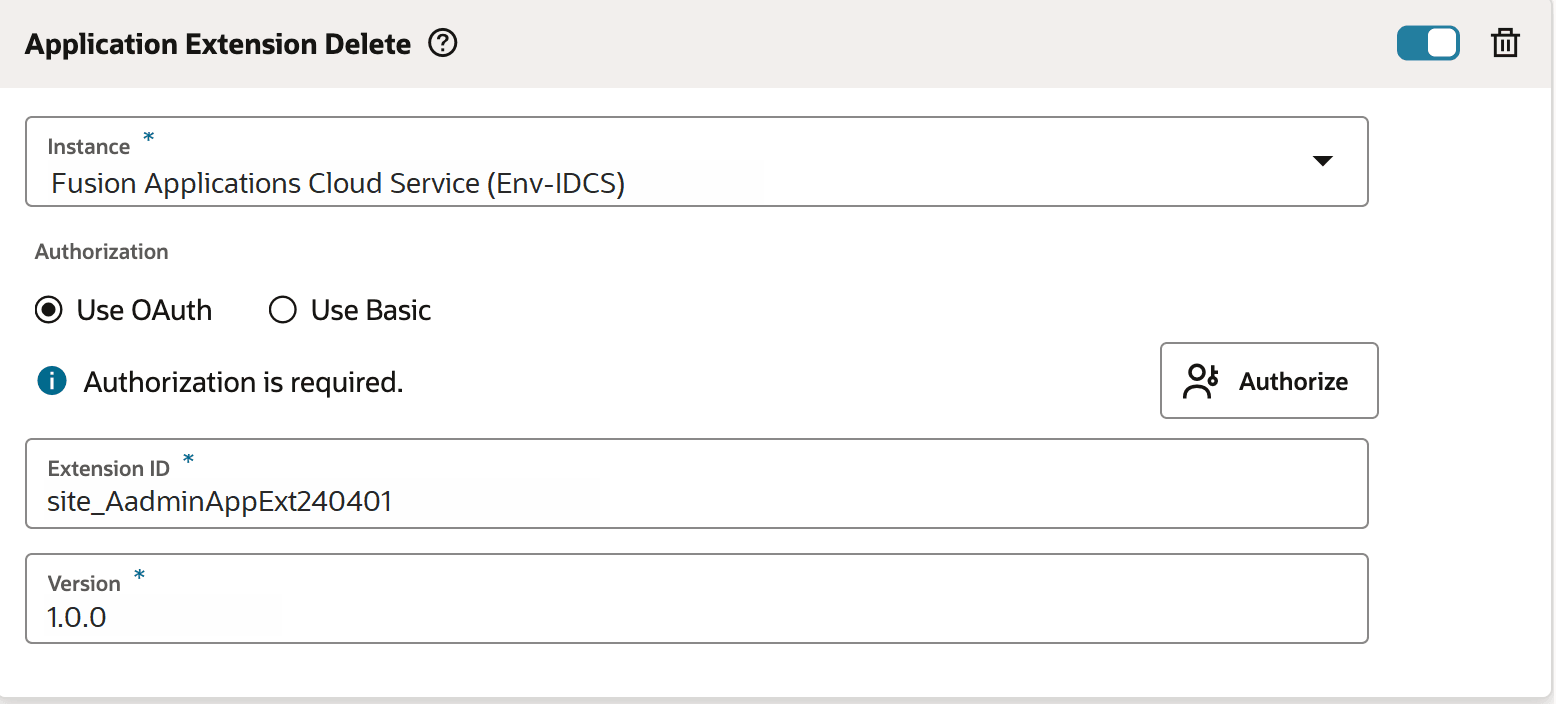
- See Configure a Job to Delete an Extension for information about Delete.
- When you're done, click Save.
Configure a Job to Audit and Test Your Extension
VB Studio provides capabilities for auditing your extensions and running action chain tests you've defined in your Oracle Cloud Application extension. For your convenience, VB Studio provides these operations in Build steps, so you can define all the necessary arguments and option overrides in one place for a build job or to include in a pipeline that simplifies automating the CI/CD lifecycle.
See Debug and Audit Your Code and Test Action Chains for more information about auditing and testing extensions.
Create a Build Step to Audit Your Extension
- From the Git tab on the Job Configuration page, select Git from the Add Git dropdown and then select the repository that was created for the extension in Repository.
- In the Parameters tab, select String Parameter from the Add Parameter dropdown list. Enter
OUTPUT_FILEin Name.The default value is
auditoutput.json.This parameter is used to override the default Grunt options as well as in the artifact archival.
- In the Steps tab, select Add
Step, Application Extension, and
Audit.
In the Application Extension Auditing panel:
- Enter the extension's identifier in the Extension ID field and the extension's version in the Extension Version field.
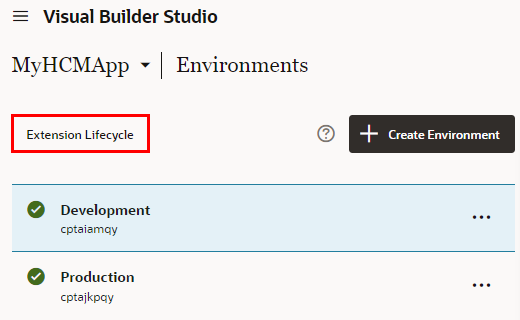
You can find these values by viewing the extension's details on the Manage Extension Lifecycle page, accessible from the Environments page.
- In Options, enter
auditoutputfile=$OUTPUT_FILE, using the parameter you defined in step 2.
- Enter the extension's identifier in the Extension ID field and the extension's version in the Extension Version field.
- In the After Build tab, select Artifact Archiver from the Add After Build Action dropdown list.
- In the Configure Post Build Actions panel, in Artifacts
from files, enter
$OUTPUT_FILEin the Files to archive field. - Click Save.
Create a Build Step to Test Action Chains in Your Extension
- From the Git tab on the Job Configuration page, select Git from the Add Git dropdown and then select the repository that was created for the extension in Repository.
- In the Parameters tab, select
String Parameter from the Add
Parameter dropdown list. Enter
BUILD_DIRin Name.The default value is
build.This parameter is used when the build system executes the Grunt task behind the scenes in the step as well as in the artifact archival.
- In the Steps tab, select Add
Step, Visual Applications, and
Test.
The Application Extension Testing dialog displays.
- In Karma Browser, if you select
FirefoxHeadless, it requires a Build Executor
template that contains the Firefox software package.
If you select ChromeHeadless instead, it requires a custom Docker image with Chrome installed, so, you need to create that custom Docker image and then create a Build Executor template to use from that.
- For Karma Log Level, select
Info, Debug,
Warn, Error, or
Disable.
The different log levels will be generated from the tests. Debug is the default level.
- In Mocha Timeout, enter a number between 0 and 600,000 milliseconds.
- In Karma Browser, if you select
FirefoxHeadless, it requires a Build Executor
template that contains the Firefox software package.
- In the After Build tab, select
Artifact Archiver from the Add After Build
Action dropdown list.
The Configure Post Build Actions dialog displays.
- In the Configure Post Build Actions dialog, in Artifacts
from files, enter
$BUILD_DIR/build/**/*in the Files to archive field. - Click Save.
Configure a Job to Delete an Extension
If you want to delete a specific extension version that's deployed to an Oracle Cloud Applications instance, you must configure a build job and run it.
You can also use the Manage Extension Lifecycle page to delete extensions, but keep in mind that deleting an extension from that page deletes the entire extension.
Note that there can be only one active extension version at a time. The recommended best practice is to avoid deleting the active extension version because, if you delete it, the extension will become inactive as if it wasn't installed at all. You can, however, delete inactive versions without impacting the currently active deployed extension.
Before you configure and run the job, delete the extension from the DEV instance (or TEST instance, if applicable) and make sure there aren't any adverse effects. For example, let's assume you have an attribute that's hidden in both the extension's business object and the user interface. After you delete the extension, the user interface shows the attribute that's still hidden in the business object. This may cause an error.
To configure the job, make sure you have valid administrator credentials for the Oracle Cloud Applications instance where the extension is deployed.

