Use Case 8: Create a Subject Area Based on an Existing Subject Area
You can create a subject area based on an existing subject area to:
- Reuse elements from an existing subject area such as join custom fact to the prebuilt dimensions.
- Refine or clean up an existing subject area such as:
- Only expose select folders or columns to consumer users.
- Rename folders or columns.
- Reorder folders or columns.
- Remove non-required folders or columns.
- Hide metadata fields created from data augmentation.
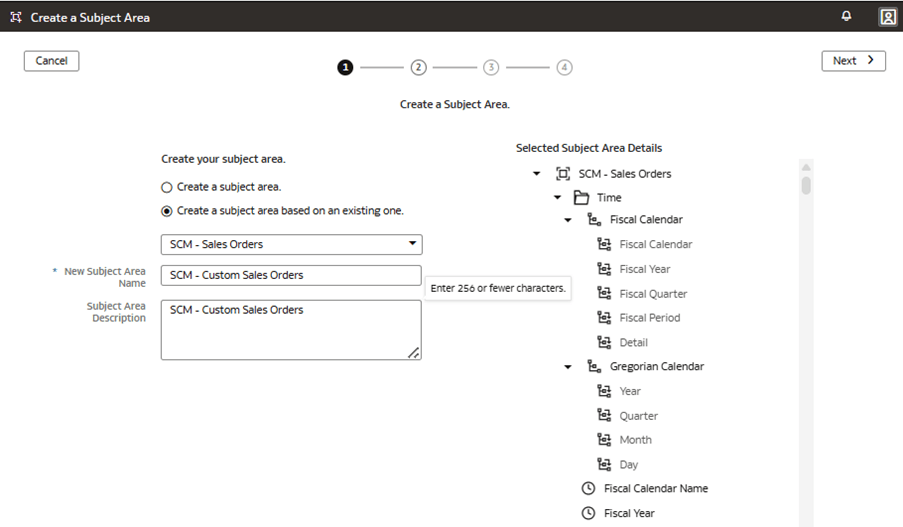
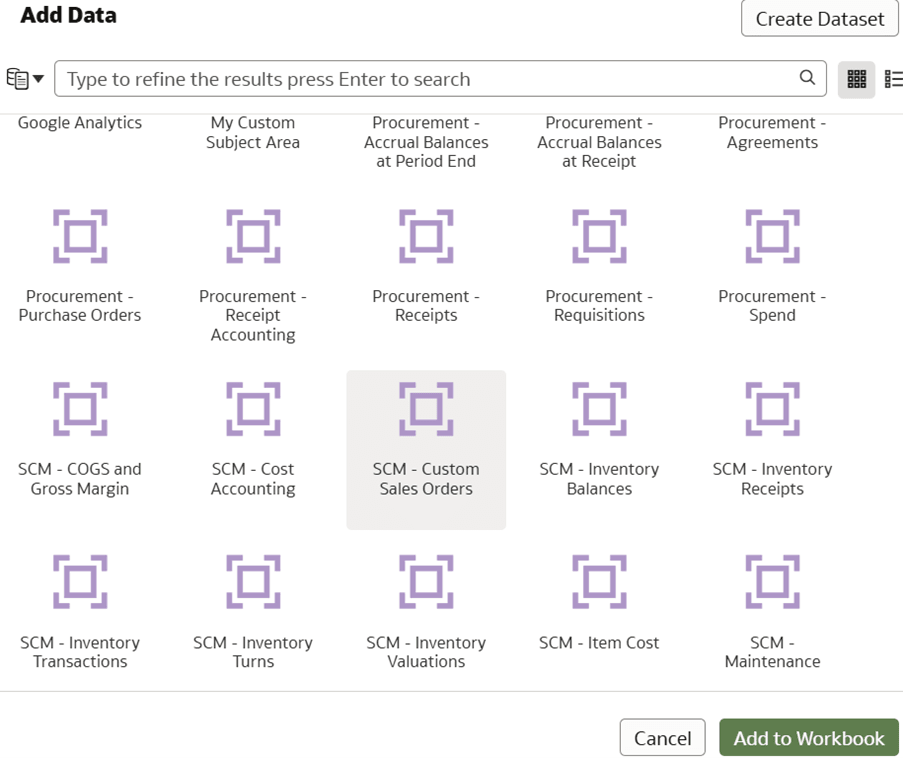
The prebuilt SCM – Sales Order subject area contains folders and columns that can be hidden, renamed, and reordered to improve the consumer experience. In this use case, you create the SCM – Custom Sales Orders subject area based on SCM – Sales Orders, an existing prebuilt subject area. The use case refines, reorders, and renames folders and columns.
This use case requires Fusion SCM Analytics subscription. However, you can apply the concepts covered in this use case to any other Fusion Data Intelligence subscription. The use case may reference Autonomous Data Warehouse prebuilt tables and synonyms and mock custom database tables and views. If you’ve activated the specified Fusion Data Intelligence subscription, you may use the samples provided. The recommendation is to substitute the sample objects for your own custom Autonomous Data Warehouse objects such as custom table, materialized view, view, custom synonym, or data augmentation dataset synonym.
- SCM – Sales Orders prebuilt subject area
- Create a sandbox titled MySandbox5Mar25. See Create Sandbox. Or, edit an existing sandbox on the Semantic Model Extensions page; for example, by clicking the MySandbox5Mar25 sandbox.
Create New Subject Area – Based on Existing One
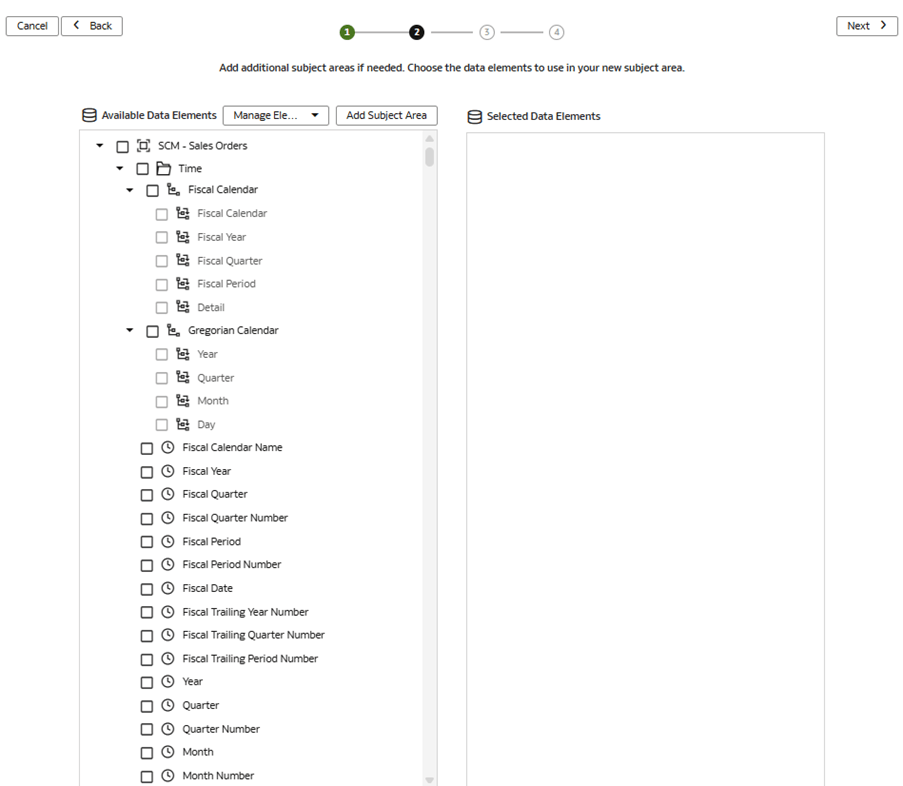
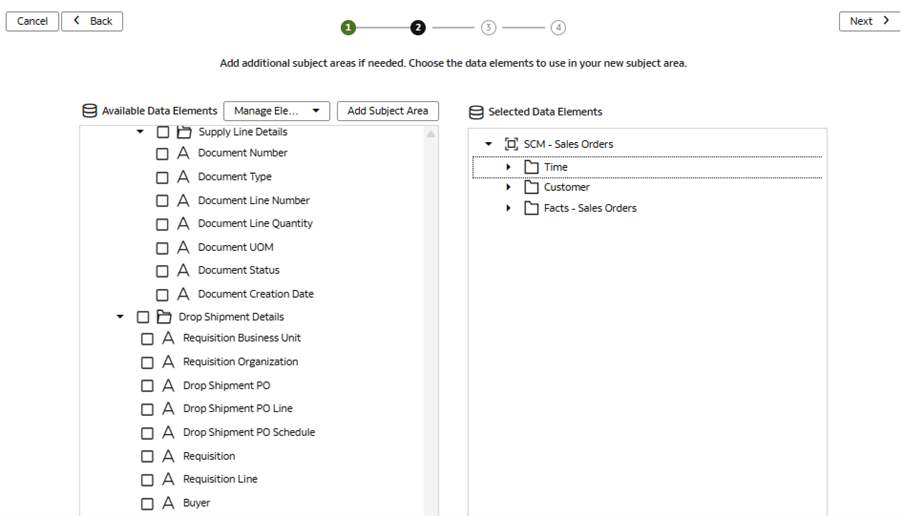
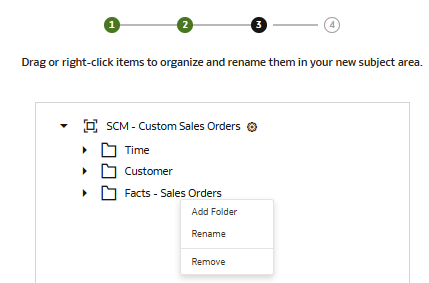
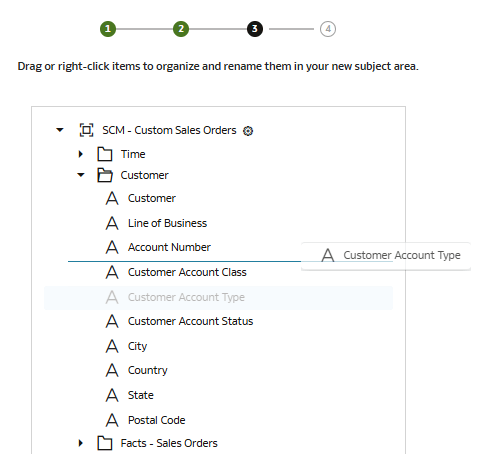
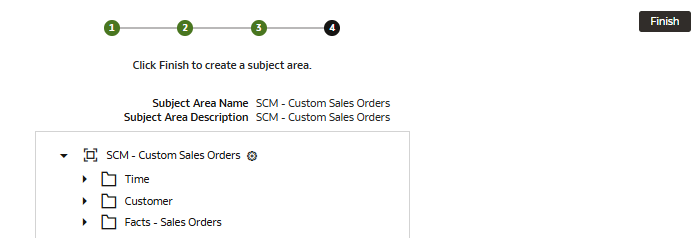
You create a new subject area SCM – Custom Sales Orders based on the existing prebuilt subject area SCM – Sales Orders. You deselect unwanted columns, then reorder and rename folders and columns.
In this step, you deselect all prebuilt elements, and reselect Time, Customer, and Fact-Sales Order to refine the presented folders. You then reorder columns within the folders and rename columns and folders as desired.
Apply and Publish the Customizations
You apply the changes to compile the sandbox and ensure that the sandbox is error free.
Then, you use the Activity tab to debug, resolve errors, and confirm that the Apply Changes action completes and is successful. Finally, you merge the changes to the main sandbox and publish the main user extensions to share the new extensions with consumers.
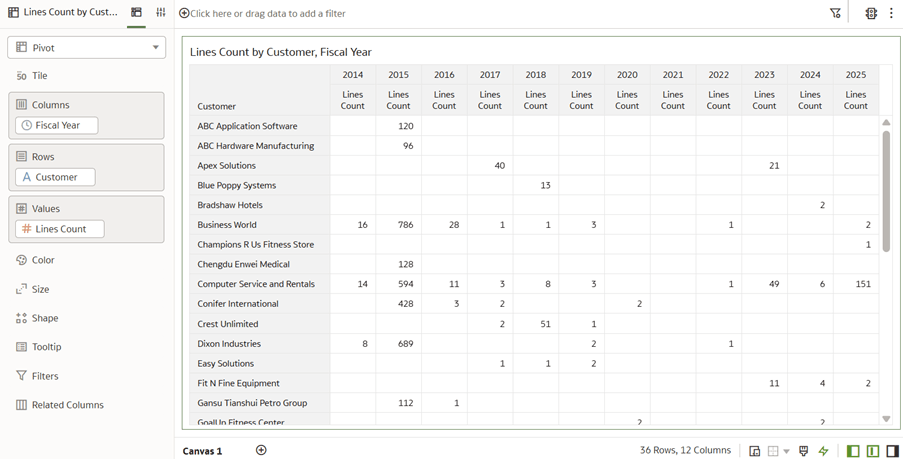
In this step, you apply the changes, use the Activity tab to monitor the status, merge the MySandbox5Mar25 sandbox to the Main sandbox, and then publish the main user extension.
