Deleting Activation Snapshots
You have the option of deleting all records from Activation Snapshots created in Oracle Unity.
Important: Please ensure that you validate the data you are configuring through a data deletion job. This data will be permanently deleted and cannot be recovered.
Follow these steps to delete data with a Data Deletion Request data object:
Step 1: Create the delete job
Configure the delete job that will delete all records from the Activation Snapshot you select.
To create the delete job:
-
Click the Oracle icon
 in the bottom-right corner to open the navigation menu.
- Select Data feeds.
- In the top-right corner, click Create data feed, then select Delete job.
The Create delete job page is displayed.
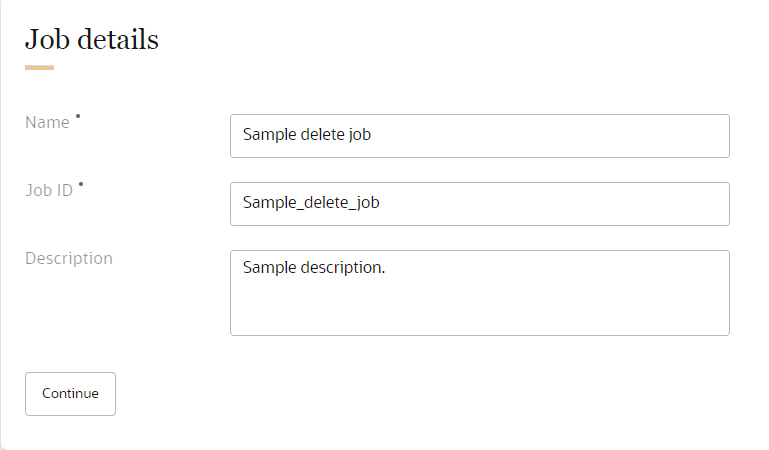
Define your job details
The job details section allows you to define how the delete job will display in Oracle Unity.
To define the job details:
- Enter the details for the delete job.
- Name: Enter a name. The name must be 1 or more characters, up to a maximum of 50. Other than underscores (_) and hyphens (-), special characters are not allowed. The first character cannot be a space. You can use characters from all languages supported in the language settings.
-
Job ID: The unique system identifier for your job. You can't change this value after you create the job.
- If the job name uses English characters, the Job ID field is auto-populated from the job name you enter. You can change this value before the job is created.
- If the job name uses characters from another language supported in the language settings, the Job ID field will be left blank. You will need to enter a name using English characters.
- Description: Enter a description. This field is optional, but it is highly recommended to add descriptions for any entity created. This helps all other users get additional context when using and navigating Oracle Unity. The description can have a maximum of 512 characters with no restrictions on characters used. You can use characters from all languages supported in the language settings.
- Confirm the job details and click Continue.
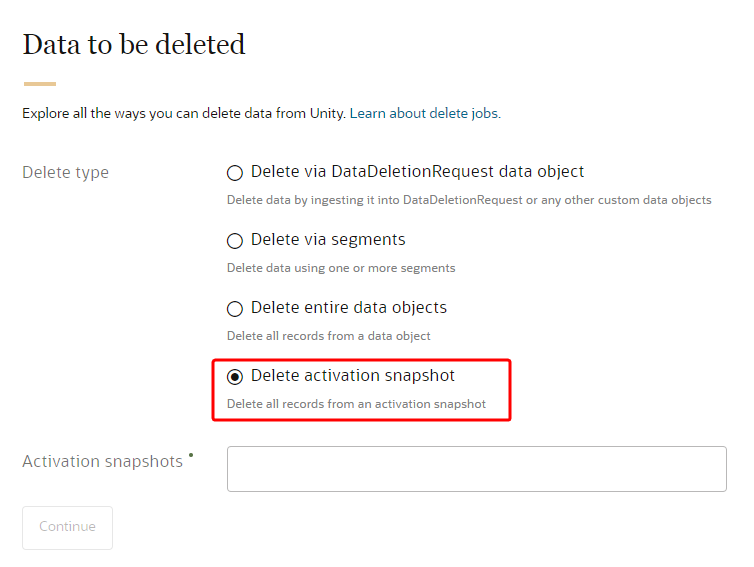
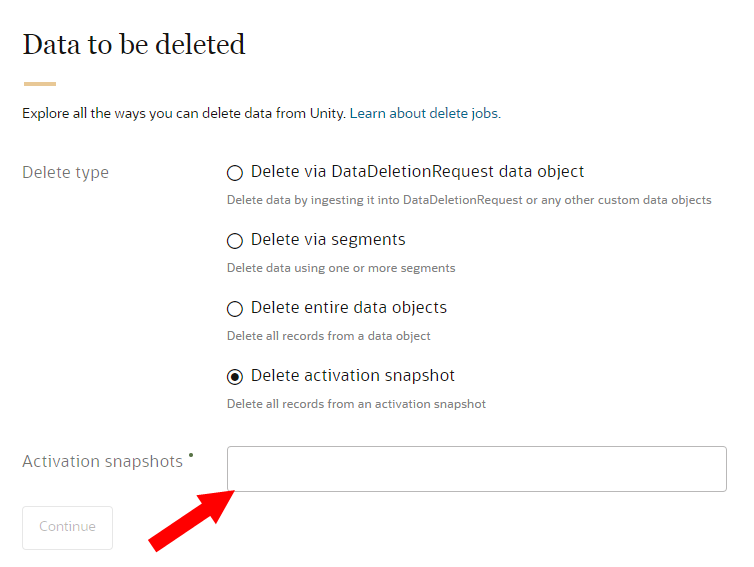
Data to be deleted
The Data to be deleted section allows you to select the method of deletion.
To set up the Data to be deleted section:
- For Delete type, select Delete activation snapshot.
- In the Activation snapshots field, select one or more snapshots that you want to delete. Click X next to a selected snapshot name to remove it.
- Review the selections and click Continue.
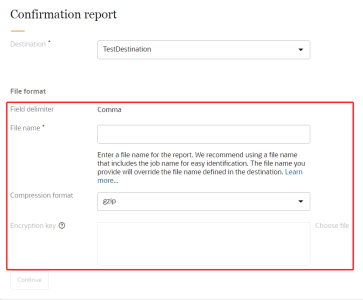
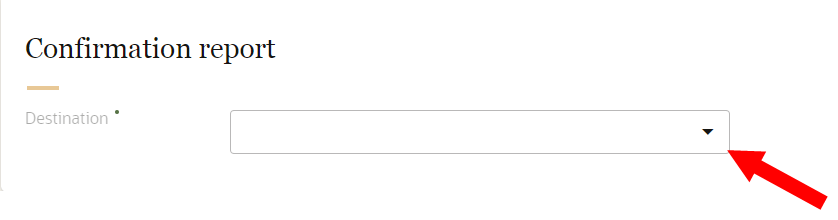
Confirmation report
You will need to select the destination that will receive the data deletion report. You can only select the following types of destinations: Secure FTP, Oracle Object Storage, and AWS.
If needed, create a new destination.
To configure the confirmation report:
-
Use the drop-down list or search bar to select the destination (Secure FTP, Oracle Object Storage, or AWS types).
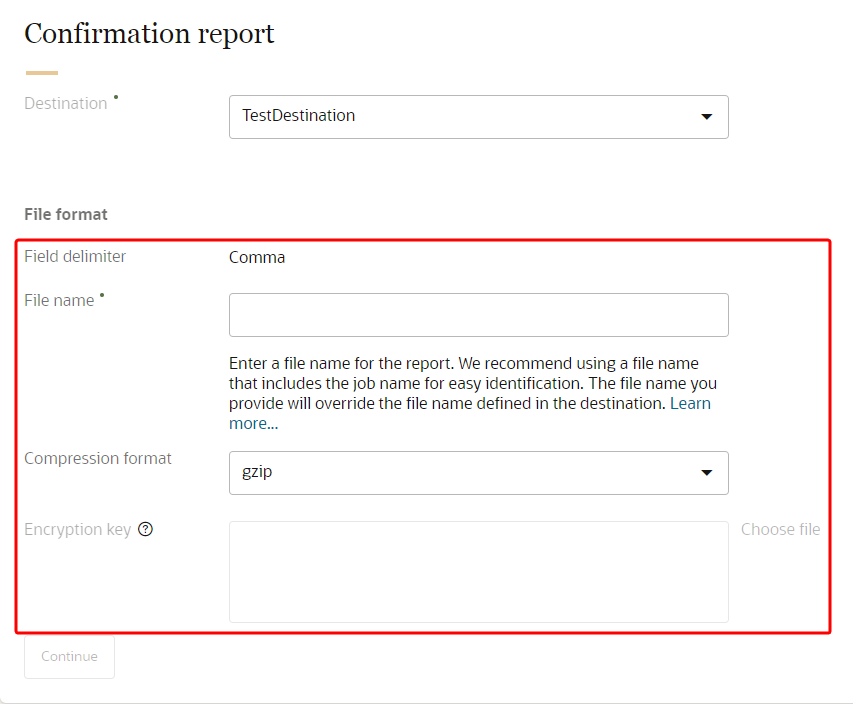
- Review and complete the File format information. The Compression format and Encryption key parameters are applicable only if you select a Secure FTP destination.
- Review and confirm the Field Delimiter.
- Enter a File name.
- We recommend using a file name that includes the delete job name for easy identification.
- You can use characters from all languages supported in the language settings.
- The file name you provide will override the file name defined in the destination.
- A timestamp will be added to the custom file name you provide in the following format: yyyy-MM-dd-HH-mm-ss-SSS. For example, entering the file name delete_job_01 will generate the following file name in the destination when it runs: delete_job_01_2020-05-13-08-04-13-354_0.csv.
Example: You create a Secure FTP destination with the file name sftpfile.csv and use it for the following export jobs: Address export job, Promotion export job, and Order export job. When setting up the export jobs, you can create the following unique file names for each one: sftpfile_address, sftpfile_promotion, and sftpfile_order. This allows you to quickly identify which data object was exported in each file.
If you select a Secure FTP destination, review the compression format.
The default value is generated from the value configured in the selected Destination settings.
Any changes you make to the compression format will override the configurations in the Destination settings.
If you select PGP, you will need to provide an encryption key.
If PGP compression format is selected, an encryption key is required. If you change the existing compression format to PGP, select the file that has the encryption key.
The following encryption keys are supported.
Key type Bit lengths RSA
(RSA cryptosystem)2048 3072 4096 - Review the details and click Continue.
Schedule and notify
You will need to configure the schedule and notification settings for the delete job.
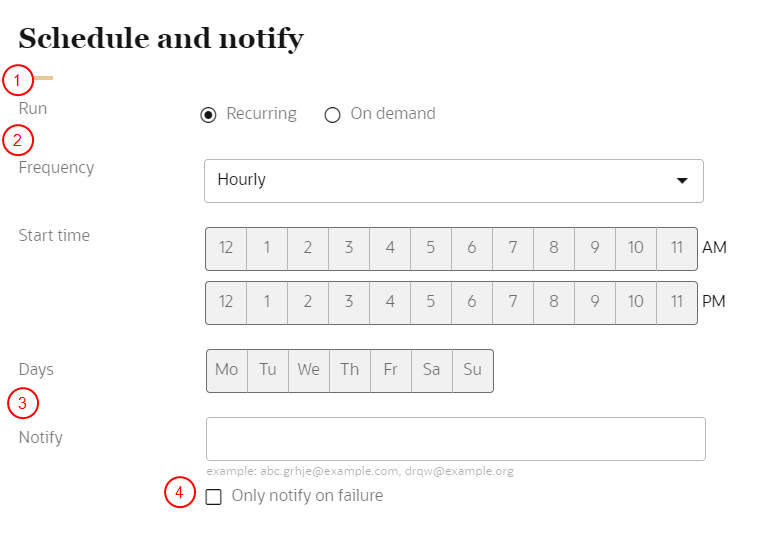
To schedule the delete job and define the notification settings:
- Configure the schedule for the delete job:
- Click Recurring to automatically run the job on a regular schedule. If a job is still running while the next one is scheduled to run, the next scheduled run will not start until the current one completes. Two scheduled instances of the same job can't run simultaneously.
- Click On demand to run the job as needed.
- If the job is recurring, select the Frequency, Start time, and Days it will run.
- In the field for Notify, enter the email addresses of people to be notified when the job runs. You can use characters from all languages supported in the language settings. Separate multiple emails with a comma.
- If you only want a notification if the job fails, click the checkbox for Only notify on failure.
When done configuring the delete job, Scroll to the top of the page and click Save or Save and close.
Step 2: Publish the changes
After saving the delete job you will need to publish the changes before it can run. Follow the steps for Publishing changes.
Note: The Change list for the publish job will not list changes for delete jobs.
Step 3: Run the delete job
You can now run the delete job. If you configured a recurring schedule, the job will automatically run according to its schedule.
If you configured an on-demand schedule, you will need to manually start the job.
To run an on-demand delete job:
-
Click the Oracle icon
in the bottom-right corner to open the navigation menu.
-
Select Data feeds.
-
Locate the delete job. If needed, use the filters and search bar.
-
Click the Action menu (
 ) for the job and select Start.
 -
Monitor the status of the job from the Jobs dashboard.
Step 4: Review the data deletion report
After the delete job successfully completes, a report is generated in the destination folder that lists the data objects from which data was deleted, and the number of deleted records. The deletion report contains the following information.
| Column header | Description |
|---|---|
| ObjectClass | The class of data object where data was deleted. For example, Data objects are named "Table". |
| ObjectName | The name of the data object where data was deleted. |
| ObjectType |
The type of data deleted from data objects.
|
| DeleteMode | The mode of deletion specified for the job. |
| ItemsDeleted | Number of records deleted. |
| AdditionalInfo | Other details about the Data Deletion job. |
| DeleteSourceType |
Where the record deletion came from.
|
| DeleteSourceID |
The source ID for the job. Will display one of the following values.
|
| DeleteSourceRecordID |
The ID for the deletion source record. Will display one of the following values.
|
Deleting data with a Data Deletion Request data object
Deleting records using segments