Creating an Oracle Eloqua destination
The first step in setting up an export of data to Oracle Eloqua is to create a destination. This will configure how the Oracle Unity segment will be exported to Eloqua.
You will need to set up a template of field mapping between Oracle Unity and Eloqua data.
To create the Eloqua destination:
-
Click the Oracle icon
 in the bottom-right corner to open the navigation menu.
- Select Destinations.
- In the top-right corner, click Create destination.
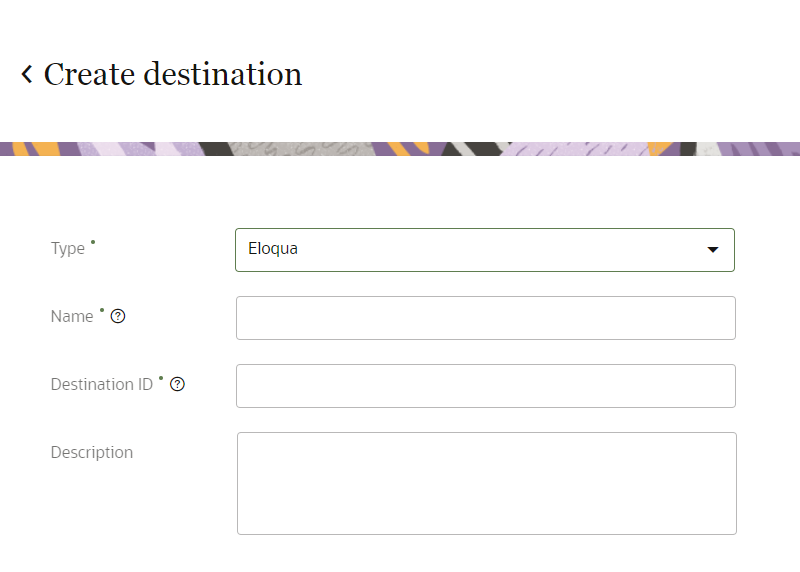
Step 1: Define destination details
The job details section allows you to define the type of destination and how it will display in Oracle Unity.
Enter the information for the destination.
- Type: Use the drop-down list to select Eloqua.
- Name: Enter a name. The name must be 1 or more characters, up to a maximum of 50. Use only letters (a–z and A–Z), numbers (0–9), underscores (_), hyphens (-), and spaces. The first character cannot be a space.
-
Destination ID: The unique system identifier that is auto-populated from the destination name you enter. You can't change this value after you create the destination.
- Description: Enter a description. This field is optional, but it is highly recommended to add descriptions for any entity created. This helps all other users get additional context when using and navigating Oracle Unity. The description can have a maximum of 512 characters with no restrictions on characters used. You can use characters from all languages supported in the language settings.
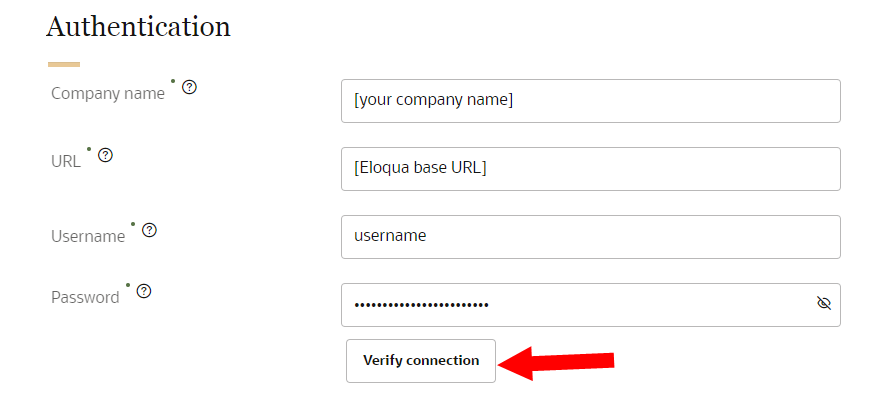
Step 2: Configure authentication settings
Enter the information to allow Oracle Unity to access the required data.
- Company name: Enter the company name you use to log in to Eloqua.
- URL: Enter the base URL for your Eloqua instance. Learn more about Determining base URLs topic from the the Eloqua Developer Help Center.
- Username: Enter the username to access the URL.
- Password: Enter the password to access the URL.
Once you enter all the details, click Verify connection to ensure that Oracle Unity can access the destination.
If there are connection issues, ensure the base URL entered and login credentials are correct.
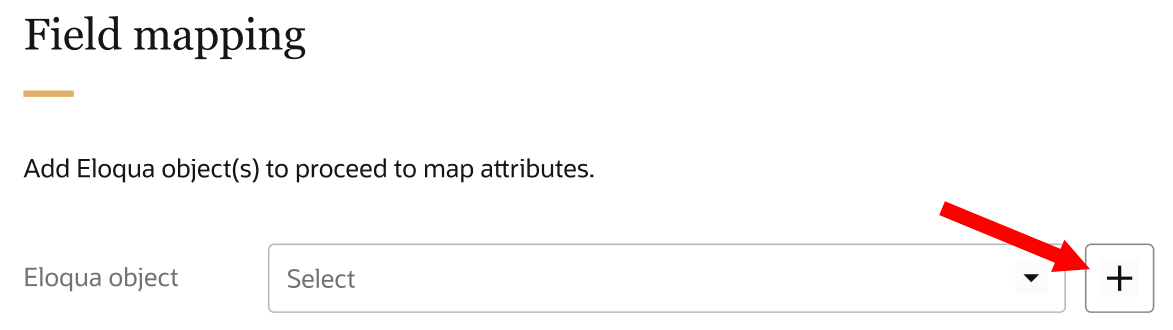
Step 3: Field mapping
This section allow you to set up a field mapping template for the segment delivery or export job that will use the destination. You will need to set up mapping between Oracle Unity data attributes (segmentation personalization attributes) and Eloqua custom object fields.
- If you use the destination in an export job, you can update the field mapping when configuring the export job.
- If you use the destination in a segment delivery, you can only update the field mapping in the configuration of the destination.
Watch this video to learn more about custom objects and how data records are inserted into custom objects: Oracle Eloqua - Creating Field Merges with Custom Data Objects.
Note: When a Oracle Unity segment delivery sends segment data to Eloqua, there may be customer records in the Oracle Unity segment that don't exist in the Eloqua custom object. In this type of scenario, the missing records will be automatically added to the contacts table in Eloqua.
To add field mappings:
- For Eloqua object, select the Eloqua custom object you want to use for mapping. Then, click Add
 .
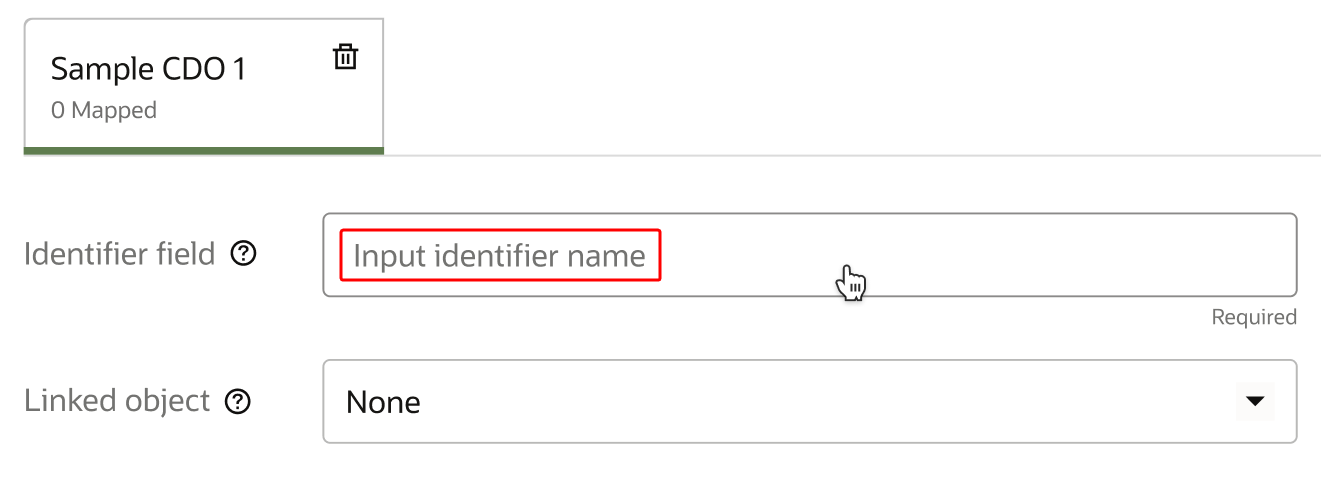
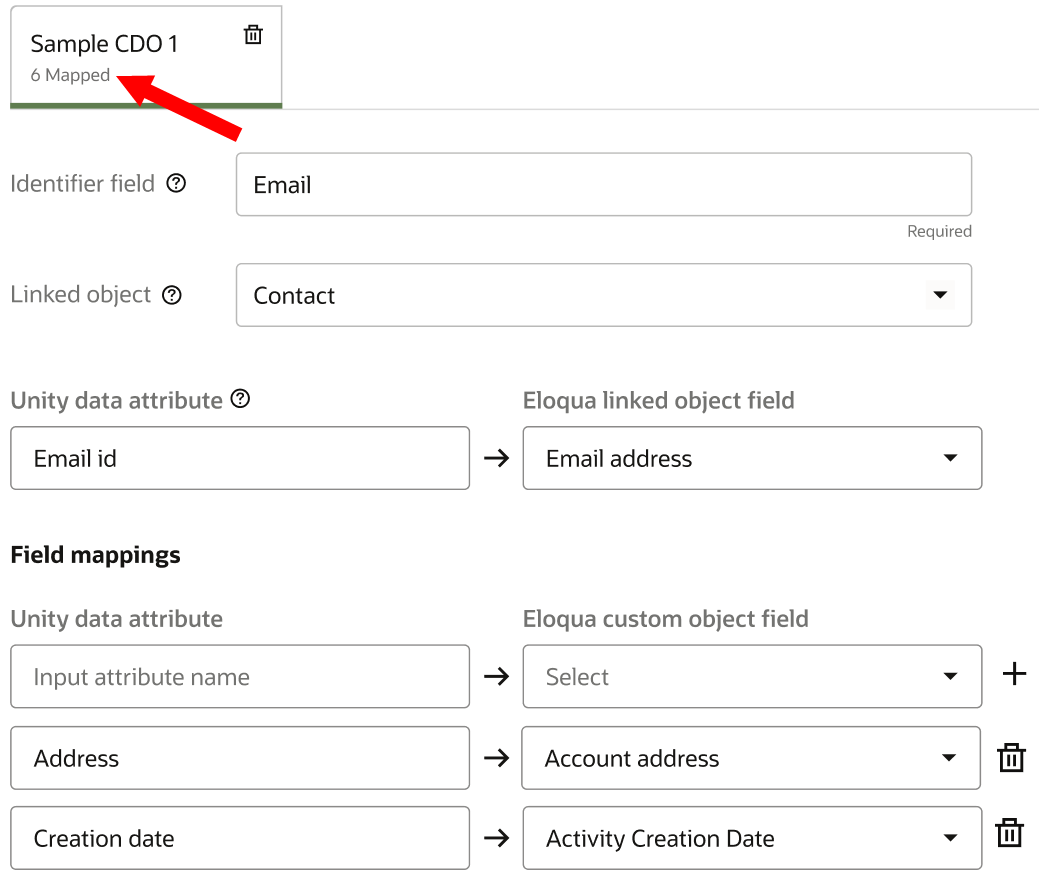
. - For Identifier field, enter the exact name of a unique field (for example, Email) in the custom object that will be used to check the imported data in Eloqua against existing records. In other words, select the field that will be used as the primary key for the custom object.
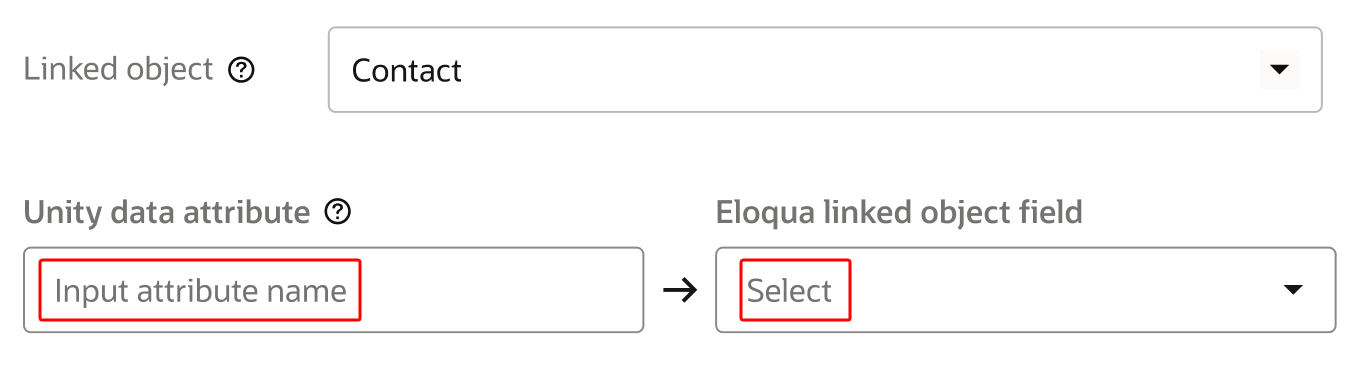
- For Linked object, you have the option of selecting a parent object. Otherwise, leave the selection as None.
- If you select a linked object, you will have to map a unique Oracle Unity attribute to a unique field in the Eloqua linked object. Enter the exact name of the Oracle Unity attribute and select the corresponding Eloqua linked object field.
- Under Unity data attribute, enter the exact name of an attribute (segmentation personalization attribute) to map. Under Eloqua custom object field, select a corresponding field to map. The list of Eloqua custom object fields is retrieved dynamically from Eloqua.
- Click Add .
- Add additional field mappings between Oracle Unity and Eloqua. Once you map an Eloqua contact field, it is removed from the list of available items to select and an indicator shows the number of mappings created.
- To delete a field mapping, click Delete
 .
. - To map an additional custom object, select one from the Eloqua object field and Click Add. Continue the previous steps for mapping attributes and fields.

Note: If you select the Contact custom object, you must map the Oracle Unity Email attribute to the Email address Eloqua custom object field. You must also make sure the Email attribute is included as a Personalization attribute for the segment you want to export. If this attribute is not included, then the segment will not be exported successfully to Eloqua.

Note: You can create mappings for multiple Eloqua custom objects in a single destination, but each segment delivery or export job can only export to a single Eloqua custom object. To export one segment to multiple custom objects, you will need to create one export job for each custom object.
Step 4: Save and publish the new destination
When finished defining the destination, scroll to the top of the page and click Save or Save and close.
Once you create the destination, you will need to publish the changes.
Exporting to an Eloqua campaign or Eloqua custom object
After creating and publishing the Eloqua destination, you can continue following the steps for exporting to an Eloqua campaign or custom object.
- Exporting Oracle Unity segments to Oracle Eloqua campaigns
- Exporting Oracle Unity segments into Oracle Eloqua custom objects