Administrator Steps
The application owner assigns a user the Participant(Write) permission allowing them to submit changes via requests. After assigning permissions, the application owner configures one or more approval policies to enable other users to review and approve the requests being submitted.
Administrator Prerequisites
You must have Owner or Metadata Manager permission on the application to be able to grant users the Participant(Write) permission and to configure approval policies.
Administrator Process
- Assign user Participant(Write) permission for a dimension. See Working with Permissions
- Enable and configure approval policy for the dimension. See Configuring Policies.
Administrator Detailed Steps
Step 1: Assign User Participant(Write) Permission
Assigning a user Participant(Write) permission to a specific dimension gives the user permission to data in that dimension. To assign a user Participant(Write) permission to a dimension:
- Open the dimension inspector.
- On the Permissions tab, click Edit.
- In the Add a user or Add a group drop down list,
select the user or group that you want to grant permission to.
By default, the user is granted Participant permission with Read data access.
- To grant Participant(Write), in the Data Access column, click
Read, and then select All for
Allowed Actions and Edit All for Properties.

- Click Save.
Step 2: Enable and configure approval policy for the dimension
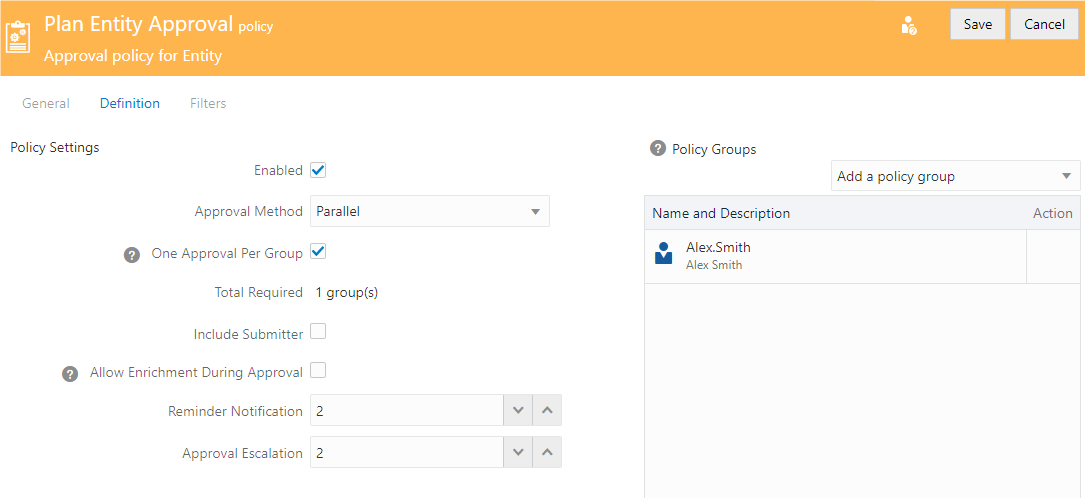
To manage changes to a particular dimension, set up an approval policy for the dimension.
- Open the dimension inspector.
- On the Policies tab, click the name of the approval policy.
- Optional: On the General tab, click Edit and change the policy name or description.
- On the Definition tab, click Edit, and define the
policy settings. For more information, see Creating and Enabling Approval Policies.

- Click Save.