Creating HAR Files

The HAR file captures traces of Oracle Smart View for Office, REST API, or EPM Automate interaction with Oracle Enterprise Performance Management Cloud.

Because Fiddler captures information on all HTTP(S) traffic, while creating the HAR files, refrain from activities that may add unnecessary trace to Fiddler.

To create a HAR file:
  1. Start Fiddler.
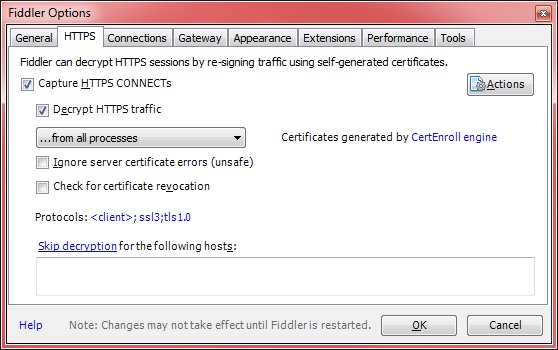
  2. Ensure that Fiddler is configured to Decrypt HTTPS traffic from all processes.
    1. Select Tools, then Options, and then HTTPS.
    2. Select Decrypt HTTPS traffic, if it is not selected.
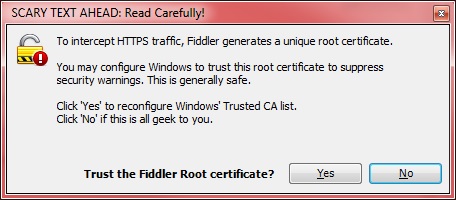
      Fiddler displays information about the root certificate it uses to intercept HTTPS traffic. It is generally safe to trust this certificate.
      Fiddler dialog box containing information about root certificate that is used to intercept HTTPS traffic
    3. Click Yes if you want to add the root certificate to the trusted CA list; else choose No.
    4. Optional: If you selected No in the preceding step, you may select Ignore server certificate errors to suppress Fiddler security warnings related to decrypting HTTPS traffic.
    5. Click OK.
      Fiddler Options screen
  3. Start Smart View and access the environment for which you want to capture trace.
  4. Using Smart View, REST API, or EPM Automate, execute the activities that exert heavy processing load on the environment. For example, open forms in Smart View so that Fiddler can record your activity.
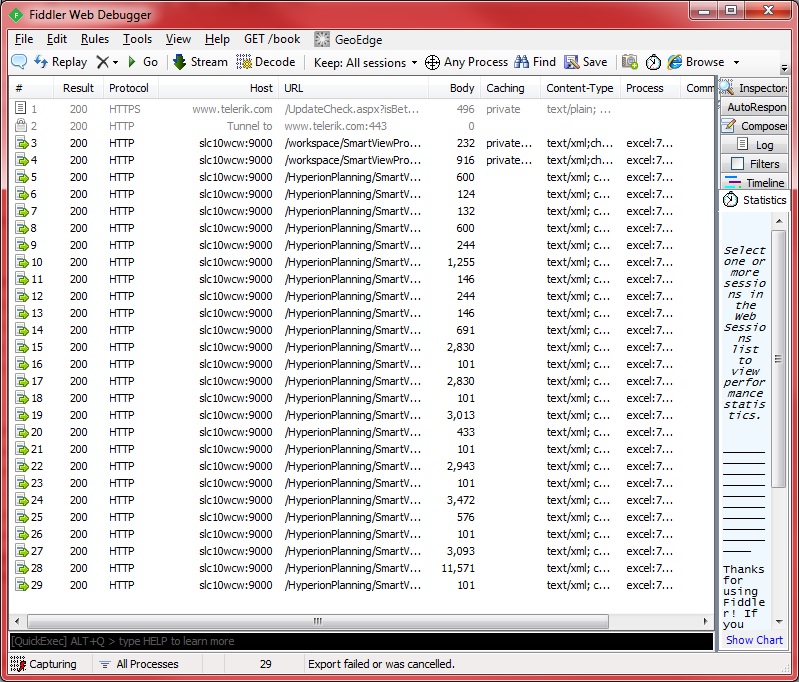
    Fiddler records the processes that you initiated.
    Fiddler trace file
  5. In Fiddler, complete these steps:
    1. Select File, then Export Sessions, and then either All Sessions or Selected Sessions. If you were connected to other web sites while running Fiddler, select Selected Sessions to choose the sessions relevant to the environment.
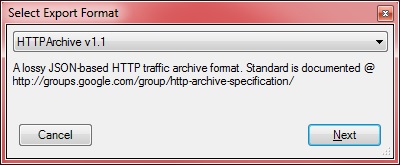
    2. In Select Export Format, select HTTPArchive v1.1 as the export format.
    3. Click Next.
      Select Export Format dialog box
    4. In Export As HTTPArcive v1.1, select the directory where you want to store the file and specify a file name.
    5. Click Save.